
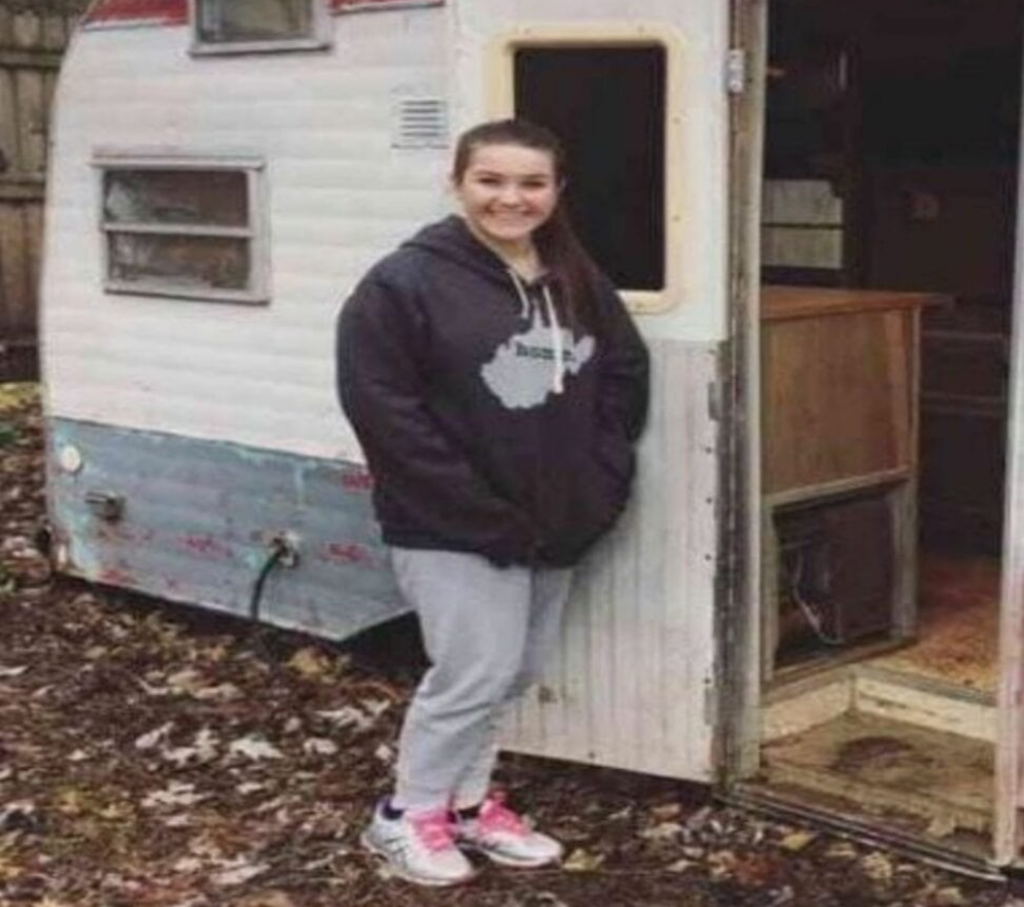
Ellie Yeater does not squander her leisure time on computer games, go out with friends, or swim in pools throughout the summer.
During her summer vacation, the 14-year-old Williamstown, West Virginia, native converted a 1974 Wilderness camper into a place she calls a “Glamper.”The word “glamper” is created by combining the concepts “glamorous” with “camping.”She said that camping will be much more fun and less laborious with the new Wilderness glamper.
She’s an aspiring high school student; just wait to see her gorgeously restored Wilderness camper.
Through housekeeping, birthday money, and other activities, she saved up roughly $500, according to the child’s mother Lori, to buy and renovate the camper.
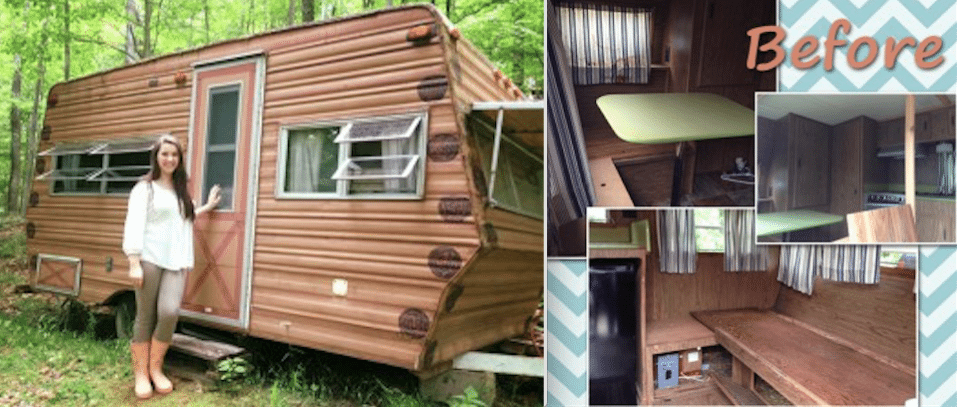
This is a photo of the camper before any modifications were made.
Yeater said she saw her camper listed on a neighborhood bulletin board for $200.
She paid for paint, flooring, linens, and other glamper accessories using the money she had left over after buying the camper.
Ellie says the camper was in terrible shape because the previous owners used it for both hunting and camping. It took a lot of work to complete. stated her mother.
It was her older brother Isaiah who came up with the original plan to build a tiny camper.
She says that Isaiah built a small cabin for him and his friends to hang out in, and she wanted something “cuter” and closer to the house for her friend since she required Wi-Fi and electricity.
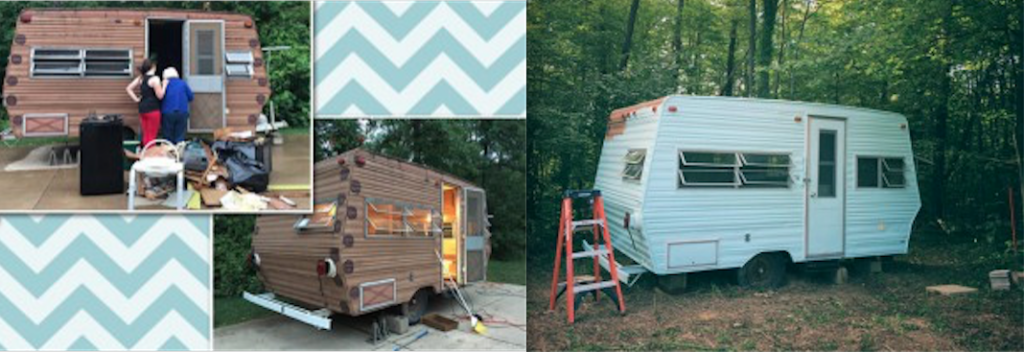
She had to start her business by dismantling and cleaning the camper completely.
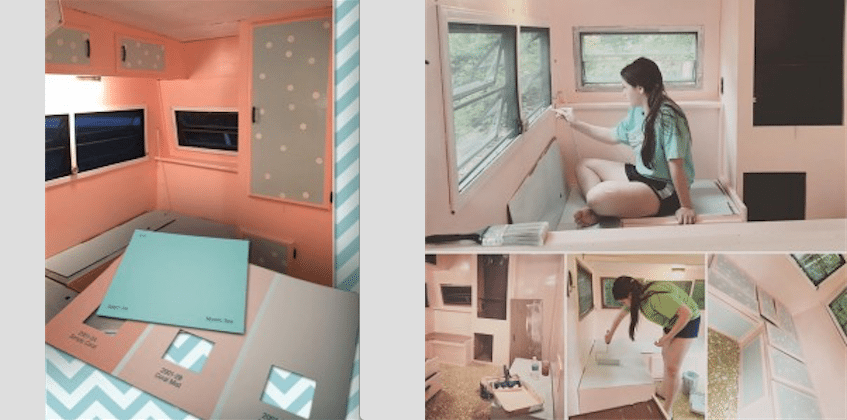
She then went ahead and painted the camper using Valspar’s “Mystic Sea” shade.
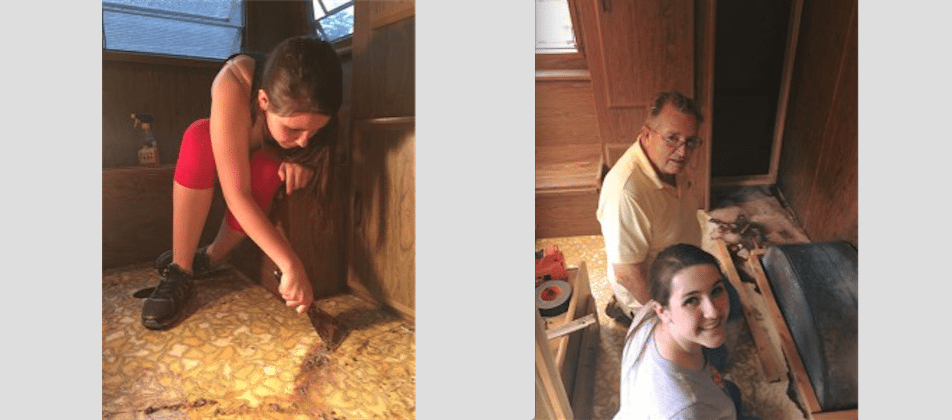
After everything was disassembled, Ellie cleans up any excess glue that may have gotten on the floor in the image above.
The picture above also shows her grandfather Lawrence teaching her some basic carpentry techniques like bracing and hole-patching.
Ellie then chose her favorite color scheme, a shade of aqua blue, for the next step.
Ellie paints the interior with great care, giving the dull wood theme a brighter look.
In the photo below, you can see that the camper’s interior is starting to take shape.
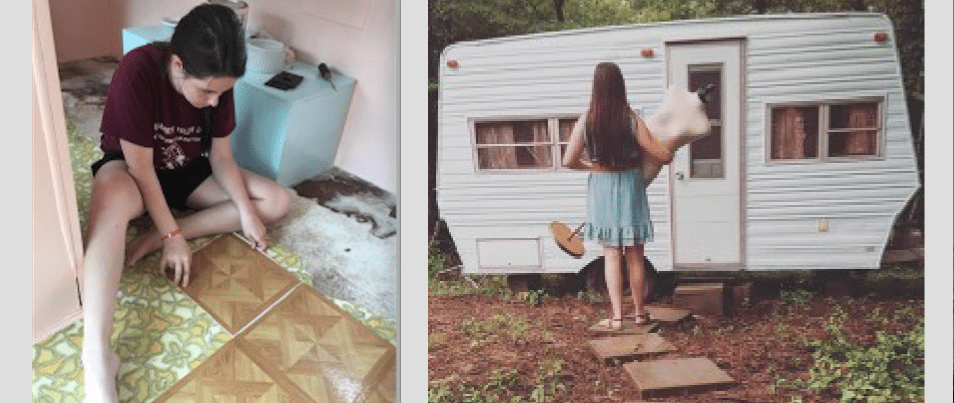
In the latter stages, the finishing touches were applied. Ellie’s grandmother Mary helped with the upholstery of the curtains and sofa cushions as Ellie installed new floor tiles.
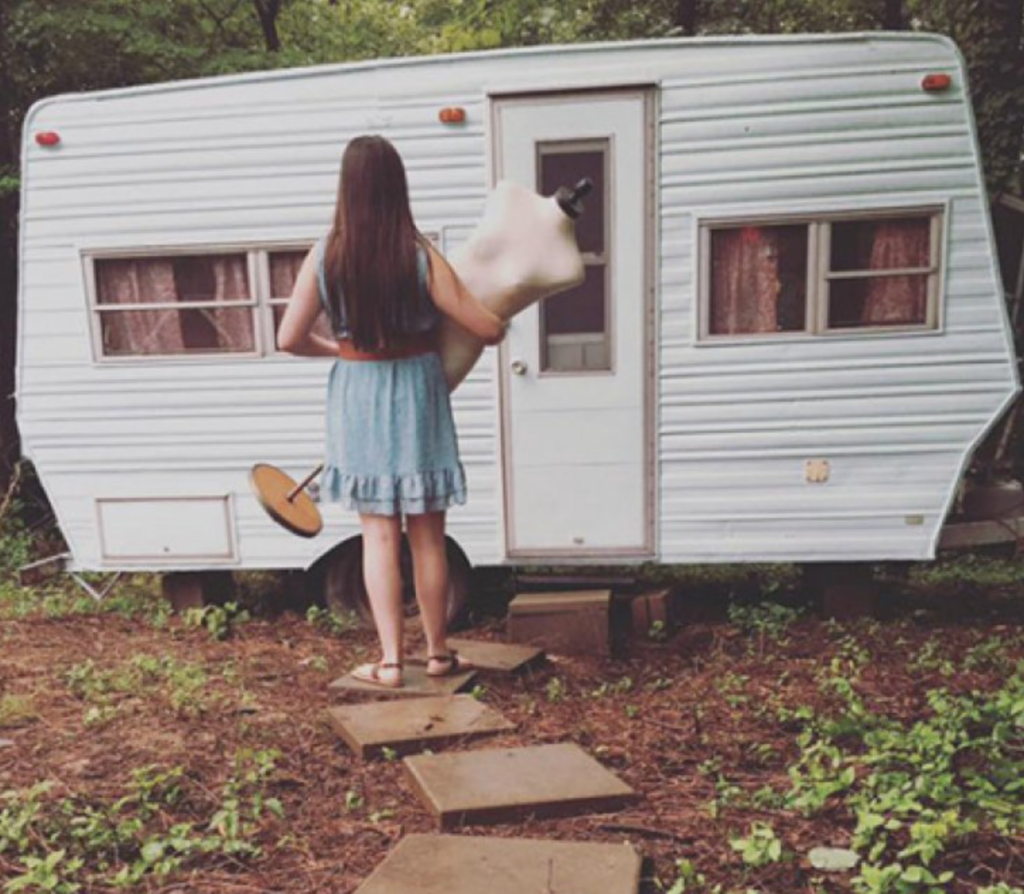
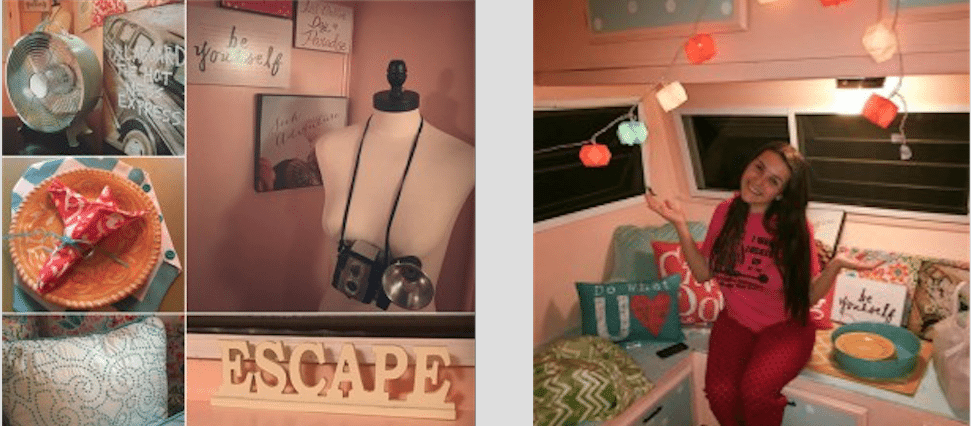
Ellie mentioned that she spent the summer gathering a lot of stuff for her glamper.
In the photo below, you can see her carrying in a mannequin decoration that she purchased from a warehouse that recently closed.
She claimed that Pinterest was a huge source of inspiration for her project and that it was really helpful.
Ellie is constantly adding finishing touches to the almost finished Glamper, such as a retro electric fan, an antique camera, and matching napkins made by her grandmother.
When asked what she wants to do when the project is done, she says she might just spend some peaceful time reading and playing the ukulele, or she might have a sleepover with her friends.
Ellie used her determination to build an amazing glamper. For someone her age to take on such a big job by themselves is amazing.
When Ellie’s mother is questioned about why her daughter would accept such a task, she replies, “I have never told her that she couldn’t do anything.”
And inspired by it, Ellie set out to make something really beautiful.
When we see Ellie’s project as a completed work, we must always remember that hard work always pays off. Whatever we set our minds to, we can accomplish.
Kindly SHARING this with your loved ones!
85% of people fail to solve this problem within 60 seconds!

The answer: Ultimately, this series of operations gets us the right thing answer on the equation: 12. This shows the need for a methodical approach in mathematical calculations.


Leave a Reply