
John Sims relocated to Tucson, Arizona in an attempt to lead a more sedate existence. It never occurred to him that it would turn into one of his life’s most memorable experiences. It all began when he was informed about a concerning rumor by the previous owner of his new house.
There was a rumor that there was something buried on the land. John began excavating in the backyard because he could not get the thought out of his head. He shuddered at what he found. Without a doubt, he did not sign up for this.
The home with the enigmatic backyard
John Sims was keen to acquire a house in midtown Tucson, Arizona, after learning about a friend’s sale. He knew he would be in good hands because the owner was one of his friends. However, after completing the paperwork, his acquaintance informed him of a property rumor.
The town’s elders say they think something intriguing was hidden away someplace in it. John might be able to unravel the puzzle, but his companion never was. In the end, John would find something that would make people throughout the state of Arizona very excited.
His curiosity overcame him.
John found himself recalling what his friend had said as he began to arrange his stuff in his new home. He was interested as much as curious. He soon became committed to discovering the mysteries around his new home.
John dug and proceeded to explore his property. After excavating the backyard in four separate locations, John was unable to find anything. Whatever it is, it must be beneath the bricks if he was unable to discover it beneath the grass.
X indicates the location
When John obtained access to local records, he discovered the documentation of his home’s construction. It revealed that an odd building named Whitaker Pools had been constructed in 1961. With confirmation now in hand that something was indeed buried on the land, John was even more driven to unravel the mystery.
He employed metal detector-wielding advisors to assist him in pinpointing the location. After arriving with the necessary equipment, a team searched John’s backyard. The metal detectors soon started to sound. John put a large X in the chalk at the locations of the two metal detector triggers.
striking a chord
Following the consultants’ dismissal, John eagerly picked up a shovel and began excavating. His shovel quickly made contact with something metallic. At last, he discovered something three feet beneath the grass. John chose to take a moment to reflect after making progress.
Could this have been a septic tank? What would happen if he managed to break or damage a pipe? He needed to be very careful. But the more precisely he dug, the more he felt that this was something different. He was going to unravel the riddle of his own backyard.
Getting the hatch open
Later on, John discovered what appeared to be a hatch’s opening. After bending over to remove some dirt, he pryed open the metal lid. John took care to avoid breathing in too much as there was a chance he would be exposed to harmful gas fumes or mold spores.
To allow any air from below to escape and allow fresh air to enter the building, John kept the lid open for almost a day. Additionally, he was aware that before entering the little area, the air needed to be checked for mold.
It wasn’t secure.
The following morning, John looked through the hatch. He discovered a spiral staircase that led below. John wasn’t that stupid, though most would have been so pleased that they would have started walking down right away.
He was more aware. He needed someone nearby as the captain of the Rural/Metro Fire Department in case the lid dropped back in. Now that he was home alone, there was no way he could remove the lid from below by himself.
Establishing a team
John was aware of all the dangers because of his extensive training and experience in rescuing individuals from confined areas. It was evident to him that the staircase was unstable and that venturing into the shaft alone would involve too many hazards.
John made the decision to start a team. To get some assistance, he invited several pals around. When it was safe enough to investigate what was inside the shaft, some of them may serve as spotters while others could assist him in carrying out the excavation.
Putting together a plan
The following day, the crew got together and sat down to create a blueprint. They also spoke on the best course of action. They repaired and strengthened the concrete framework around the steps as one of their initial actions.
In order to prevent any harm while they worked, they erected Sonotube cardboard around the entryway. John and his group labored to fasten the rebar inside the hatch and pour down layers of concrete.
It was laborious.
John had to cover the hatch with a tarpaulin to keep the team and the hatch safe. The heat in Arizona was beginning to get to be too much. They conjectured about what might be down there as they took breaks to escape the heat.
To locate the answers, there was much work ahead of us. In order to have adequate lighting within the shaft and to use power equipment when necessary, an electrical line had to be built. Additionally, a black pipe was put in to convey fresh air into the shaft.
figuring out how to get in
Their construction surrounding the structure was finally completed. Another obstacle was the spiral staircase, though. It was impossible to tell if the steps could support any weight because they were so rusted. Without going up the steps, they had to find another way inside.
John had to gently down the ladder that the team was using, being cautious not to cut himself on the rusty stairs. John was giddy with anticipation. He was going to be the one to crack the code first. The time he had been waiting for had finally arrived.
There was unfinished business.
John was relieved to learn they did not need to dig any further after reaching the bottom. However, there was still more to be done. The fiberglass covering the tunnel ceilings was deteriorating gradually. This implied that the building was still not safe.
When John thoroughly looked around, he was astounded to find that the building was largely intact despite almost fifty years of abandonment. Though it was empty at the time, it was later discovered to be John’s nuclear bomb bunker in his backyard!
Beginning during the Cold War
Everything became sense at once. When there was a threat of all-out nuclear war between the United States and the Soviet Union during the Cold War, the shelter was constructed. At that time, Whitaker Pools expanded their business to include bomb shelters.
In actuality, bomb shelters were present on a number of properties in the Tucson region. It was the most a responsible family man could do in those days to ensure his loved ones’ safety in the event of a nuclear war.
The past of Tucson
It turns out that bombs and Tucson have a long history together. With eighteen ballistic missiles that could transcend continents and wipe out an area of 900 square miles, Tucson was once known as the “rocket town.”
The government maintained the missile silos top secret, and nearly all of the missiles had been rendered inoperable by the end of the Cold War. In the early 1980s, the majority of nuclear shelters were either locked or destroyed.
gaining popularity
John soon gained popularity on Reddit after sharing his discovery from his backyard. Within hours, hundreds of people had commented on the post. TV programs and local newspapers began contacting to arrange interviews regarding it.
Even foreign publications like the Daily Mail carried the story. Japan has also heard of John’s story. Definitely a significant discovery. Residents in Tucson also began to worry if they had one in their backyard.
What comes next?
John was able to establish connections with local residents who had fallout shelters thanks to the attention he received. He had the opportunity to inquire about their cleaning process and obtain suggestions from them on its future use.
John intends to create a Cold War museum, but the majority of individuals converted theirs into man caves or wine cellars. John began gathering artifacts such as Geiger counters, water supply barrels, HAM radios, and sanitation kits after doing extensive research on the Cold War era.
His reflections on his discovery
In an interview, John said, “I was really hoping it was going to be a little microcosm… a time capsule full of radiation detectors, cots, and civil defense boxes and stuff like that.” Sadly, there was not even any furniture in the bomb bunker.
John also mentioned how much reading he had been doing on the Cold War. He thinks that the main reason Tucson people built bomb shelters in their backyards in the 1960s was likely the Cuban Missile Crisis.
Recommendations for citizens of Tucson
John advises residents of Tucson who are interested in finding out if their backyard contains a bomb shelter to search City of Tucson or Pima County data. The building permits will most likely contain the information.
When someone discovers a bomb shelter in the yard, John also cautions everyone against jumping in too soon. John went on to say that it’s usually not a good idea to jump into holes in the earth since anyone can get instantly incapacitated by the toxic air in a tunnel or a cave-in.
Requesting financial assistance
John is fully planning to renovate the bomb shelter. However, he lacked that amount of cash. To raise money to refurbish his 1960s bomb shelter, he created a GoFundMe page. He intended to renovate the entrance and do inside renovations as well.
Replacing the stairs to enable safe access was one of John’s top concerns. John was only able to accomplish so with the money he was able to gather, and he and the remodeling team may now enter and exit the building safely.
After Babysitting My Grandson, My Daughter-in-Law Handed Me a Bill for ‘Living Expenses’
When my daughter-in-law asked me to babysit for the weekend, I expected cuddles, cookie crumbs, and maybe a thank-you. Instead, I found a handwritten bill on the counter — for items I used while staying there! Shocked and furious, I plotted the perfect payback.
The text from Brittany, my DIL, buzzed in just as I was refilling the hummingbird feeder, my fingers sticky with sugar water.
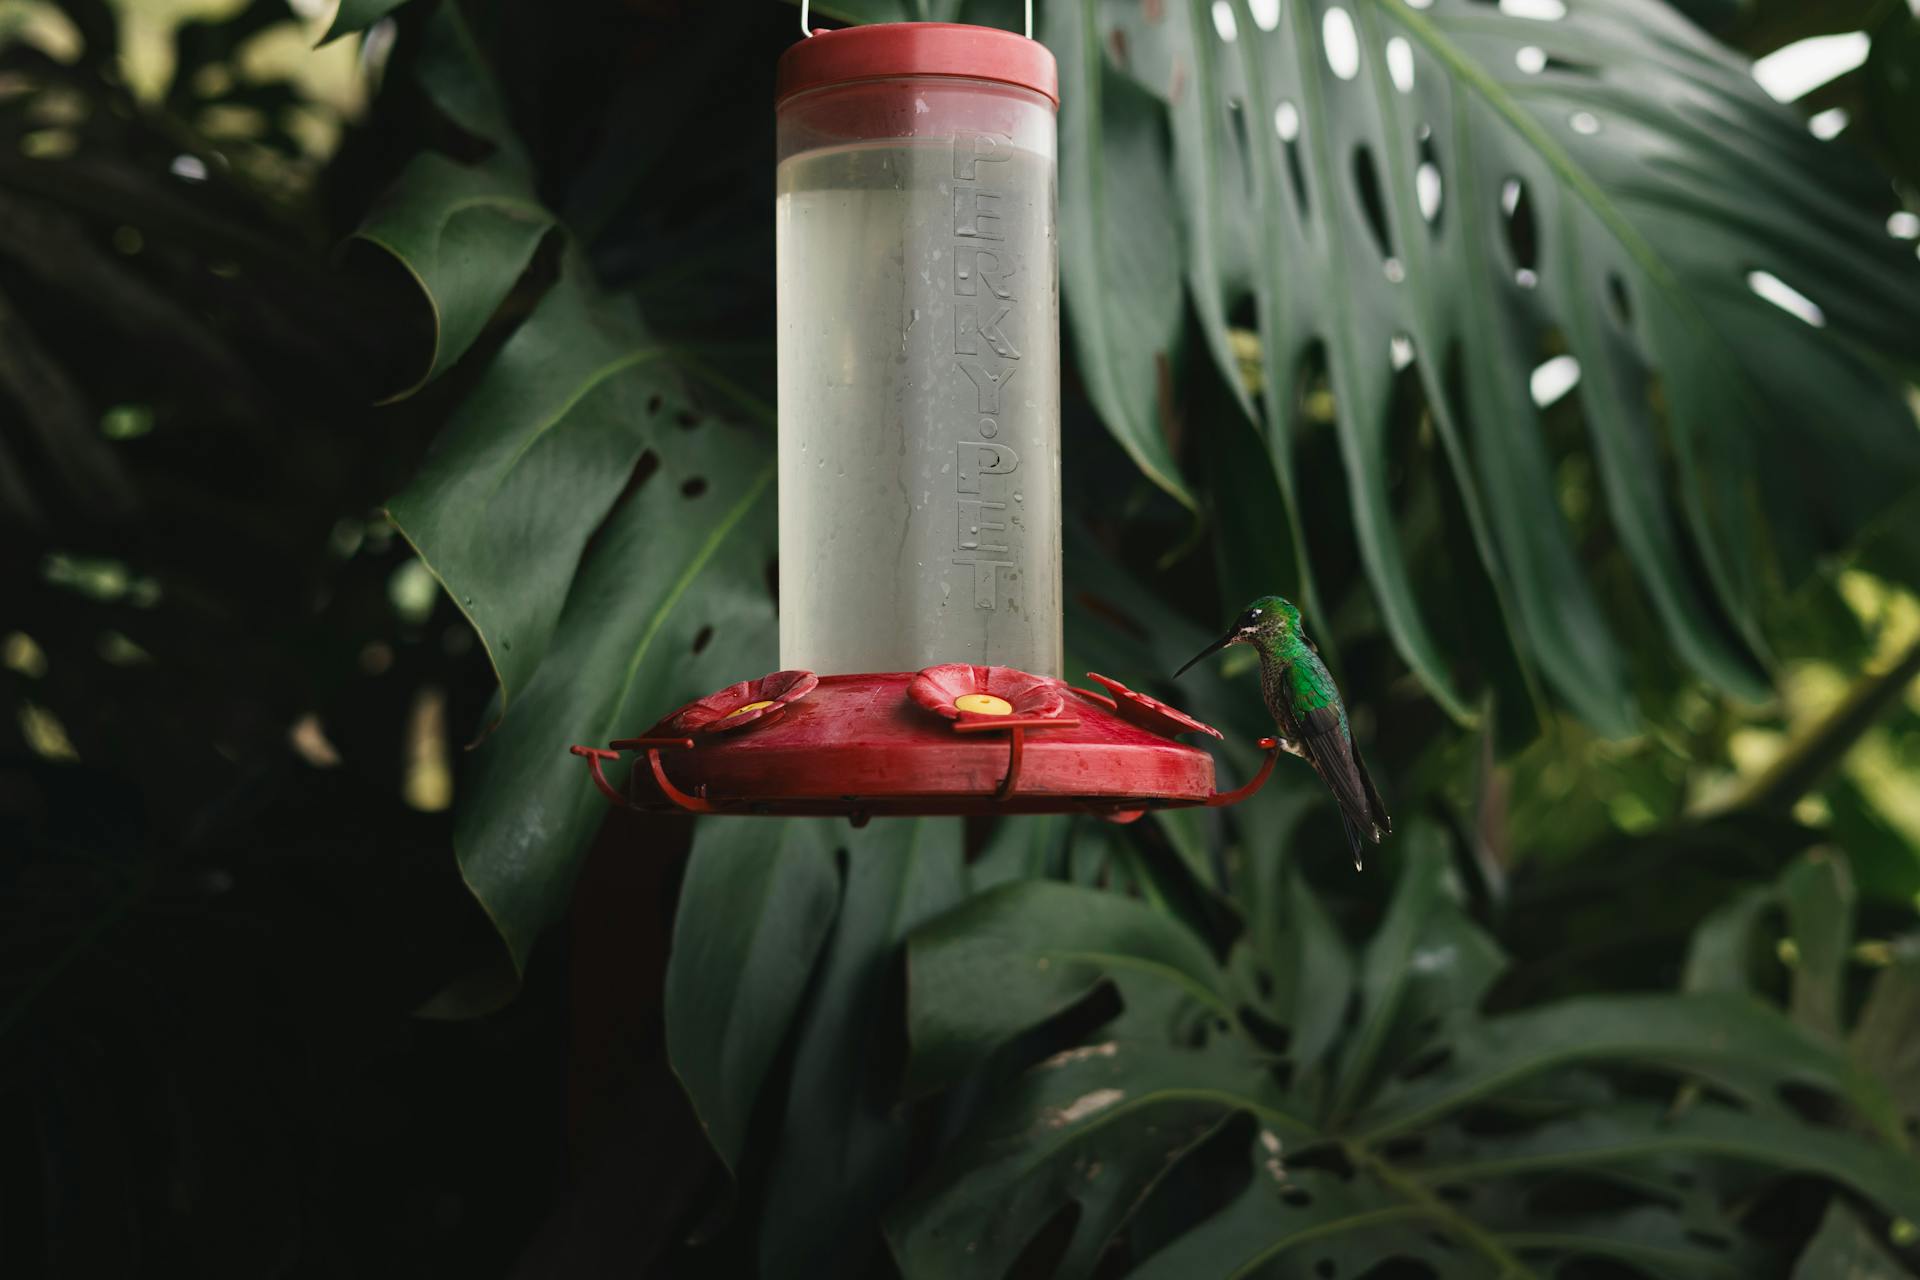
A hummingbird feeder | Source: Pexels
“Hey, would you mind staying with Noah for the weekend? Ethan has a work retreat and I have a spa trip planned with my sister.”
I was a little surprised.
Brittany and I had never clicked, and she’d taken to complaining about “over-involved” grandparents since Noah was born.

A woman looking at someone | Source: Pexels
Her concept of boundaries reminded me unnervingly of the Berlin Wall.
But I didn’t hesitate. I love every second I get to spend with my grandson: his sticky fingers, the way he says “grahma” with a little squeal at the end that makes my heart squeeze.
“Of course,” I texted back.

A woman using her phone in a garden | Source: Pexels
“Everything you need will be ready. Just relax and enjoy time with him!” she replied.
I smiled, already mentally planning which cookies we’d bake together. Noah had recently discovered the joy of sprinkles — everywhere but on the cookies.
But when I arrived Friday afternoon, the house looked like the morning after a toddler hurricane.
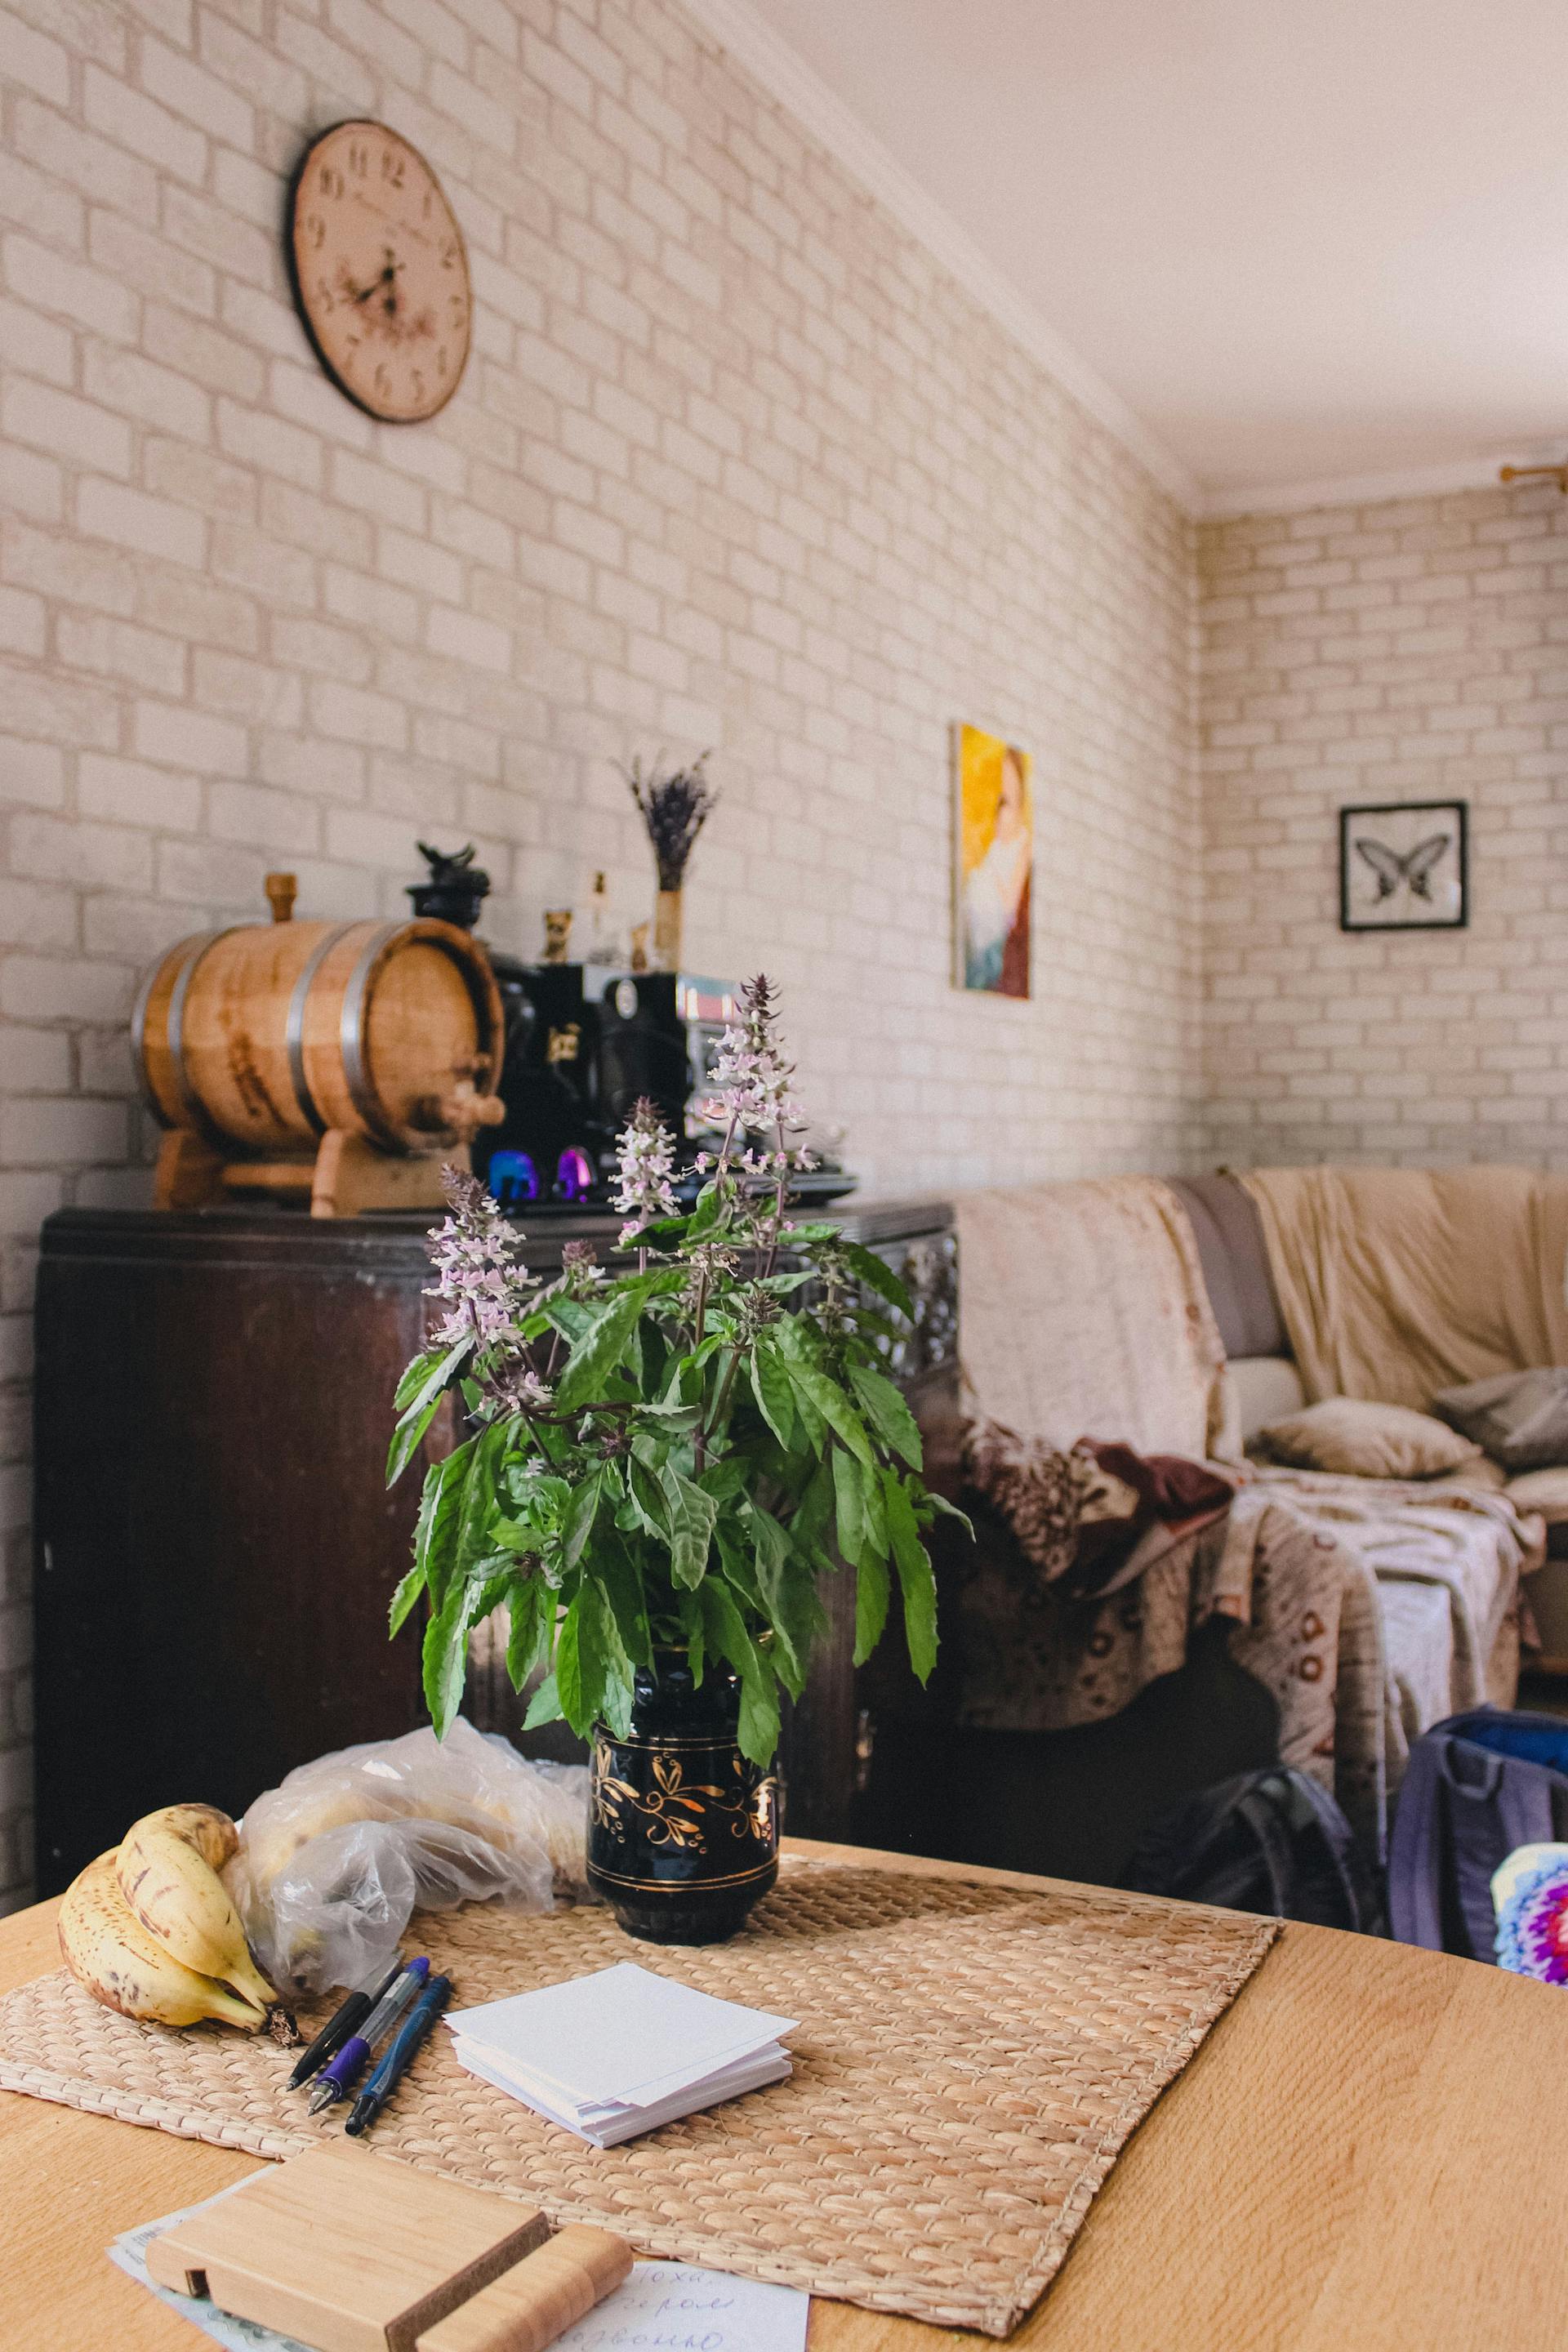
A messy living room | Source: Pexels
Toys scattered across the living room floor created an obstacle course. The kitchen sink overflowed with dishes, and a crusty pan soaked in cold water on the stove.
“Grahma!” Noah squealed, running toward me with open arms, his diaper sagging.
I scooped him up, my irritation melting as he planted a wet kiss on my cheek.
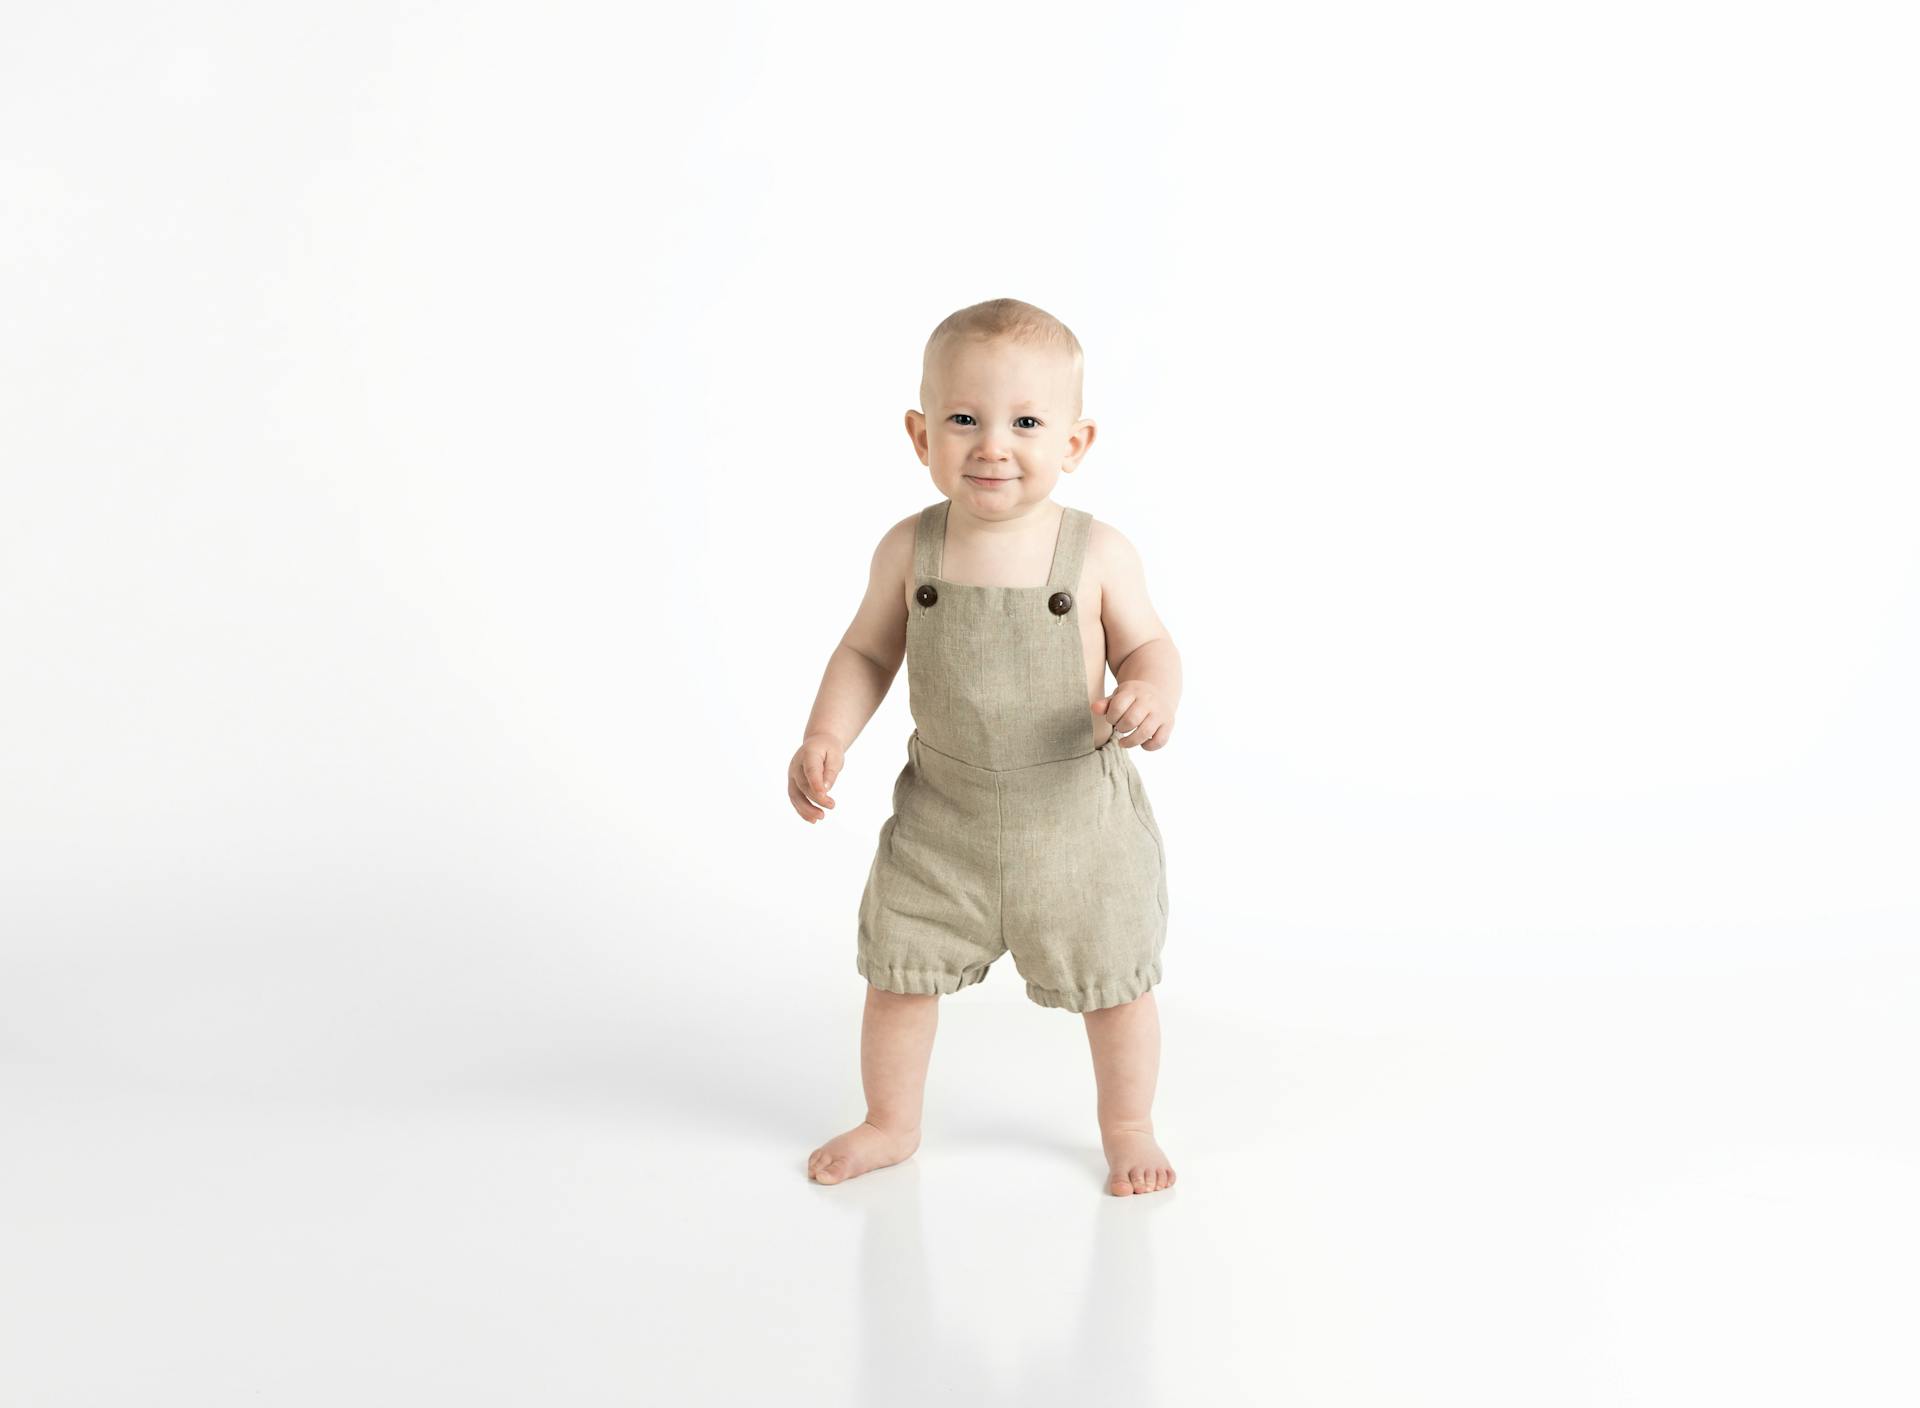
A toddler boy | Source: Pexels
“Hey, Abby! Thanks so much for coming.” Brittany marched up the hallway, suitcase wheeling behind her. “There’s food in the fridge, Noah’s stuff is in his room, and, well, I’m sure I don’t need to map everything out for you.”
She leaned over to kiss Noah and was heading out the door before I could reply.
“Be good for Grandma, sweetie!” She called over her shoulder. “Mommy will be back soon.”

A well-dressed woman | Source: Pexels
“Mommy go bye-bye?” he asked, his big blue eyes — so much like his father’s — watching over my shoulder.
“She’s going on a trip, sweetie. We get to have a special weekend together.”
He nodded solemnly before wiggling out of my arms to show me his latest toy car.
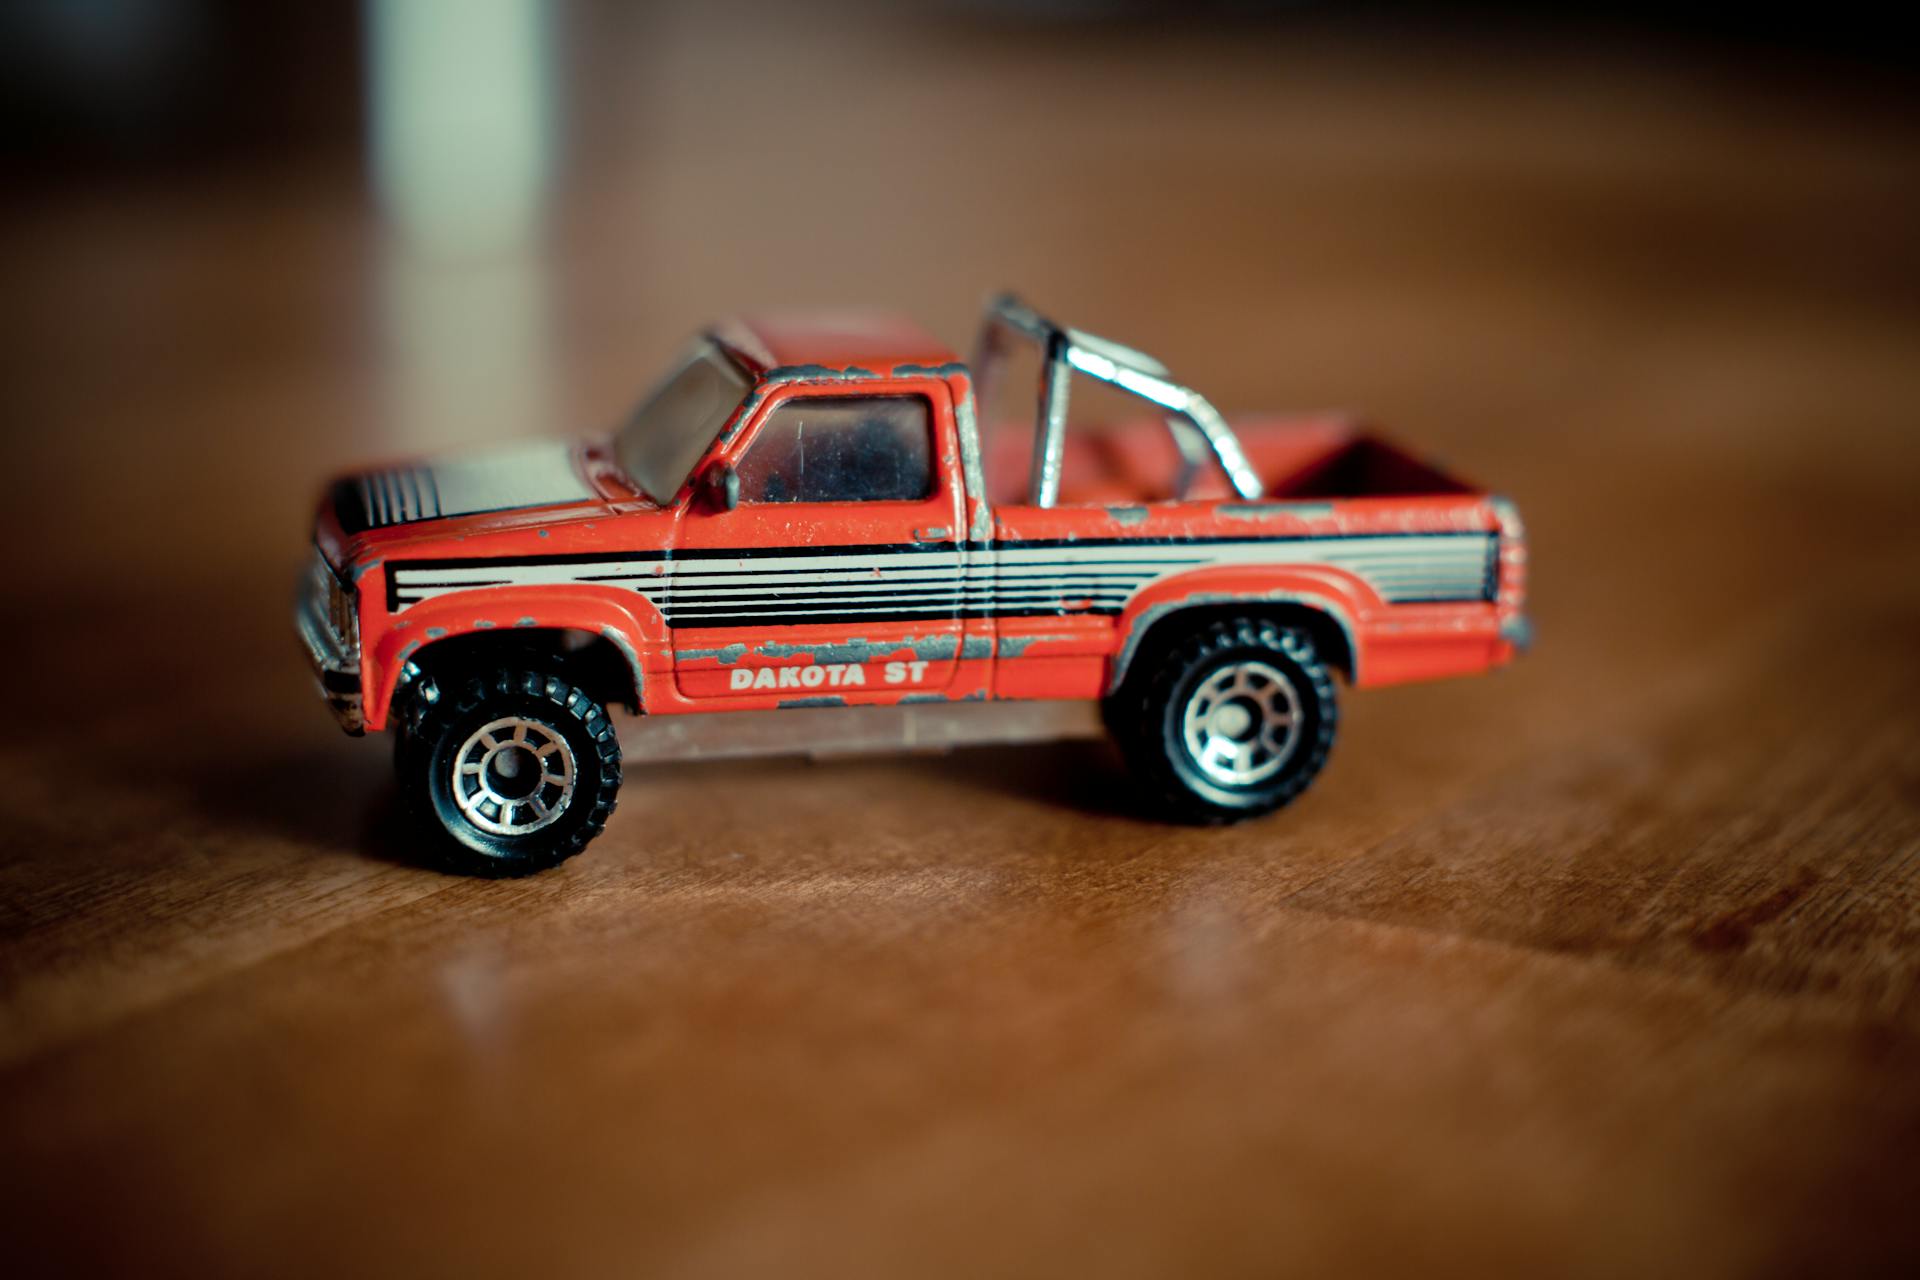
A toy car | Source: Pexels
After he settled with his blocks, I went to the kitchen to make coffee.
That’s when I discovered that Brittany’s idea of “everything you need will be ready” differed vastly from mine.
There was half a carton of eggs in the fridge, no bread, and no full meals to speak of. I sniffed the milk: borderline.
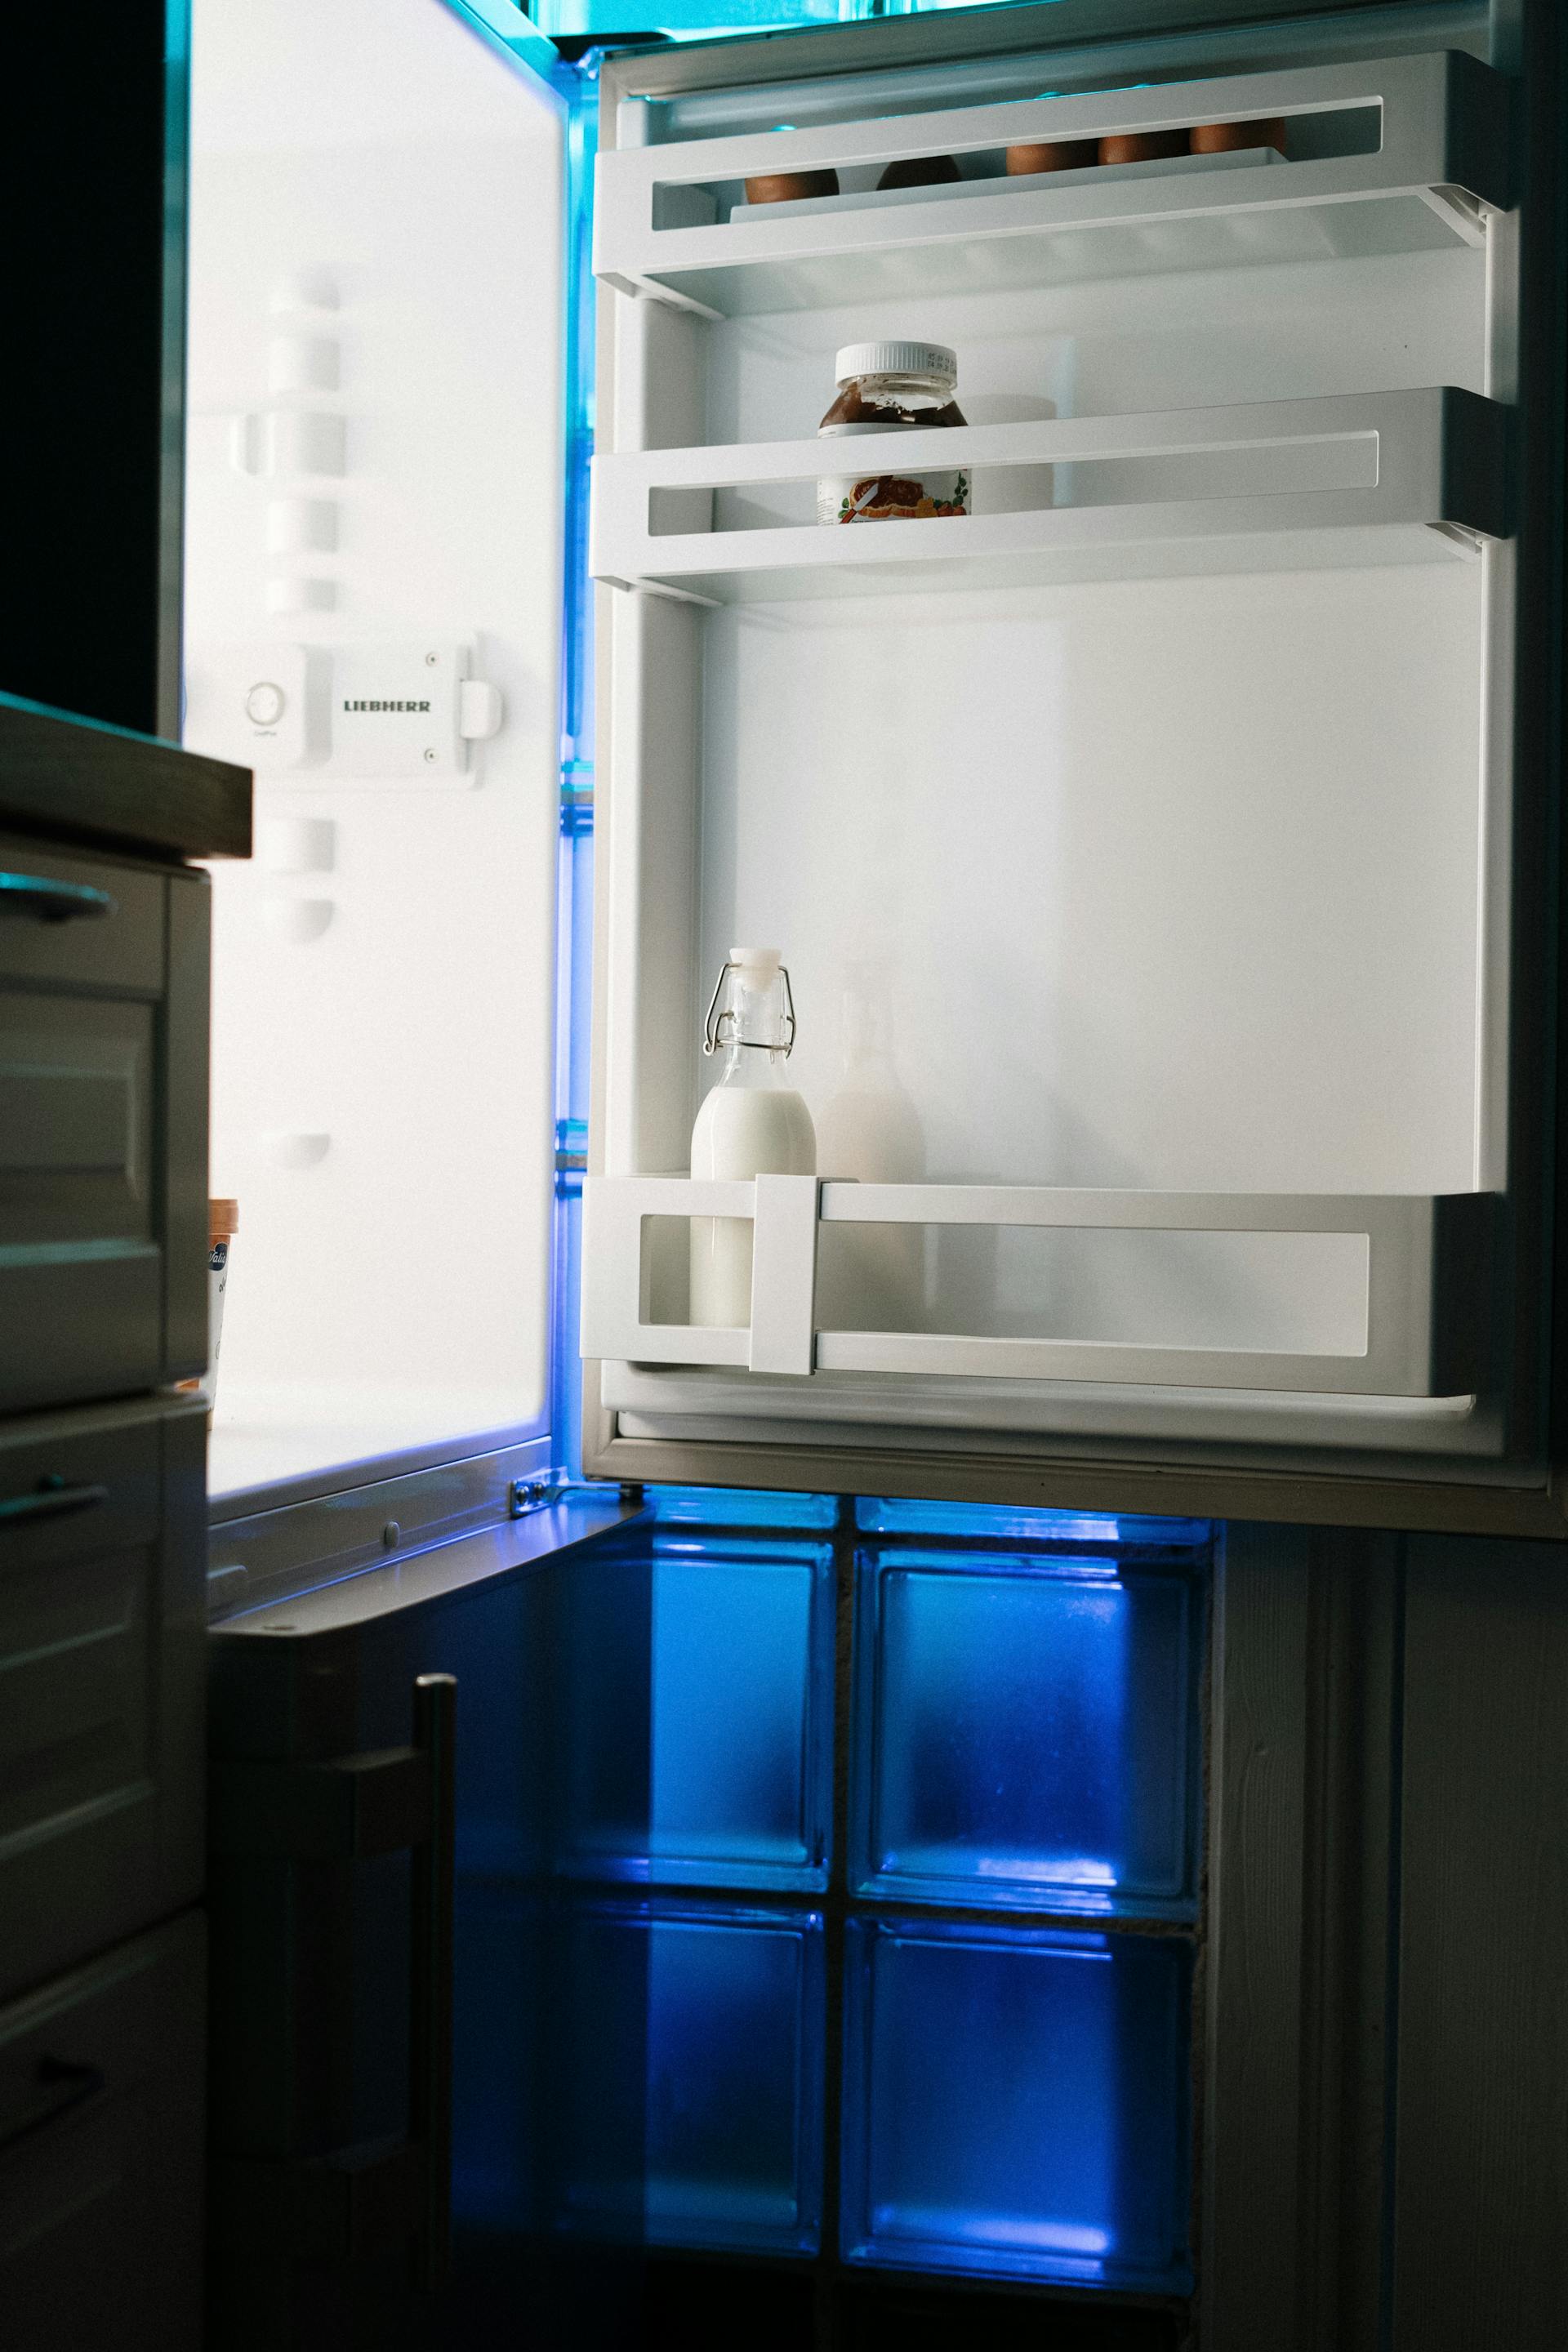
An open fridge | Source: Pexels
“What on earth?” I muttered to myself.
It was bad enough that she invited me to stay in a house that looked like it hadn’t been cleaned all week, but to leave me with only a half-stocked fridge?
As I stepped back into the living room, where Noah was still playing with his blocks, I noted his sagging diaper once more and a horrifying thought struck me.
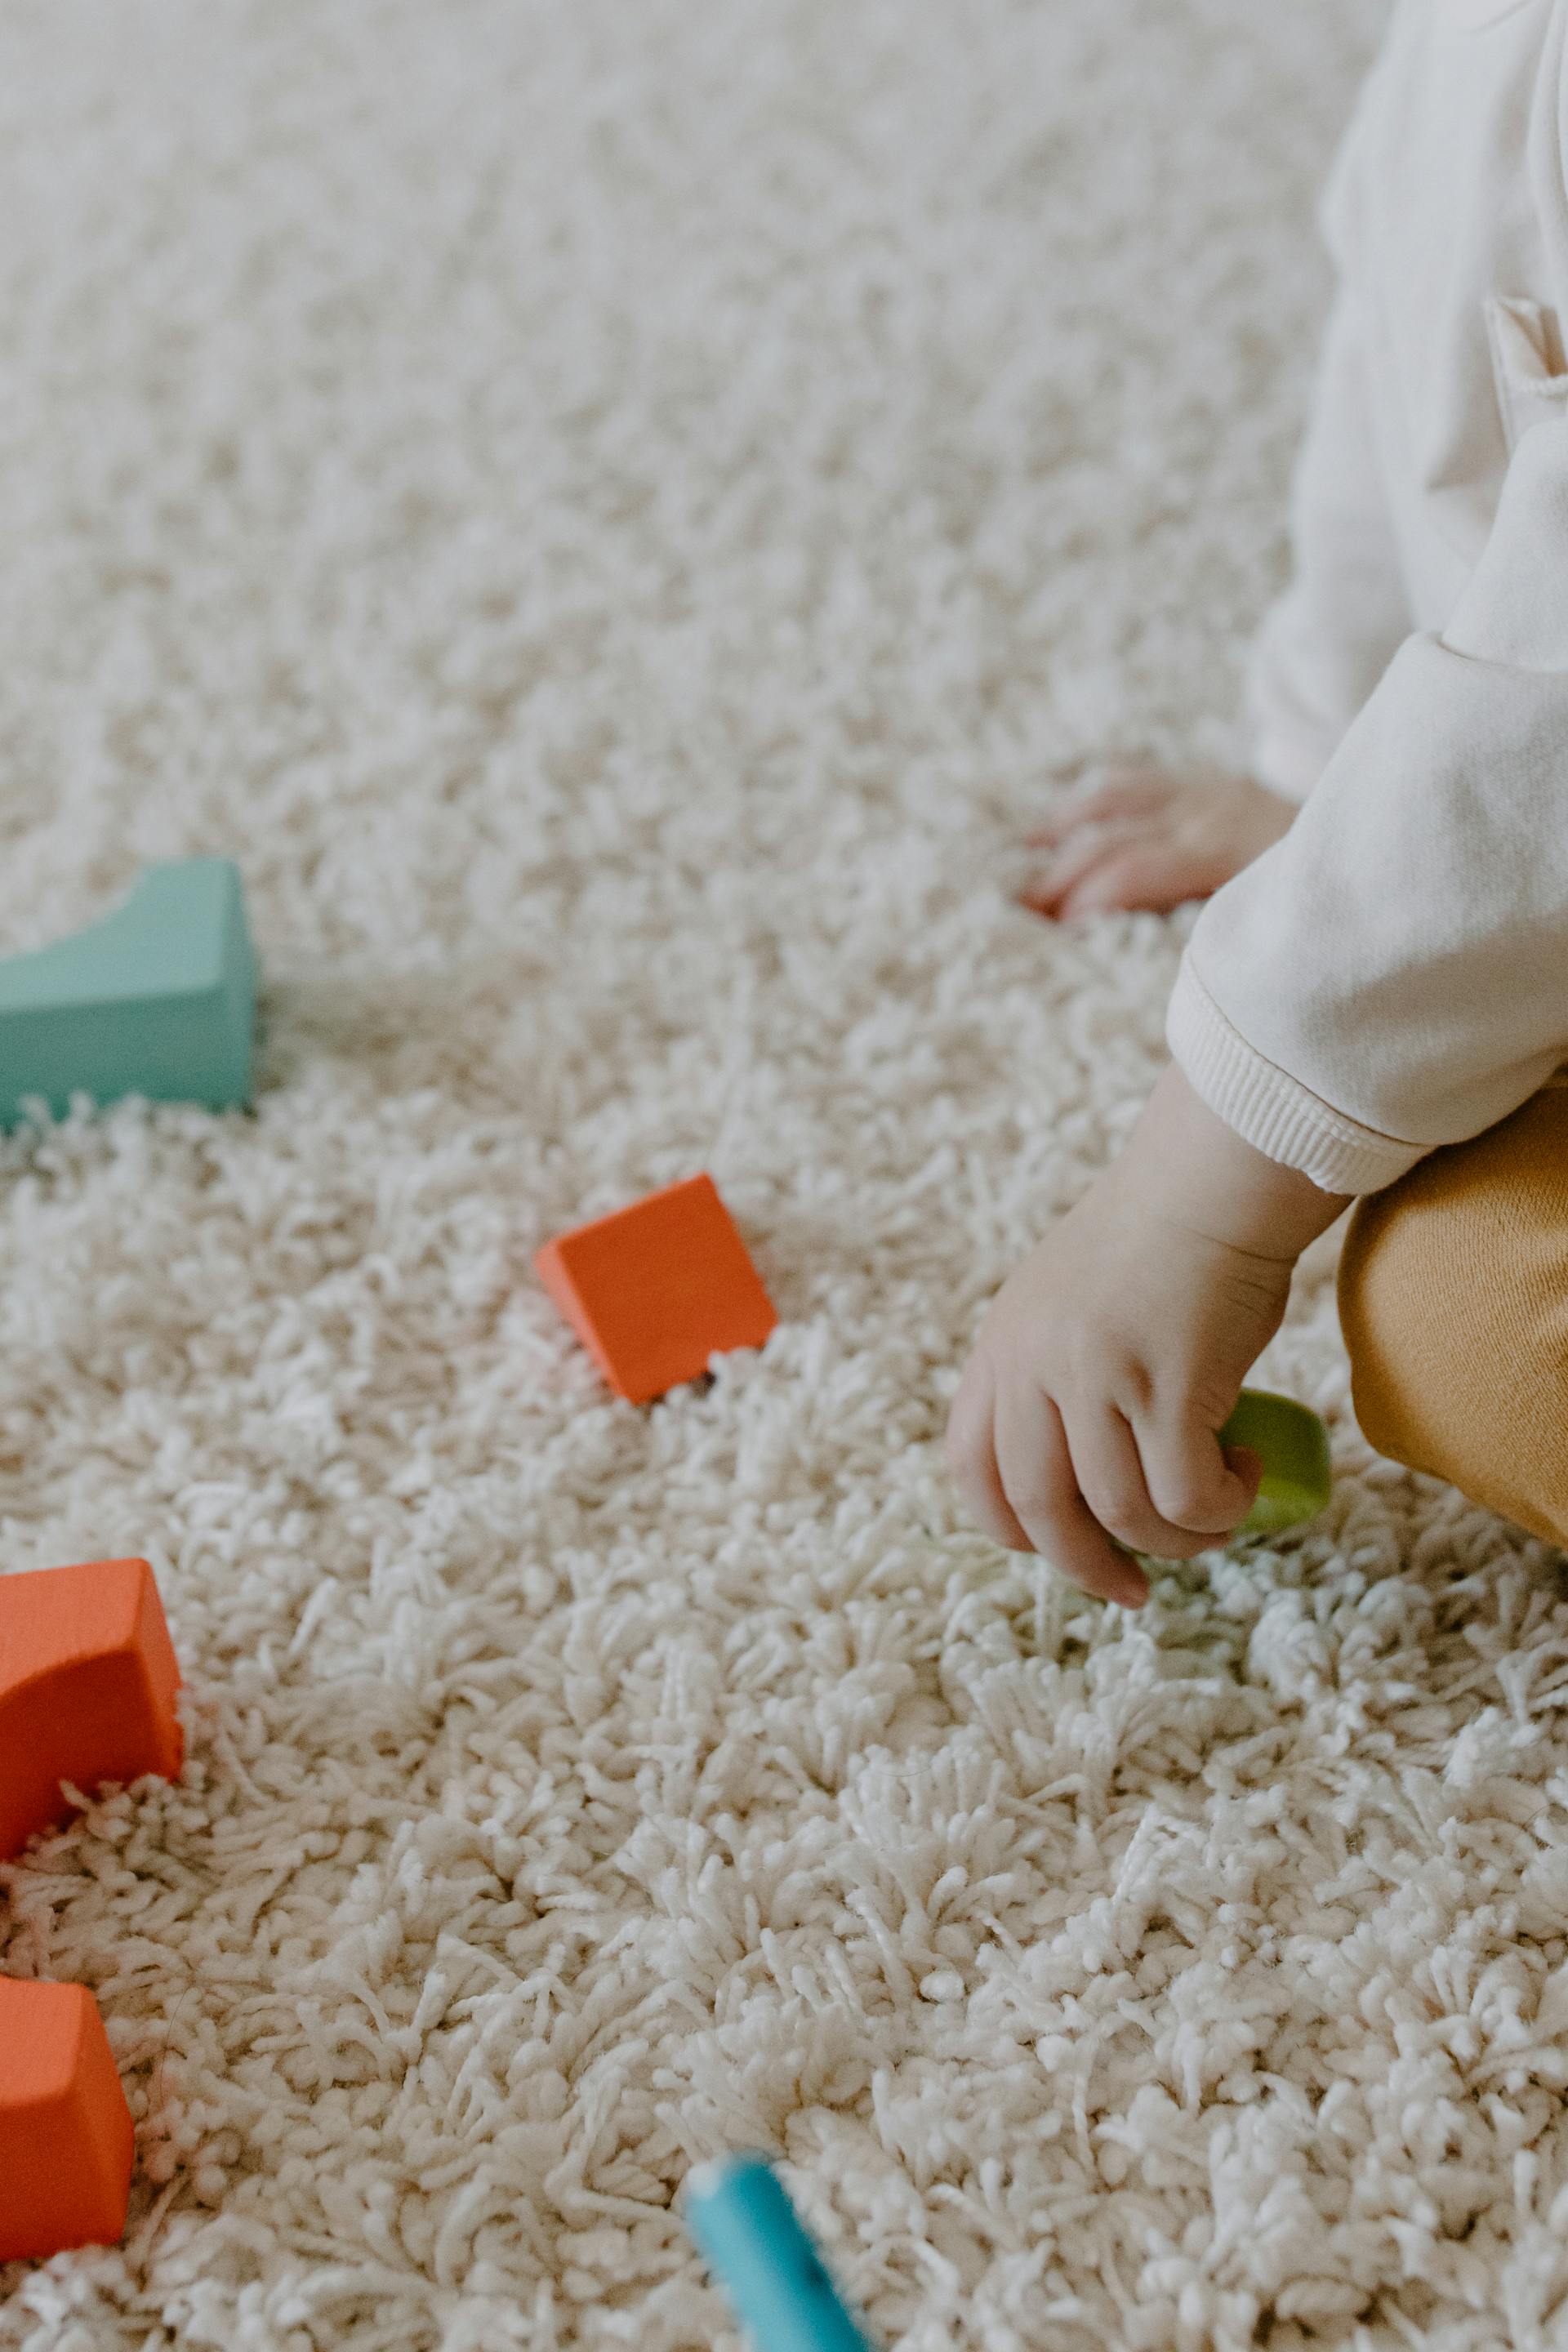
A child playing with toys | Source: Pexels
I took Noah to his room to change his diaper and discovered my worst fears were true.
Brittany had left me with only five diapers and not a single wipe. I’d been frustrated before, but now I was downright mad!
So, I did what any resourceful woman would do.

A thoughtful woman | Source: Midjourney
I gave Noah a toy to keep him busy and told him to wait right there.
Then I scurried into the main bathroom, took the lavender-colored washcloth I assumed belonged to Brittany, and used it as a wipe instead.
“Looks like we’ll have to do a load of laundry,” I remarked to Noah as I put on his fresh diaper. “But first, you and me are going to the store!”

A smiling woman | Source: Midjourney
“Store!” he agreed enthusiastically.
I grabbed my purse, strapped Noah into his car seat, and headed to the store.
$68 later, Noah and I had everything we needed: snacks, wipes, diapers, groceries, and a little stuffed elephant that Noah had hugged with such conviction I couldn’t say no.
“We make cookies?” Noah asked as we unpacked our treasures.

A young boy | Source: Pexels
“Tomorrow, sweetheart. First, let’s make some dinner and get this place in order.”
The weekend unfolded in a blur of small joys. We played in the park until our cheeks were pink from the wind, Noah shrieking with laughter as I pushed him on the swing.
“Higher, Grahma!”
“Not too high,” I cautioned, though I gave an extra push that sent him squealing.
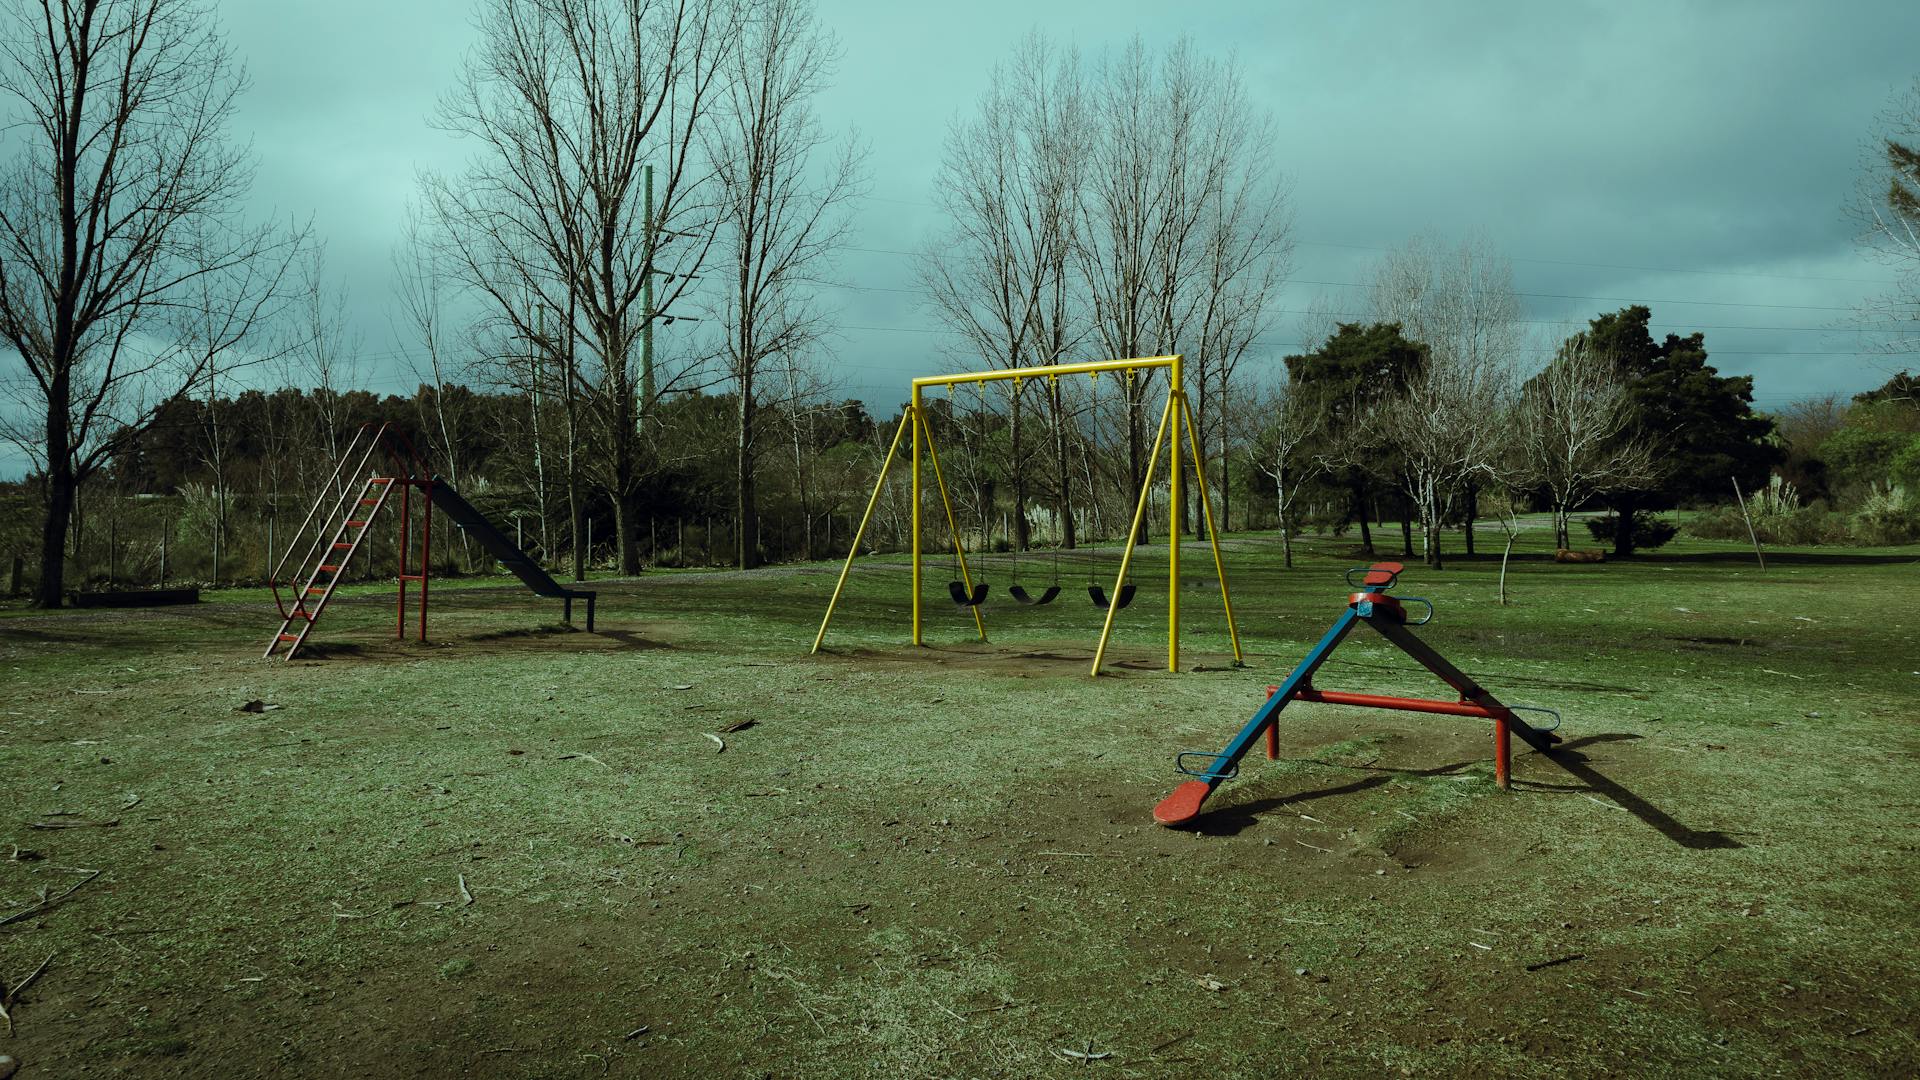
A play area in a park | Source: Pexels
We baked sugar cookies, and I let Noah crack the eggs. He missed the bowl by a mile, giggling as yolk dripped onto the counter.
“Oopsie,” he said, his eyes wide.
“That’s why we bought extra eggs,” I winked. “Try again, sweetie. Practice makes perfect.”

Cookies on a baking sheet | Source: Pexels
We watched Finding Nemo under a cozy blanket, with Noah mouthing the words to parts he knew by heart.
And every night, I tucked him into bed, kissed him good night, and read him a story.
After he fell asleep, I tackled the house.

A determined woman | Source: Midjourney
I’d made it my mission to get the house in order, so I spent the rest of my evenings doing dishes and laundry.
My back ached, but it felt good to create order from chaos. Noah deserved a clean, peaceful home.
I even made a casserole for Brittany to have when she returned.
A baked casserole | Source: Pexels
Sunday night, after tucking Noah in with three stories and five goodnight kisses, I collapsed on the couch.
My feet throbbed, but my heart was full.
These moments with Noah were precious, fleeting gifts I treasured. Ethan had grown so quickly; Noah would too.

A thoughtful woman on a sofa | Source: Midjourney
Monday morning, sunlight was just warming the kitchen windows when I noticed the piece of paper pinned under a mug on the counter.
A handwritten note with my name on it; pink pen, loopy handwriting.
I smiled as I unfolded the page, expecting a thank-you, but instead got the shock of my life.
A piece of paper | Source: Pexels
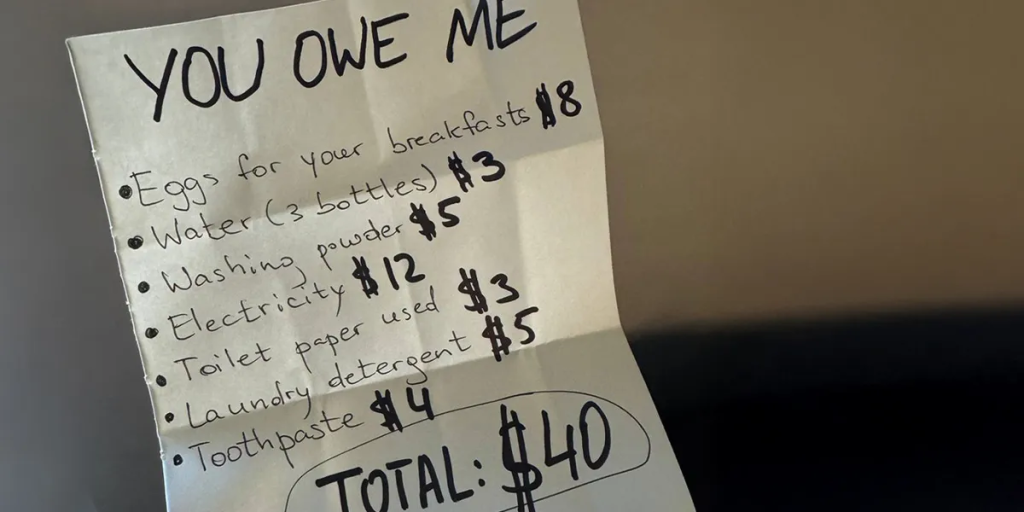
It was a bill with an itemized list for “living expenses” that read like a joke:
Eggs: $8
Water (3 bottles): $3
Electricity: $12
Toilet paper: $3
Laundry detergent: $5
Toothpaste: $4
TOTAL: $40
And the kicker?
“Please Venmo by Friday. Thanks!! ❤️”
A woman looking down at something | Source: Pexels
I blinked.
Then I laughed. Then I got mad.
And that’s when I heard the front door open.
“Abby? I’m home.” Brittany’s voice carried down the hall.
A home hallway | Source: Pexels
I could’ve confronted her then, but I was so angry that I knew any conversation I had about her bill would end disastrously.
So, I scrunched the note in my fist and forced myself to smile as I stepped out into the hall.
“Hi, Brittany. I didn’t expect you so early.”
Brittany just shrugged. “How was everything?”

A woman speaking to someone | Source: Pexels
“Wonderful,” I answered truthfully. “Noah is a delight.”
“Thanks for helping out,” she said, her attention already on her phone. “Ethan should be home around noon.”
I gathered my things, kissed Noah goodbye, and left. By the time I arrived home, I knew exactly how I was going to pay Brittany’s bill.

A suburban house | Source: Pexels
I went straight to my laptop after entering my home, and let decades of parenting receipts flow from my fingertips. The more I typed, the more cathartic it felt.
This wasn’t just about $40.
This was about respect, about family, about what it means to care for each other.

A laptop on a table | Source: Pexels
A few hours later, I had a professional-looking invoice:
Grandmother Services, Est. 1993
Raising One Fine Husband for You Since Day One
SERVICES RENDERED:
18 years of feeding your husband: 19,710 meals @ average $5 each = $98,550
18 years of laundry services: 3 loads/week x 52 weeks x 18 years @ $5/load = $14,040
Medical copays for childhood illnesses: 12 years of pediatric visits @ $25 each = $3,600

A person typing on a laptop | Source: Pexels
Transportation services: 16 years of rides to school, sports, and friends’ houses: 9,000 miles @ $0.58/mile = $5,220
Counseling services post-high school breakup: 15 hours @ $75/hour = $1,125
Tutoring services (math, science, life advice): 500 hours @ $30/hour = $15,000
Emotional support (priceless, but let’s say): 18 years @ $10/day = $65,700
Subtotal: $203,235
Family Discount (because I’m feeling generous): -$203,195
Total Amount Due: $40

A woman with a satisfied smile | Source: Midjourney
Beneath that, I added a note: “Please deduct your original ‘invoice’ from this amount. ❤️ Thanks for understanding!!”
I printed it on fancy linen paper and slid it into a gold-trimmed envelope like it was a wedding invitation.
The next morning, I dropped it in her mailbox.
A mailbox | Source: Pexels
Not an hour passed before my phone rang.
“Mom?” Ethan’s voice cracked with what sounded like suppressed laughter.
“Yes, dear?”
“What did you do?”

A woman speaking on her phone | Source: Pexels
I feigned innocence. “What do you mean?”
“Brittany is… upset.”
“Oh?” I stirred my tea. “About what?”
“She says you’re attacking her, mocking her boundaries, and crossing the line. She showed me the invoice you sent.”

A concerned woman | Source: Midjourney
I waited, heart pounding.
Then he continued, his voice softer. “I told her she deserved it. I had no idea she intended to leave you a bill for using our stuff while you were staying here, Mom.”
Relief washed over me.
“I’m sorry if I caused problems between you two,” I said.

A close up of a woman’s face | Source: Pexels
“Don’t be,” he sighed. “We’ve been having… discussions about family expectations. This just brought things to a head. But Mom?”
“Yes?”
“That was some invoice. I didn’t know you had it in you.”

A man speaking on his phone | Source: Pexels
I laughed. “I raised you, didn’t I? I know a thing or two about standing my ground.”
A week passed. The incident faded from my immediate thoughts as life went on. I was out gardening, up to my elbows in soil, when my phone buzzed with a Venmo alert.
$40 from Brittany.
Caption: To settle my debt. Please don’t charge me interest 😂

A cell phone on a table | Source: Pexels
I let out a laugh so loud the neighbor’s cat jumped from the fence.
That evening, I did what a real grandma would: donated it to the local children’s hospital in Noah’s name.
Because you never beat pettiness with more pettiness — you do it with grace, glitter, and a spreadsheet.

A smiling woman | Source: Midjourney


Leave a Reply