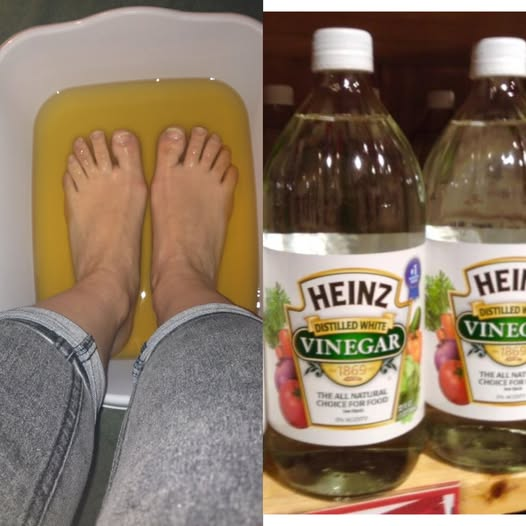
If you’re looking for a natural and effective solution to improve the health of your feet, look no further than vinegar. Yes, you read that right! Vinegar, whether it’s white vinegar or apple cider vinegar, has been used for generations as a powerful home remedy for foot issues. Let’s explore why this simple trick works so well and how you can benefit from it.
What Happens When You Use Vinegar on Your Feet
1. Fights Foot Odor
We all know how unpleasant foot odor can be. But did you know that vinegar can help combat it? Thanks to its natural antibacterial properties, vinegar works wonders in killing the bacteria that cause foot odor. Soaking your feet in vinegar leaves them feeling fresher and cleaner, eliminating the embarrassment of smelly feet.
2. Softens Rough Skin & Calluses
If you struggle with rough patches and calluses on your feet, vinegar can come to the rescue. The acidity in vinegar gently breaks down dead skin cells, making it easier to remove those dry and rough areas. Say goodbye to rough feet and hello to beautifully smooth and sandal-ready soles!
3. Helps with Athlete’s Foot & Fungal Infections
For those dealing with athlete’s foot or mild fungal infections, vinegar can be a reliable home remedy. Its natural antifungal properties make it effective in reducing itchiness and flakiness associated with these conditions. Regular use of vinegar can help you say goodbye to the discomfort caused by these pesky foot problems.
4. Soothes Cracked Heels
Cracked heels can be both painful and unsightly. But fear not, vinegar can help! Soaking your feet in vinegar can help soften the skin and prepare it for exfoliation, facilitating the healing process. Say goodbye to cracked heels and hello to smoother and healthier feet.
5. Relieves Tired, Swollen Feet
After a long day on your feet, they might feel tired and swollen. But a vinegar foot soak can provide the relief you need. It improves blood circulation, reduces swelling, and alleviates foot fatigue. Treat your feet to a rejuvenating vinegar soak and experience the comfort and relaxation it provides.
How to Do a Simple Vinegar Foot Soak
Ingredients:
- 1 cup vinegar (white or apple cider vinegar)
- 2 cups warm water
- Optional: a few drops of essential oil (such as lavender or tea tree) for added relaxation and antimicrobial benefits
Steps:
- Mix vinegar and warm water in a basin.
- Soak your feet in the mixture for 15-20 minutes.
- Pat your feet dry and follow up with moisturizer for extra hydration.
Important Tip:
If you have cuts, open wounds, or sensitive skin, it’s best to dilute the vinegar more (1 part vinegar to 3 parts water) to avoid any potential irritation.
Final Thought
Don’t underestimate the power of vinegar when it comes to foot care. This simple and affordable remedy can greatly improve the health and appearance of your feet. Give it a try and feel the refreshing and revitalizing effects for yourself. Your feet deserve some pampering! 👣✨
Meu vizinho copiou tudo o que eu fiz até que descobri o motivo de partir o coração – História do dia

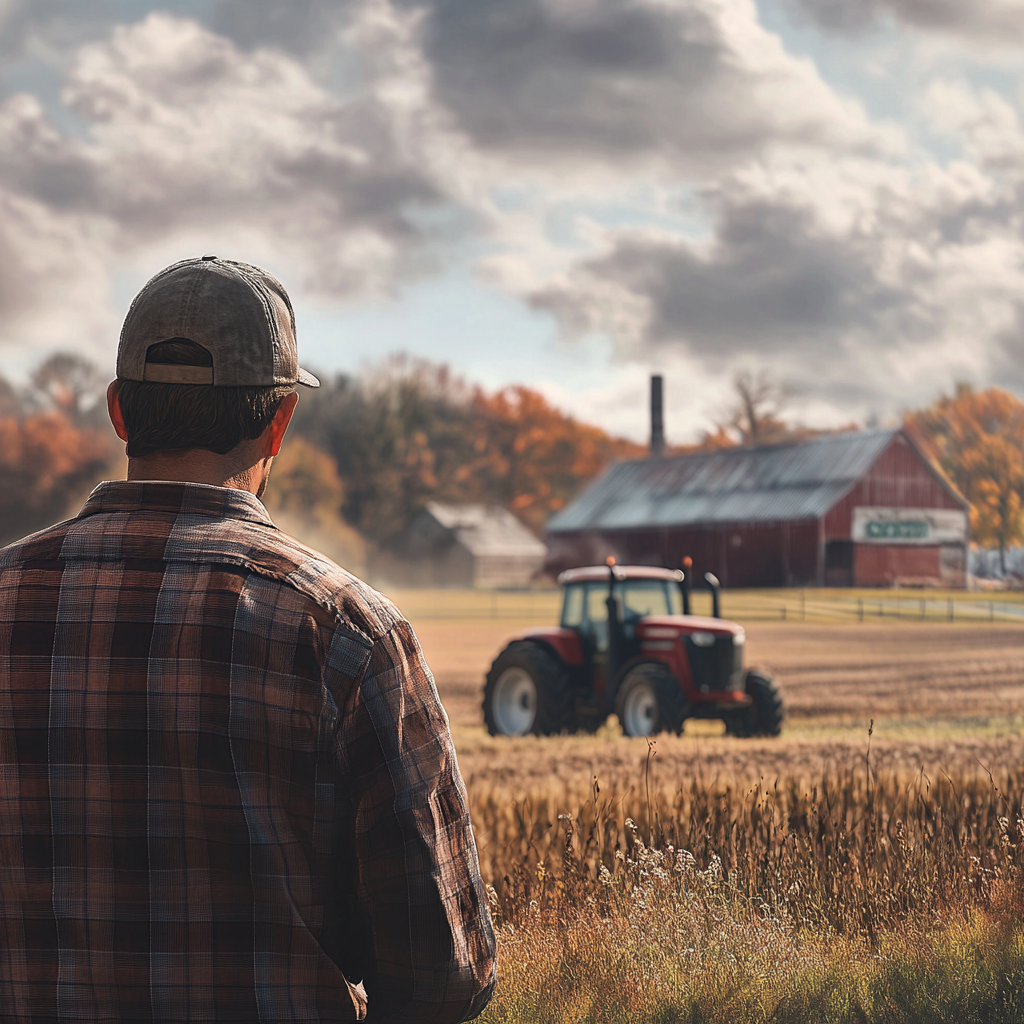
Mudei-me para uma fazenda em ruínas que tinha acabado de herdar, esperando paz. Mas quando meu vizinho copiou minha cerca amarela, não tinha ideia de que era apenas o começo de algo muito mais profundo e pessoal.
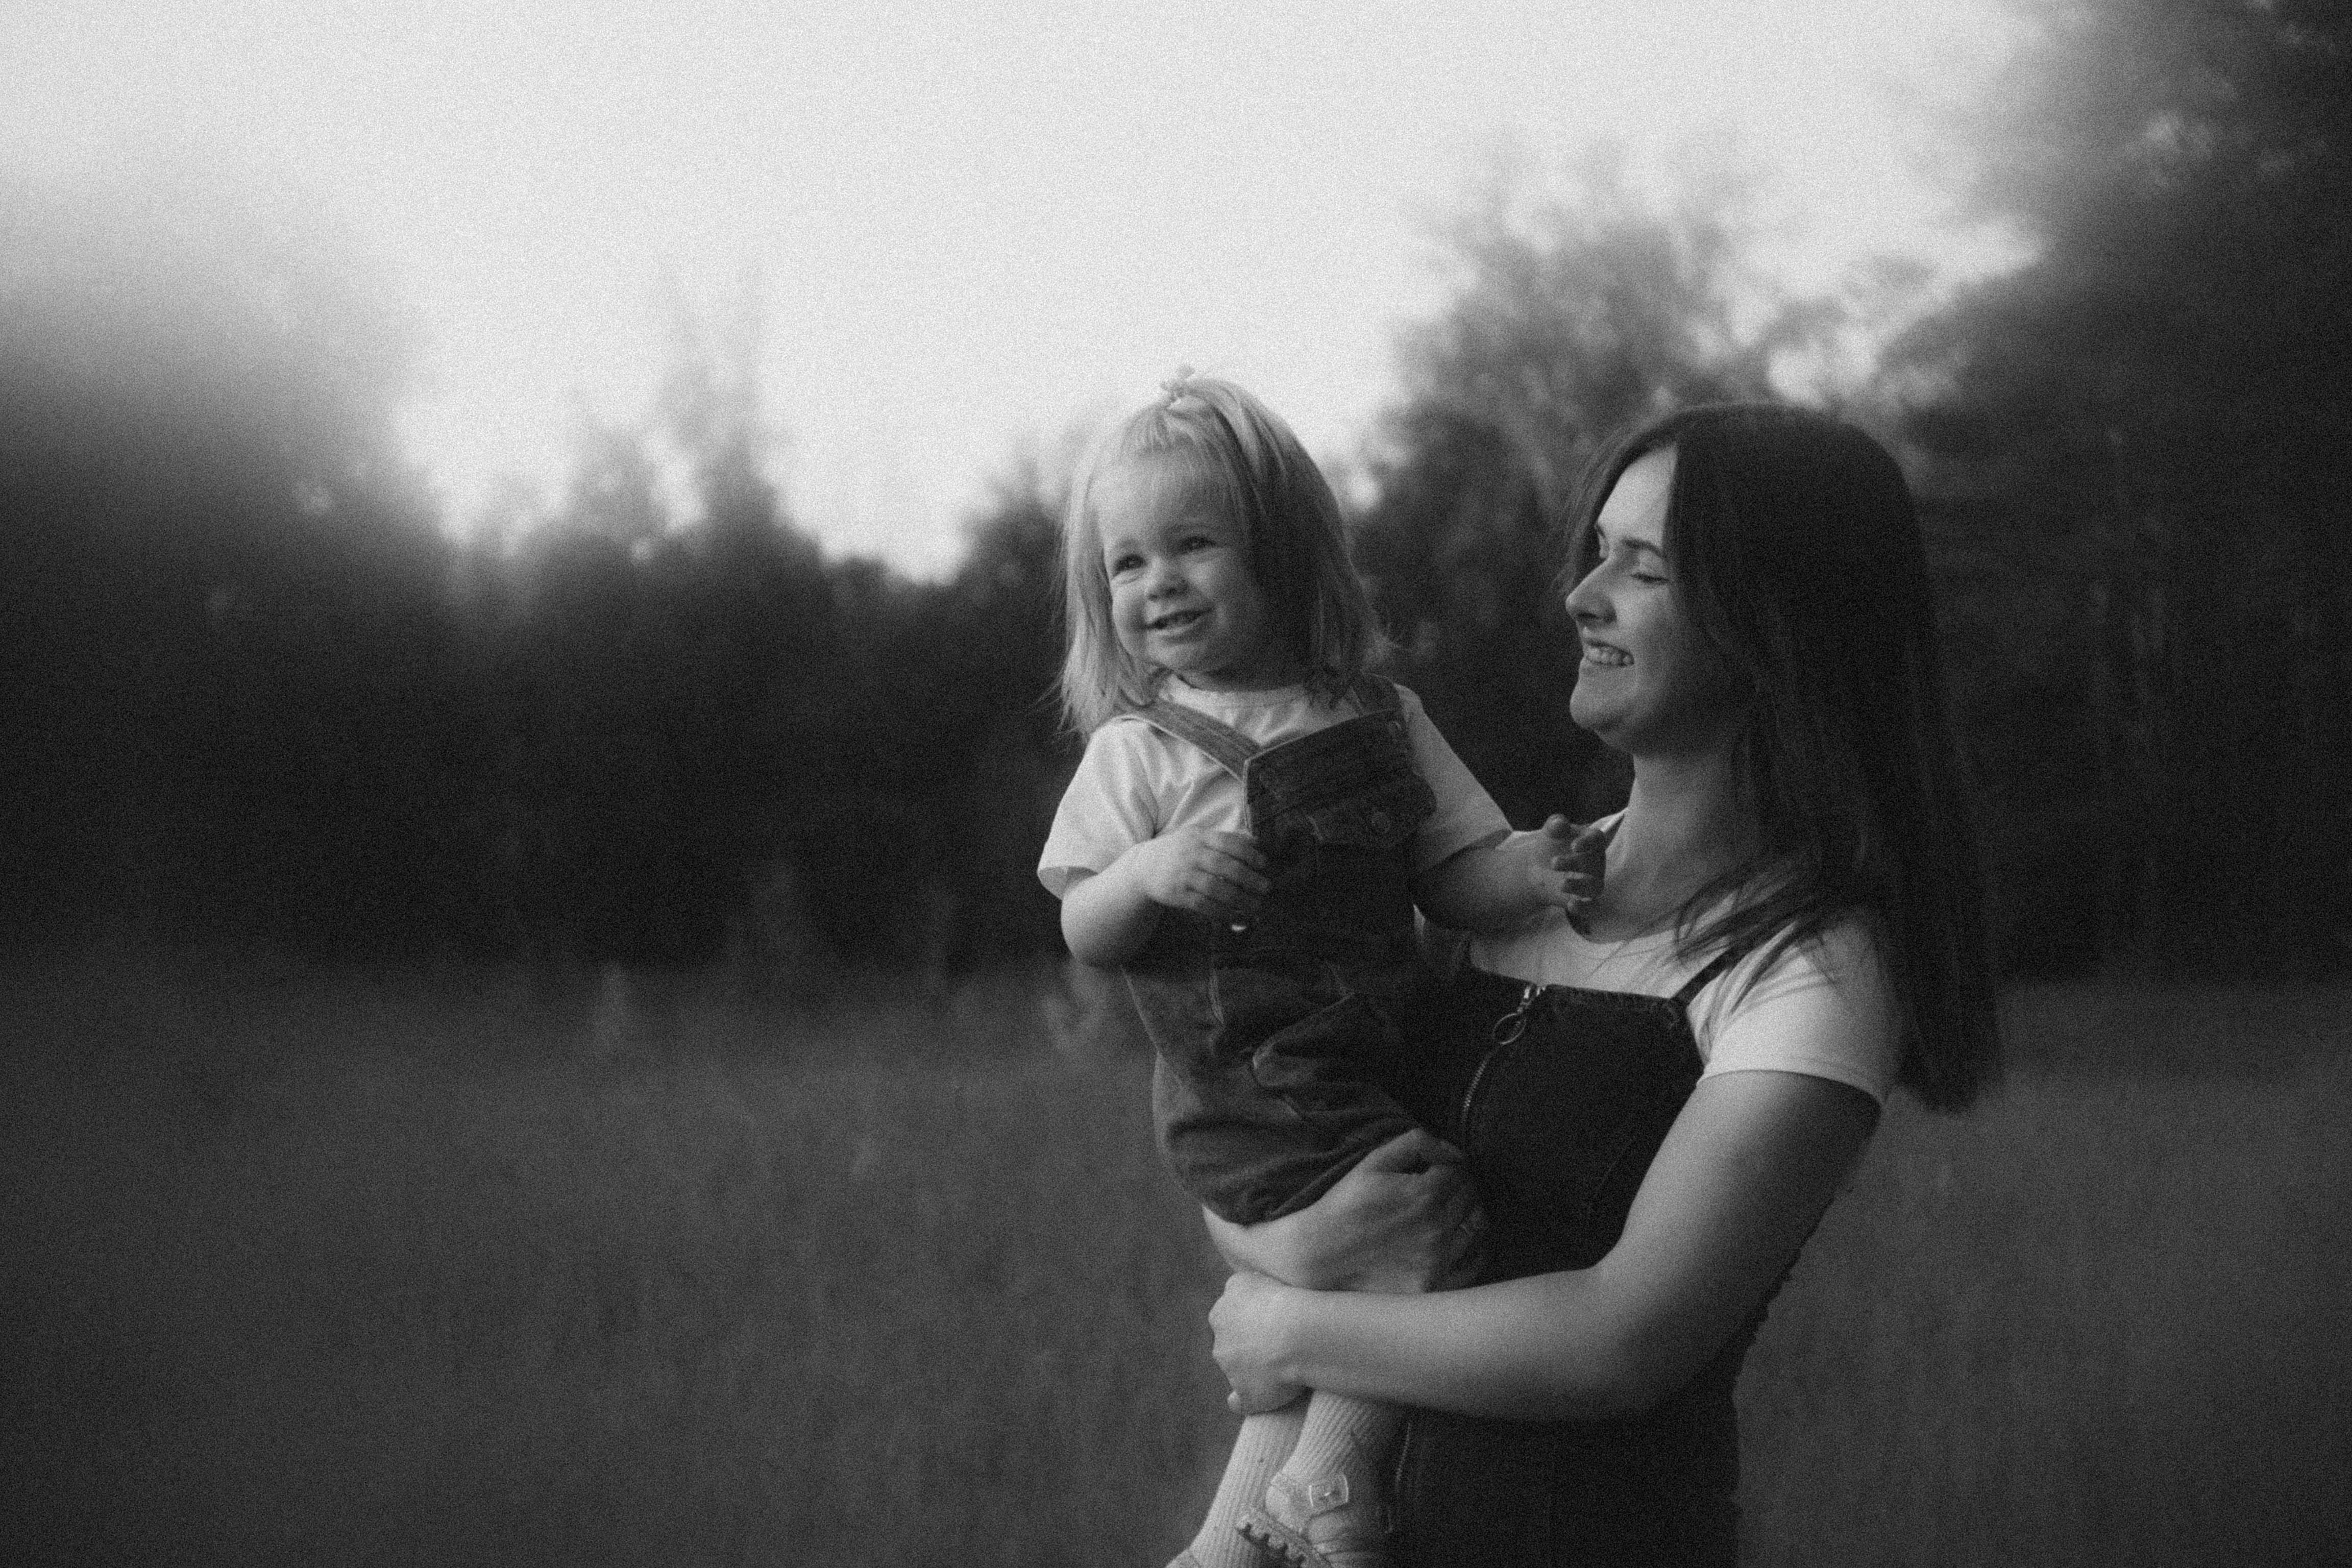
Cresci em uma família adotiva que fazia o melhor que podia. Eles eram gentis e pacientes, sempre preparavam meu lanche e aplaudiam nas peças da minha escola, mesmo quando eu ficava no fundo usando uma fantasia de árvore de papelão.
Mas o amor verdadeiro é mais do que refeições quentes e aplausos educados. É… saber de onde você vem.
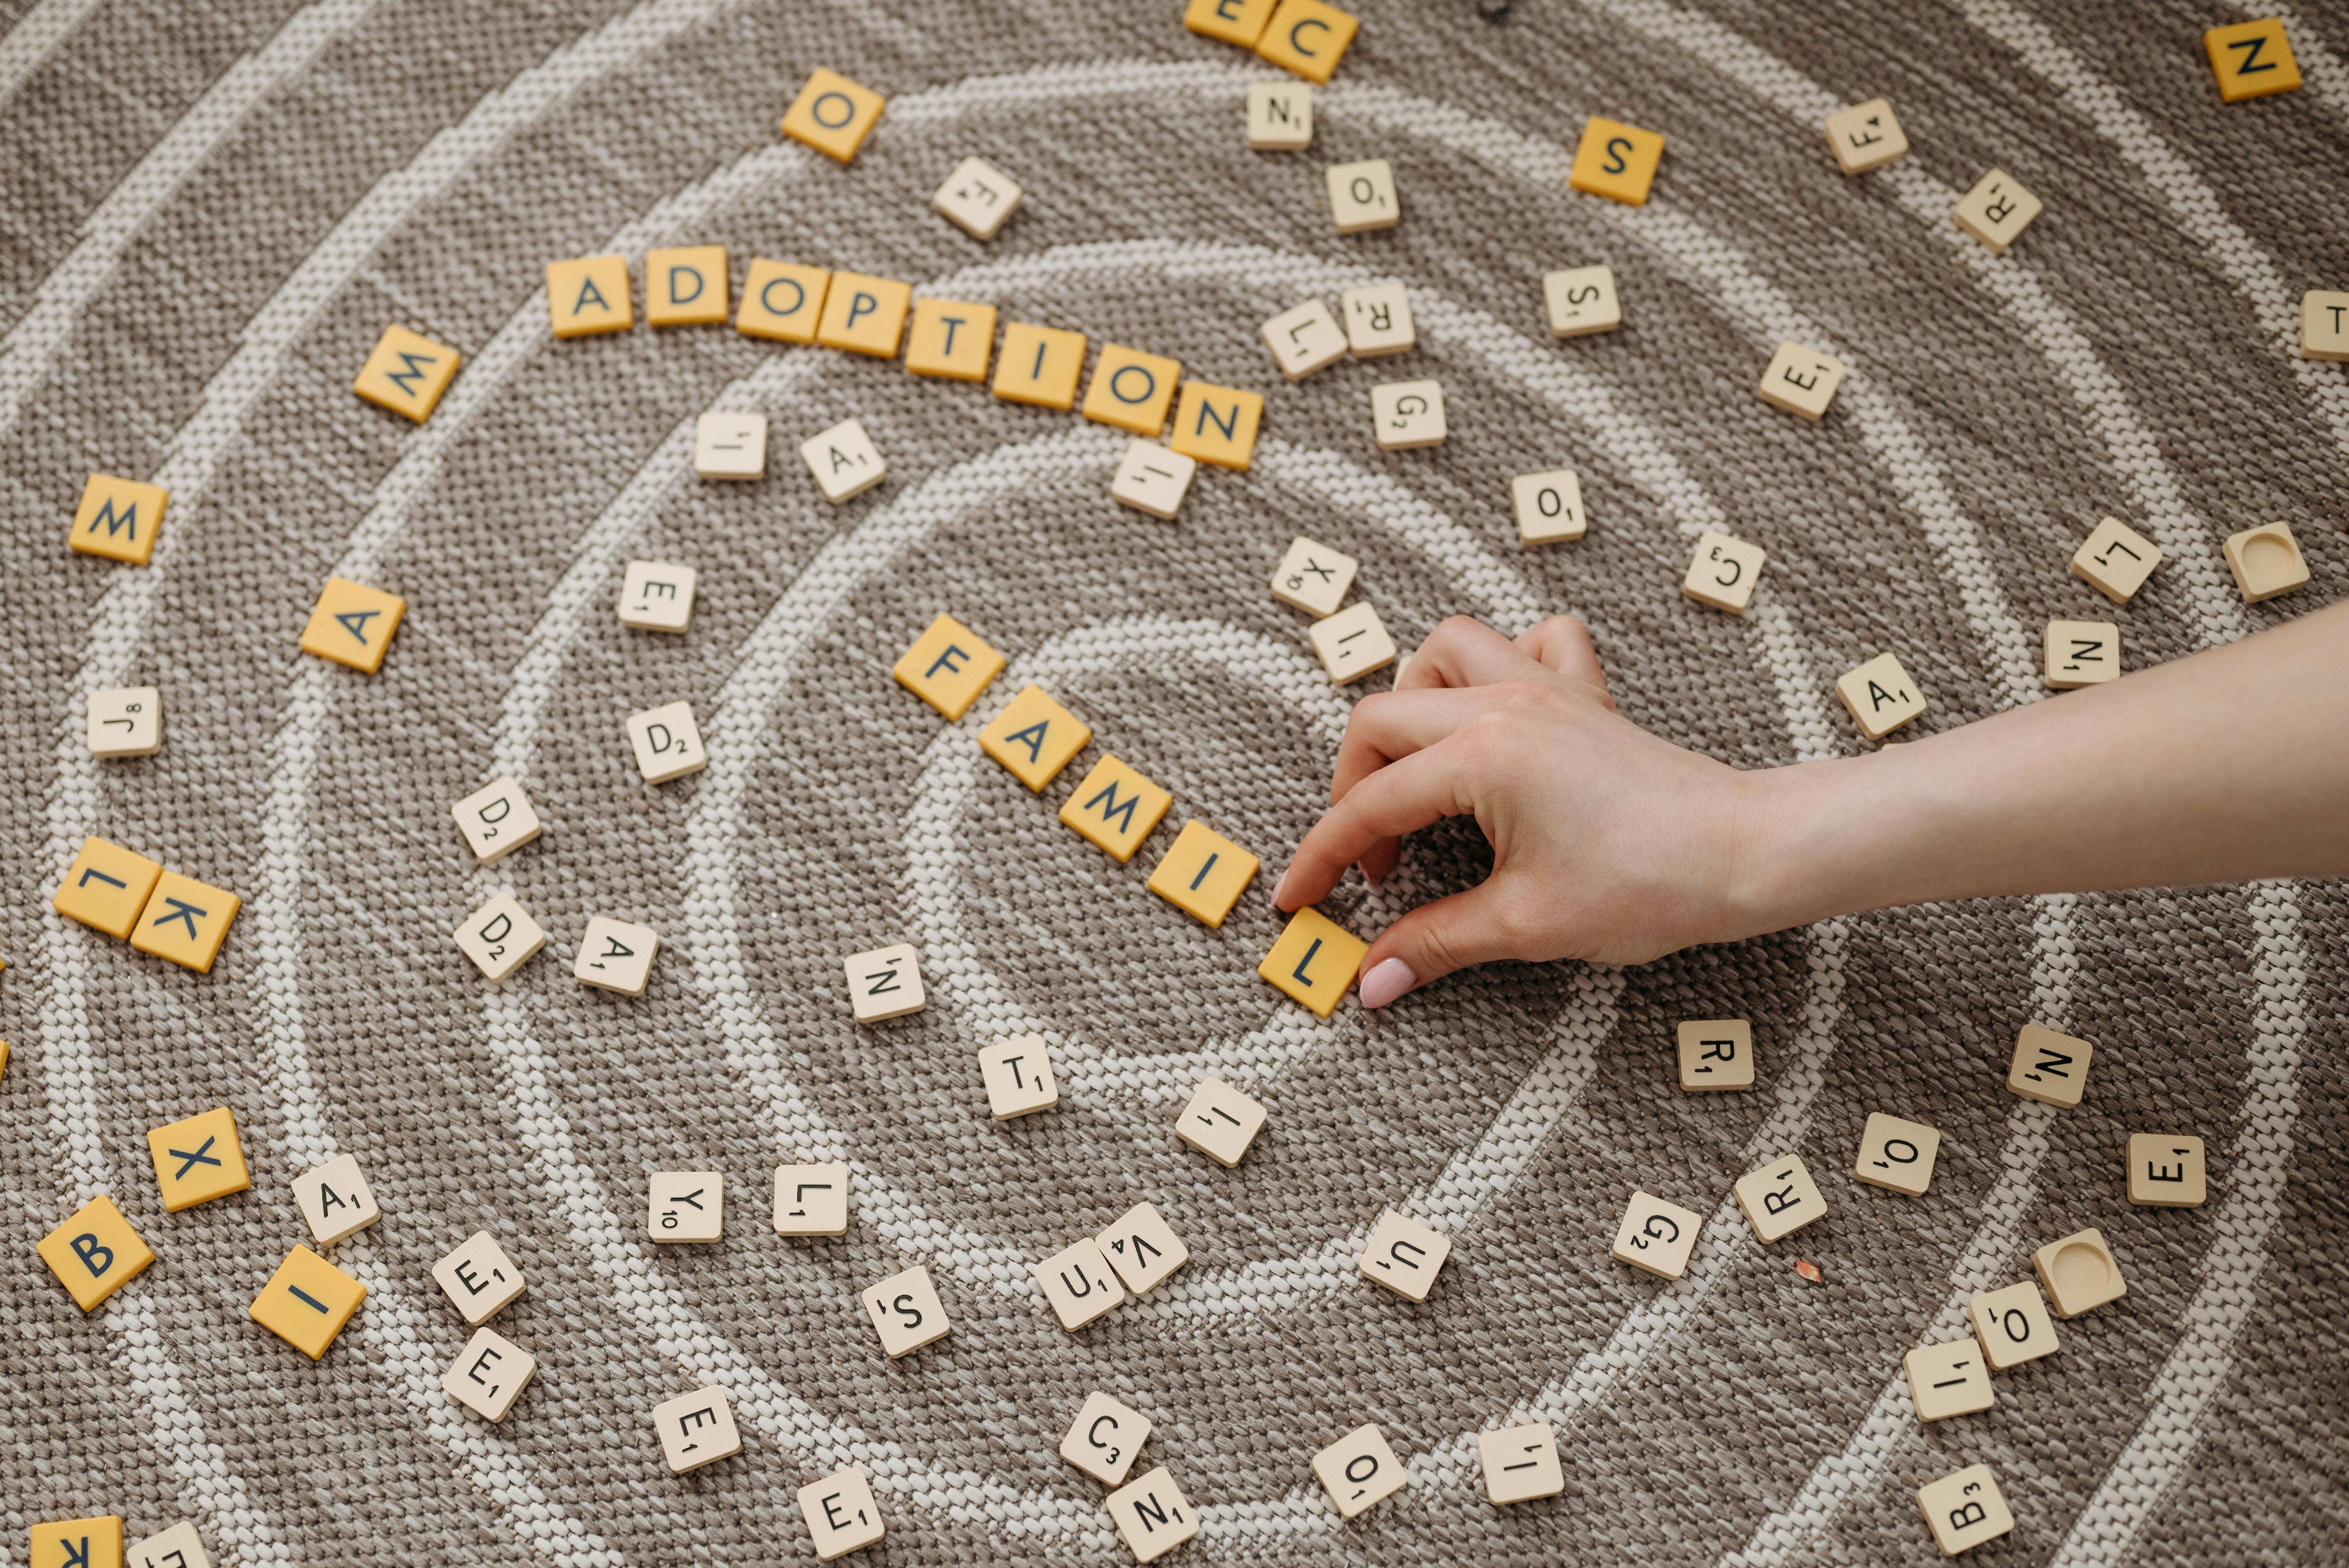
Apenas para fins ilustrativos | Fonte: Pexels
Ninguém nunca me contou nada sobre meus pais biológicos. Os jornais disseram que pediram total confidencialidade. Nenhum nome. Nenhum aniversário. Nenhuma história. Apenas um espaço em branco onde algo grande deveria estar.
Eu costumava sonhar que talvez eles fossem espiões. Ou estrelas do rock. Ou perdidos em algum lugar na selva. Qualquer coisa era melhor do que pensar que eles não se importavam.
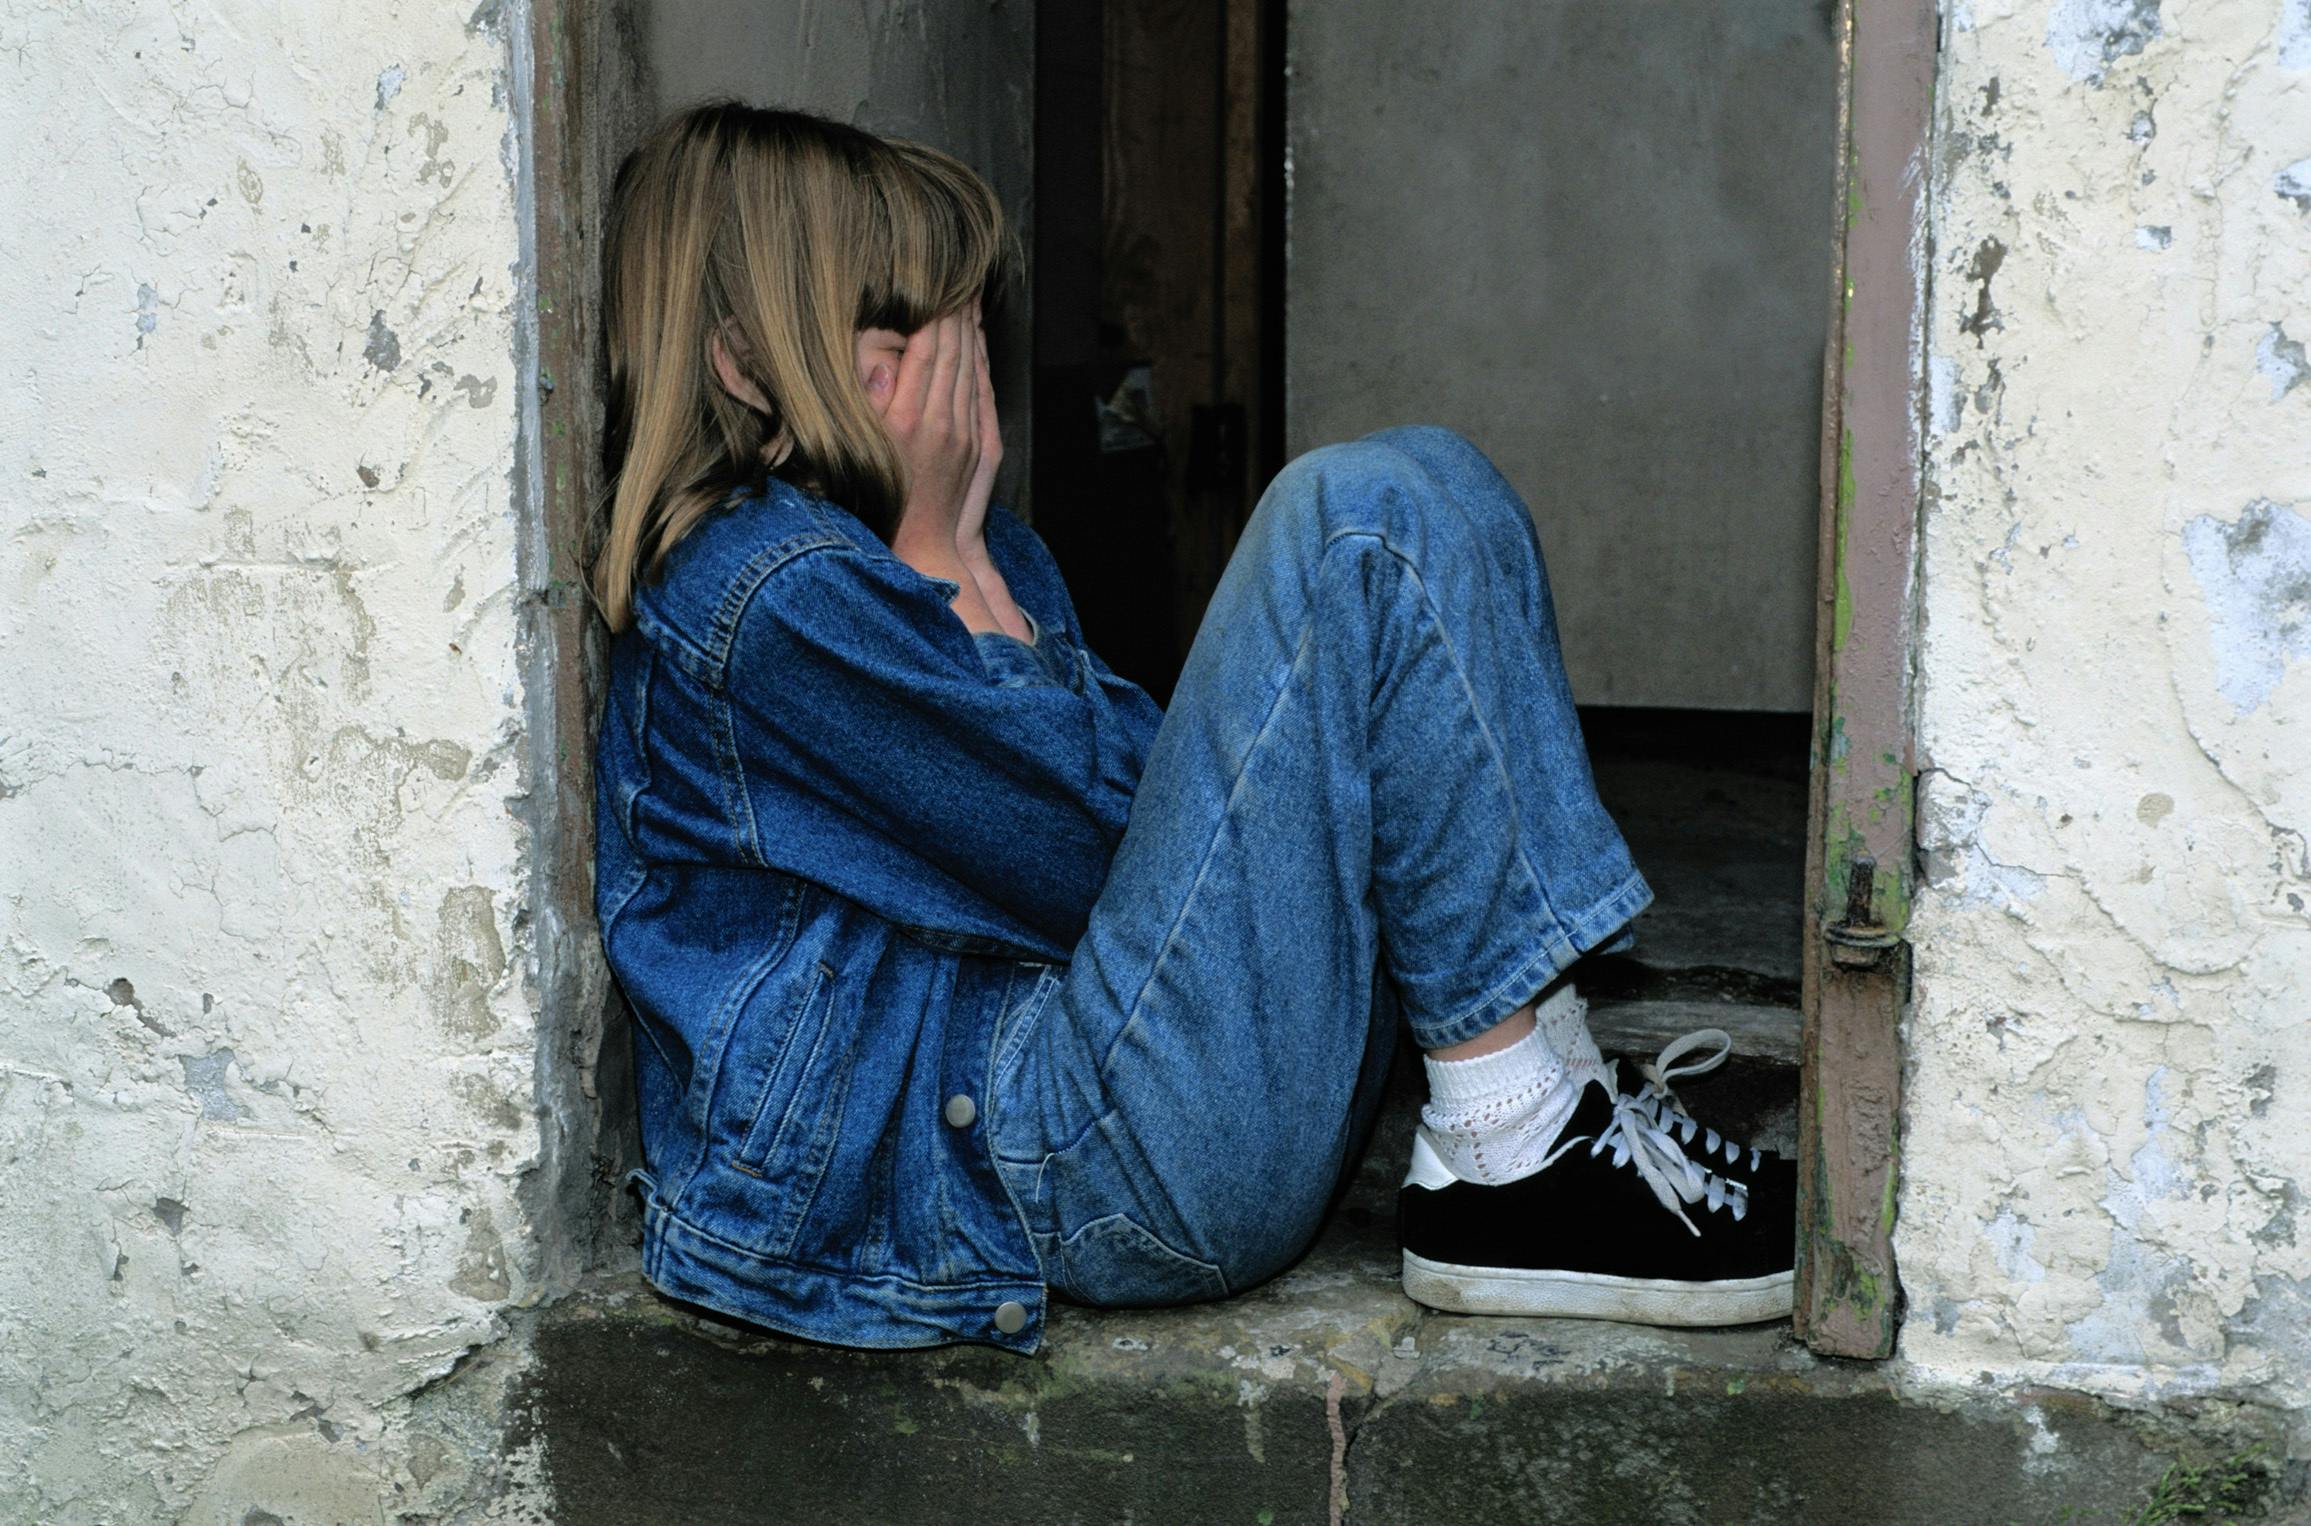
Apenas para fins ilustrativos | Fonte: Pexels
Cresci rápido. Aos 15, eu já distribuía panfletos do lado de fora de shoppings.
Aos 16, eu passeava com cachorros para pessoas que mal lembravam do meu nome. Aos 18, eu servia café para clientes regulares mal-humorados que davam gorjetas e conselhos de vida que eu não pedia.
“Você deveria se casar com alguém rico, querida. Você tem olhos gentis.”
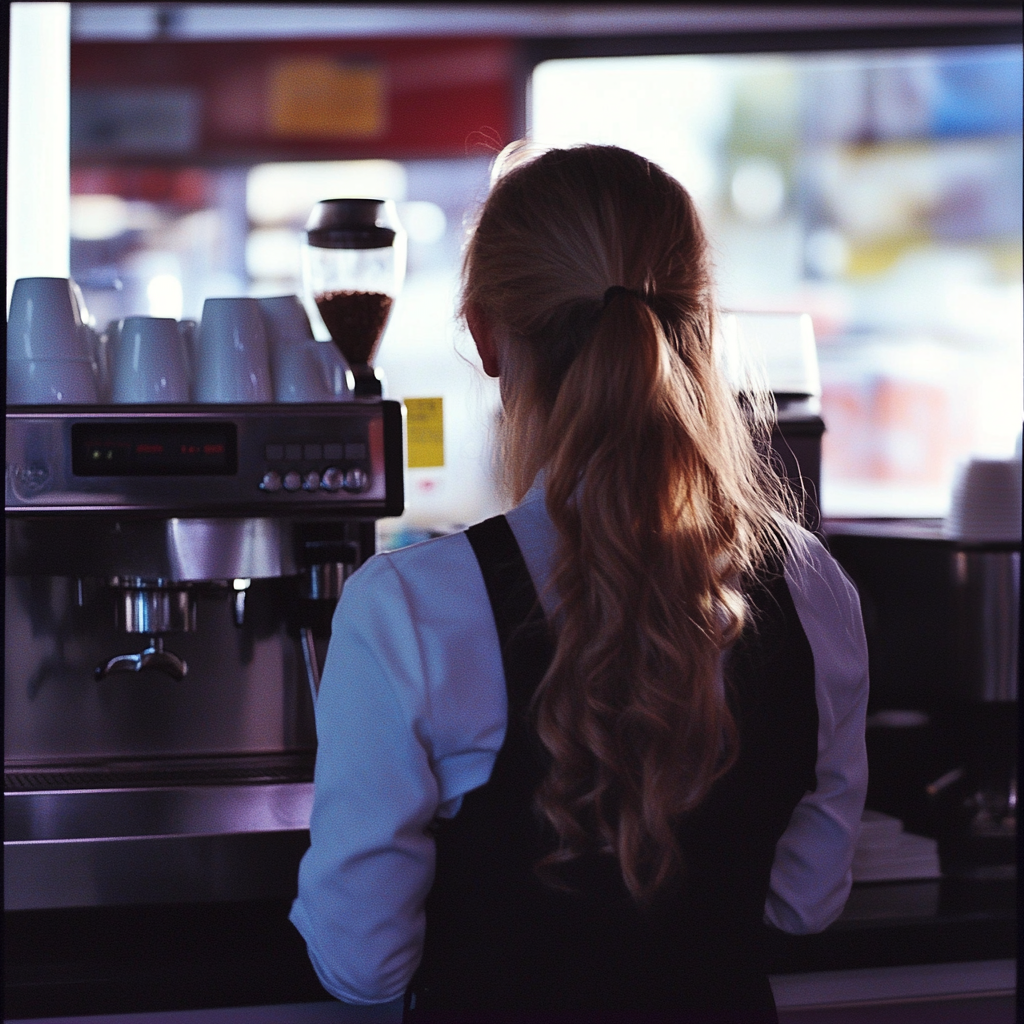
Apenas para fins ilustrativos | Fonte: Midjourney
Aos 19, eu era um barista oficial com um crachá torto e pedidos de bebidas memorizados. Então vieram mais empregos. Cuidador. Carteiro. Jardineiro. Por um tempo, eu até mesmo recolhi animais atropelados na estrada.
Não pergunte. Não, sério, não pergunte.
Eu sabia como sobreviver. Mas parecia que a má sorte estava no meu DNA.
Aos 27, consegui o emprego de escritório dos meus sonhos. Um salário estável. Fins de semana de folga. Parecia uma vitória.

Apenas para fins ilustrativos | Fonte: Midjourney
No mesmo dia, fiquei doente. Seis meses de exames, médicos dando de ombros.
“Pode ser estresse.”
É, não estou brincando.
Aos 30, virei babá. A outra babá alegou que eu roubei dinheiro da família. Eu não roubei, mas fui demitida. Fiquei do lado de fora do prédio com uma mala, meu fundo de emergência enfiado no bolso do meu casaco e um olhar distante.
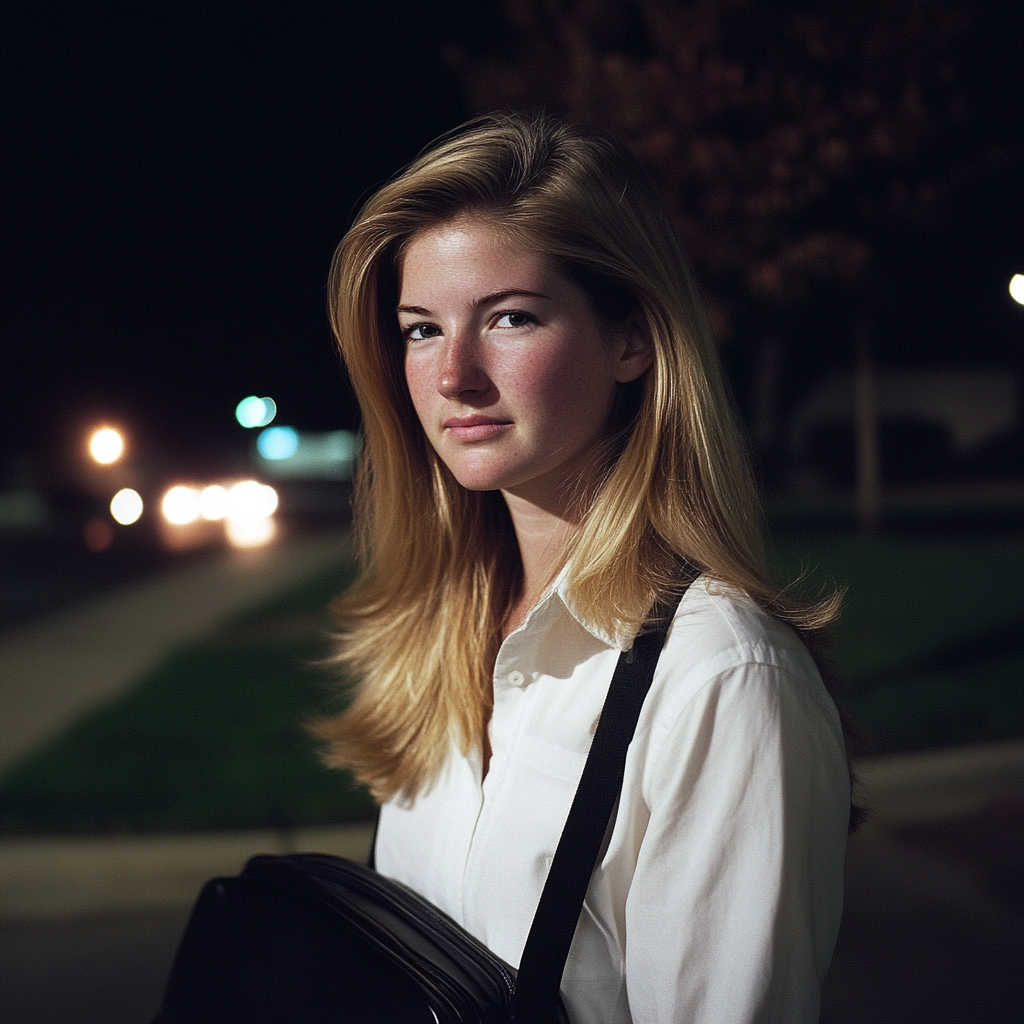
Apenas para fins ilustrativos | Fonte: Midjourney
Então meu telefone tocou.
“Ellie? É Jake, o advogado do seu pai,” disse uma voz calorosa.
“Meu quem?”
“Seu pai, Henry. Ele faleceu recentemente. Você foi nomeado o único herdeiro da fazenda dele. Fica a cerca de 30 quilômetros da cidade. Você pode pegar as chaves amanhã.”
Apenas para fins ilustrativos | Fonte: Midjourney
“Uma fazenda?”, repeti. “Um pai?”
“Biológico,” ele disse gentilmente. “Eu explicarei mais pessoalmente.”
Não dormi um minuto naquela noite. Eu tinha um pai. Ele me deixou um lar. Pela primeira vez na minha vida, algo me pertencia.
Apenas para fins ilustrativos | Fonte: Midjourney
***
Quando cheguei à fazenda, sentei-me ali por um minuto, olhando para a casa, os campos, o silêncio. Uma pergunta circulava na minha cabeça como uma mosca que não me deixava em paz.
Por que ele deixou isso comigo?
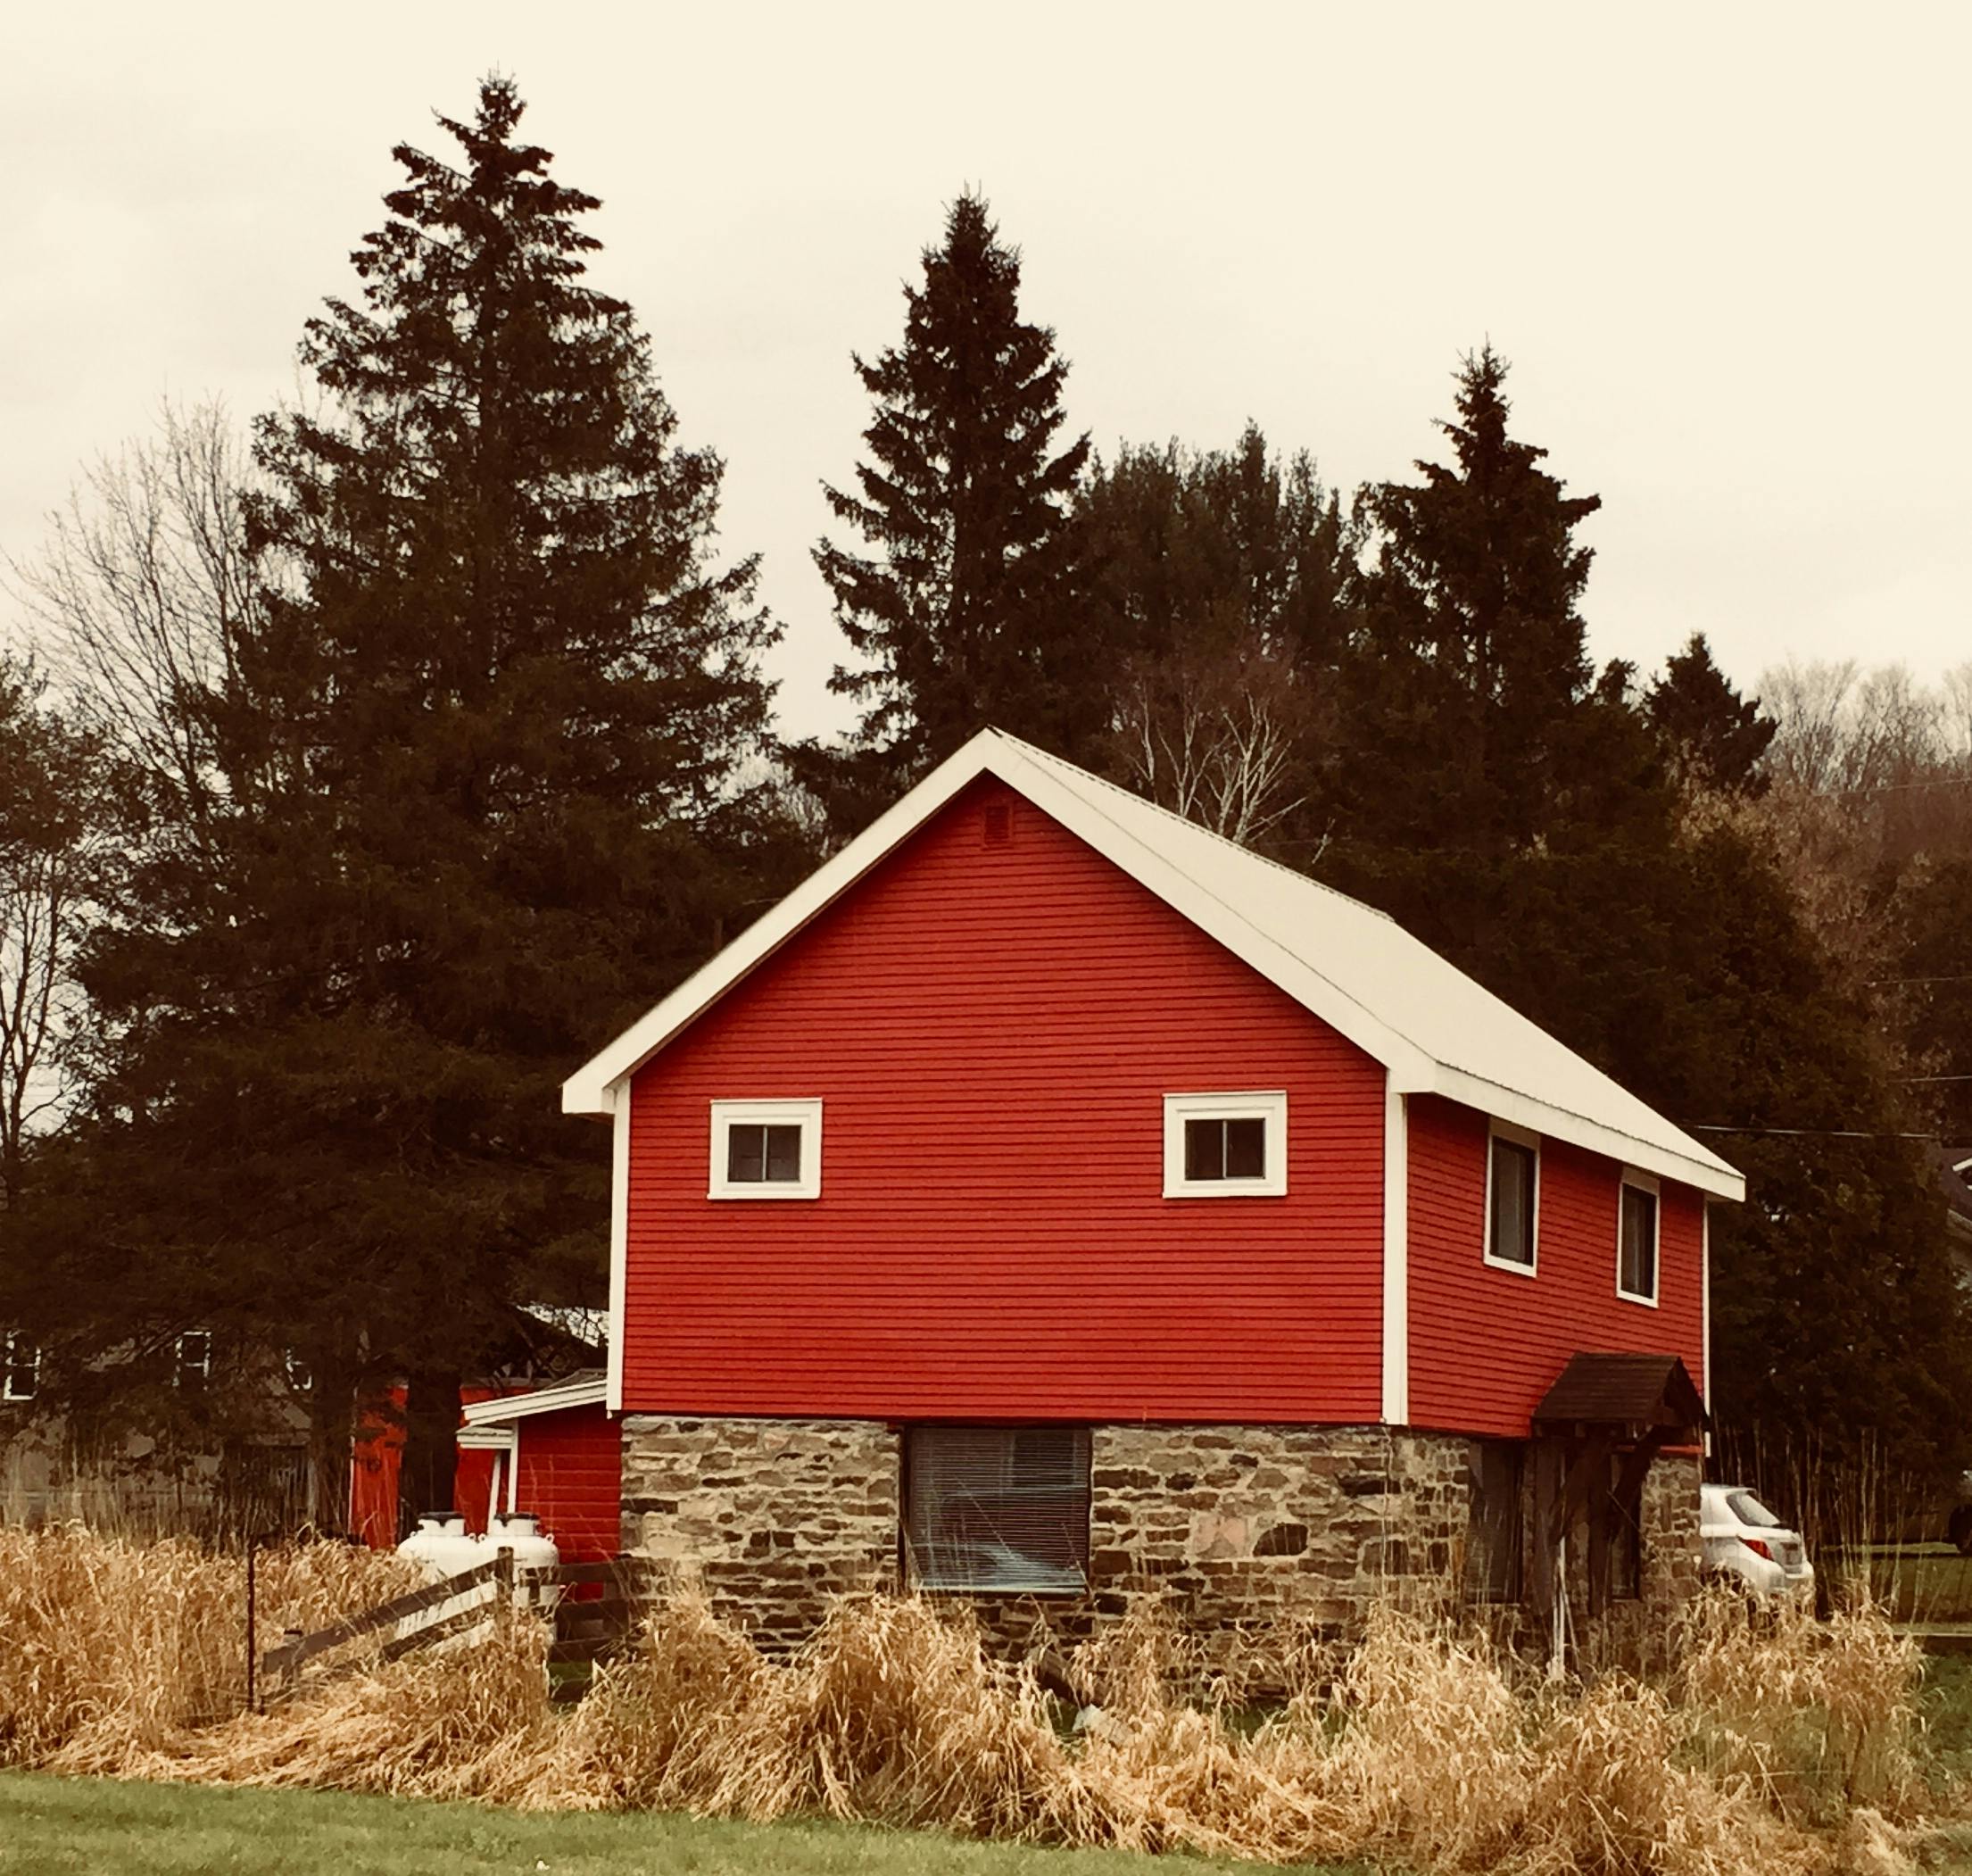
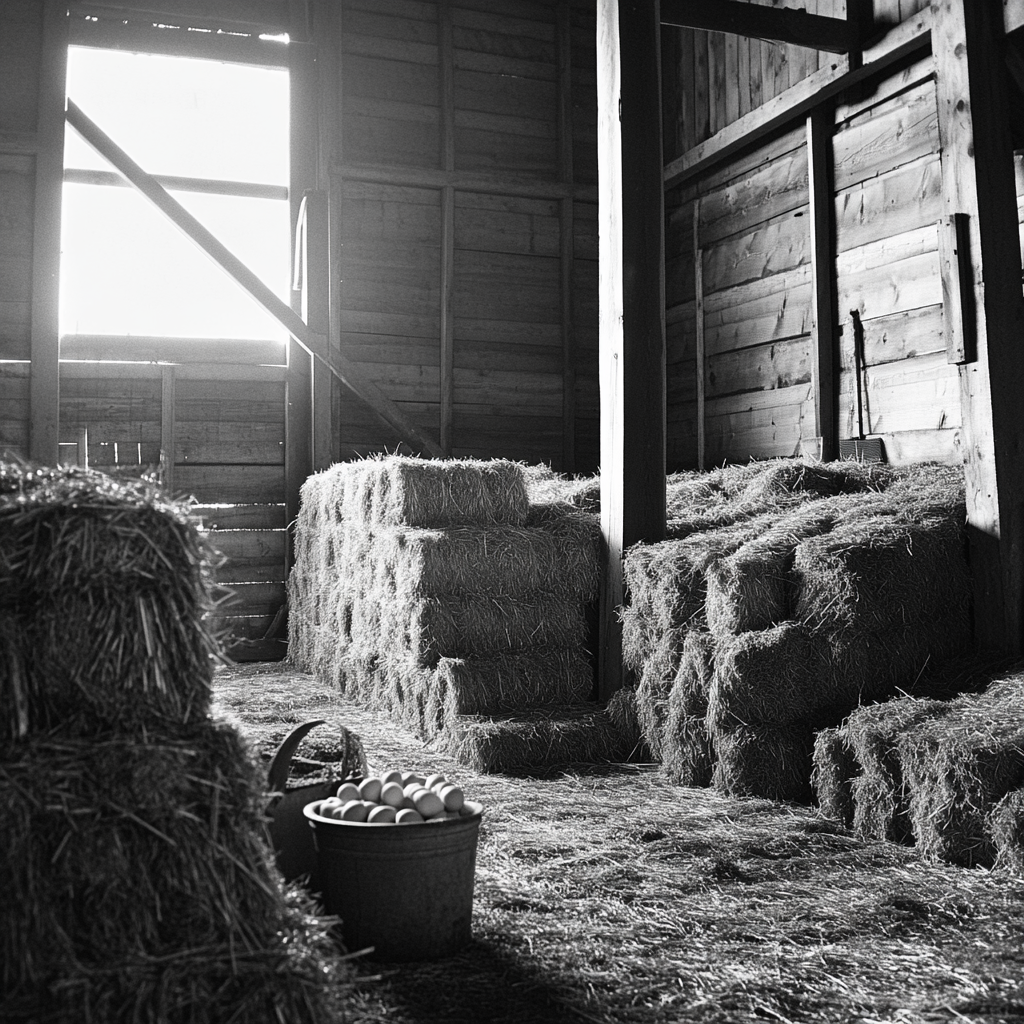
A casa parecia cansada. Tinta lascada descascava das paredes e ervas daninhas cobriam o quintal. Mas então eu vi o celeiro. Estava limpo. A tinta vermelha era fresca e as portas eram retas e sólidas. Parecia orgulhoso.
Apenas para fins ilustrativos | Fonte: Pexels
Curioso, entrei. O cheiro de feno me atingiu primeiro. O chão estava varrido. Pilhas organizadas de feno enfileiravam-se nas paredes.
Uma fileira de ovos frescos estava em uma cesta como se alguém tivesse acabado de coletá-los. Um balde de água brilhava no canto, limpo o suficiente para beber.
Apenas para fins ilustrativos | Fonte: Midjourney
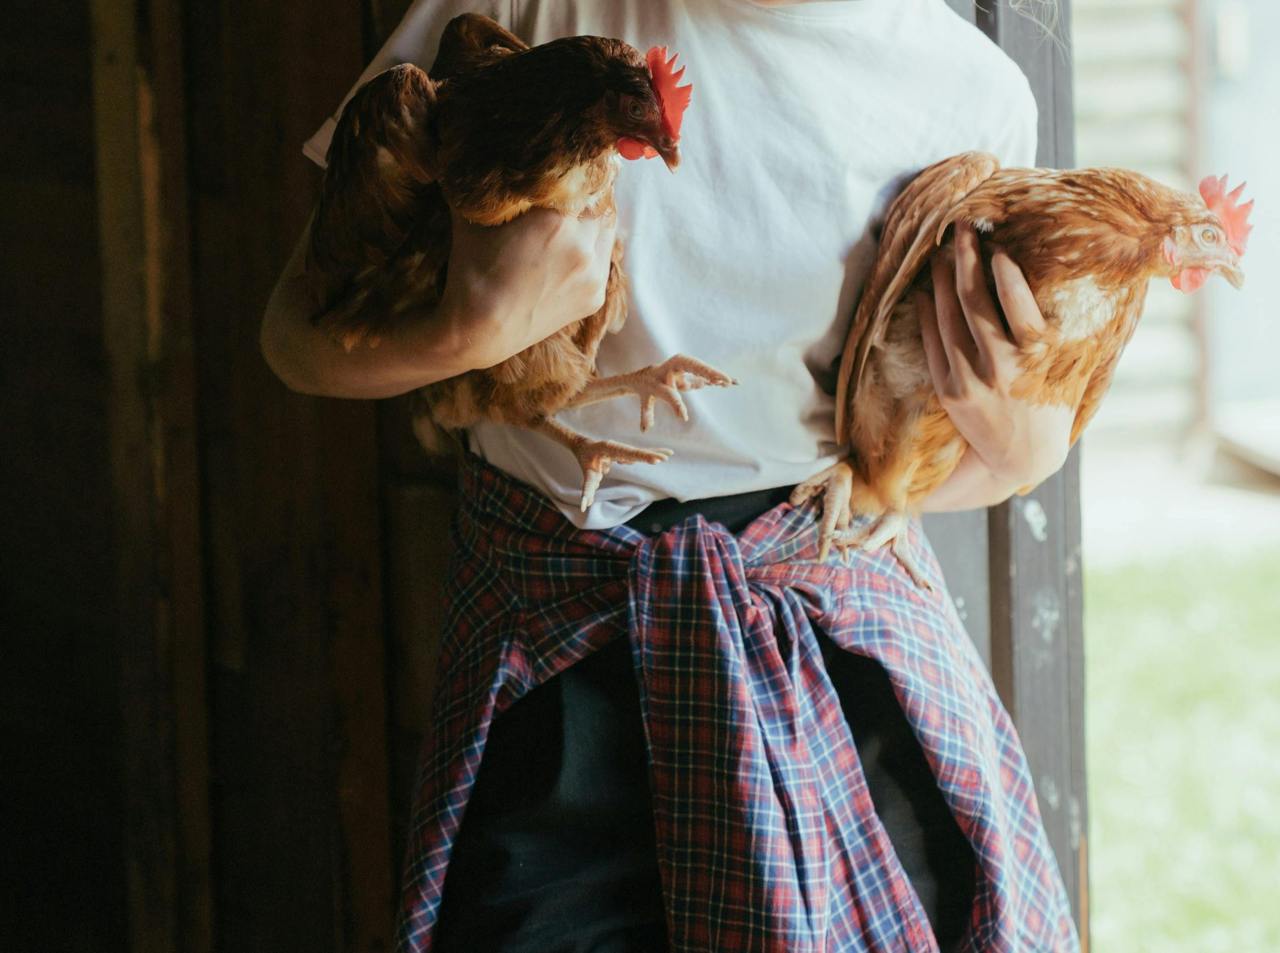
E então havia os animais. Galinhas cacarejavam suavemente, bicando a palha. Uma grande vaca marrom e branca estava calmamente parada, piscando para mim.
O cachorro era a parte mais estranha. Ele estava sentado perto da porta como se estivesse me esperando. Seu pelo estava um pouco desgrenhado. Eu me agachei.
“Vem cá, garoto…”
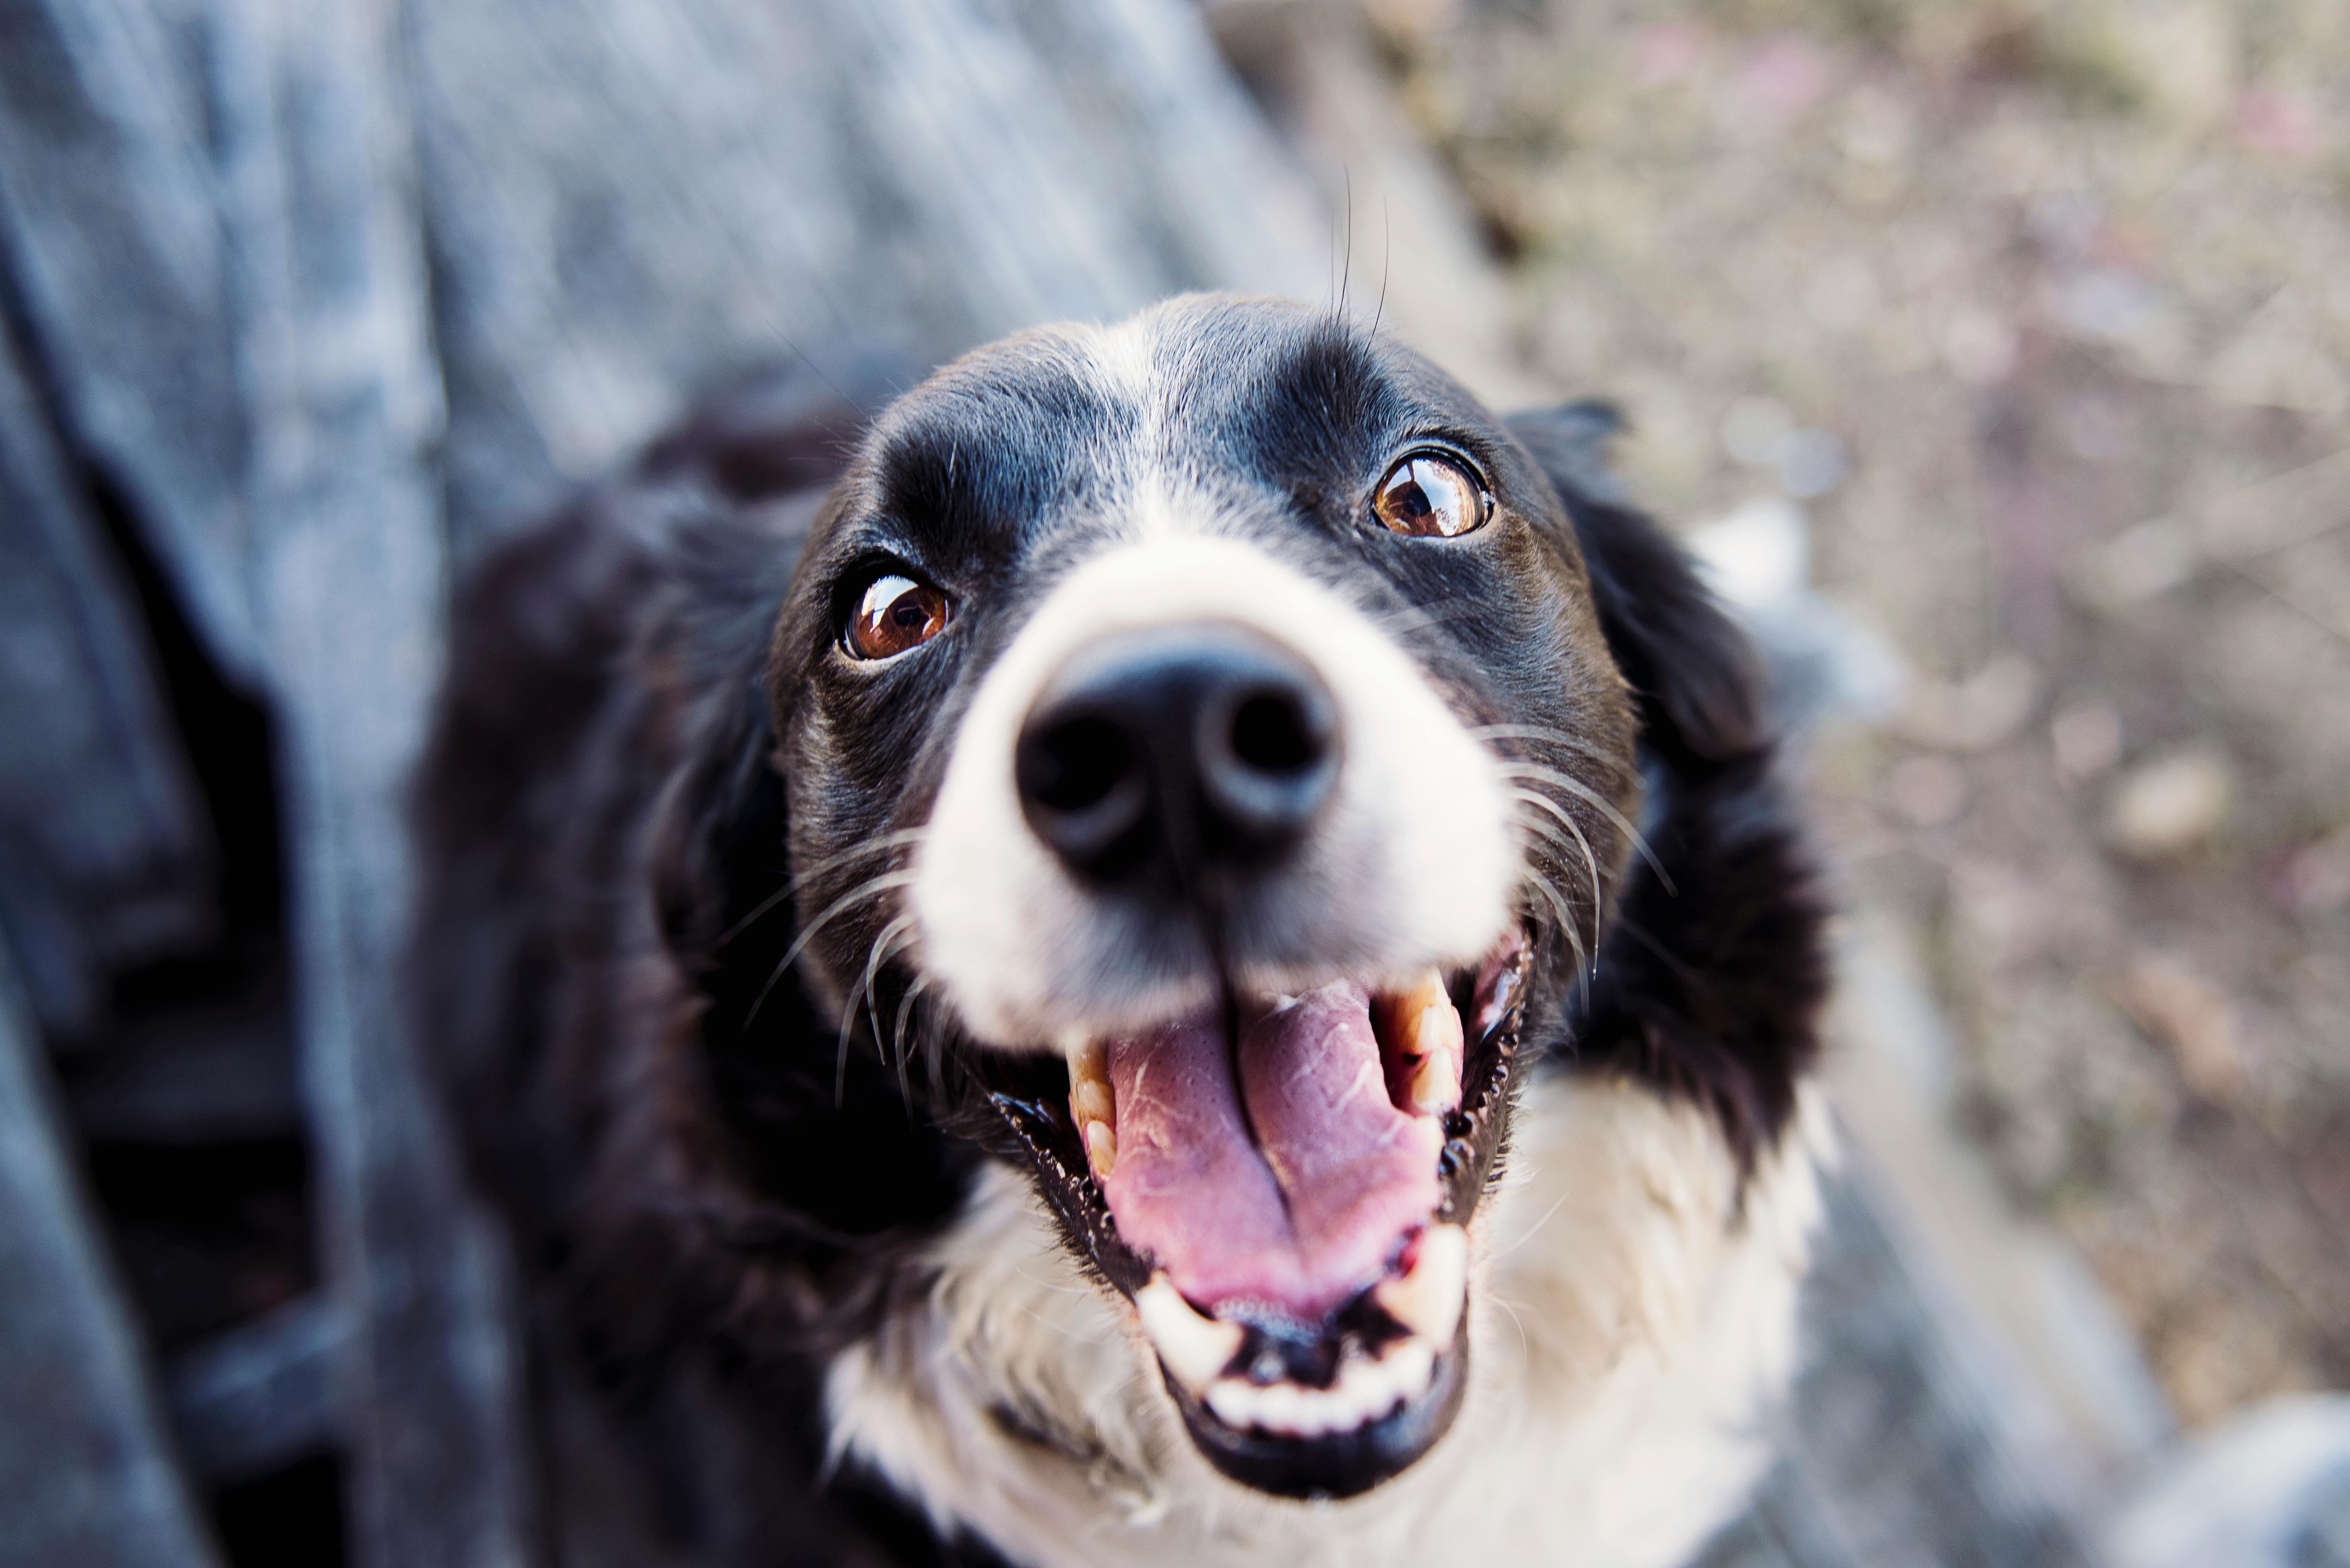
Apenas para fins ilustrativos | Fonte: Pexels
Ele trotou até mim e lambeu minha mão como se nos conhecêssemos há anos.
“Ok, estranho”, eu disse suavemente, olhando ao redor. “Quem tem alimentado você?”
Já fazia uma semana que meu pai havia falecido.
Então… quem está cuidando de tudo isso? Devem ser os vizinhos.
Apenas para fins ilustrativos | Fonte: Midjourney
Deixei minha bolsa perto da porta e olhei ao redor dentro da casa. Poeira flutuava através da luz do sol como flocos de neve preguiçosos.
Na parede estava pendurada uma única foto. Um homem na casa dos 50 anos. Seus olhos eram calorosos. Meu peito doía só de olhar para ele — meu pai.
Sentei no chão e olhei ao redor. Eu não conhecia aquele homem. Não conhecia aquela fazenda. Mas, de alguma forma, eu não estava com medo. Eu fiquei.

Apenas para fins ilustrativos | Fonte: Midjourney
***
Toda manhã, eu acordava com um propósito. Consertei a cerca, pintei a varanda e aprendi a coletar ovos sem ser bicada.
Eu não tinha certeza de como, mas eu simplesmente sabia o que fazer. Era como se algo dentro de mim tivesse clicado — um interruptor secreto.
“Modo Fazendeiro LIGADO.”
Apenas para fins ilustrativos | Fonte: Pexels
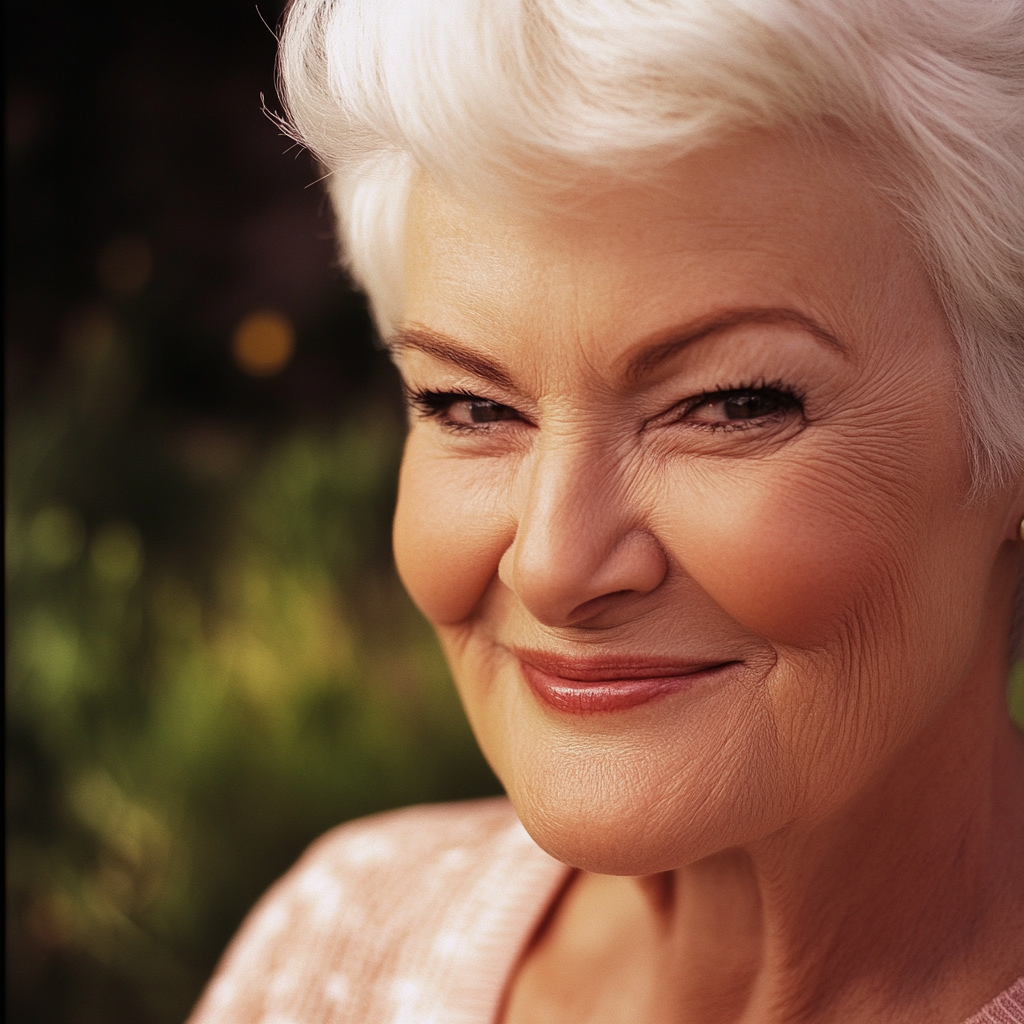
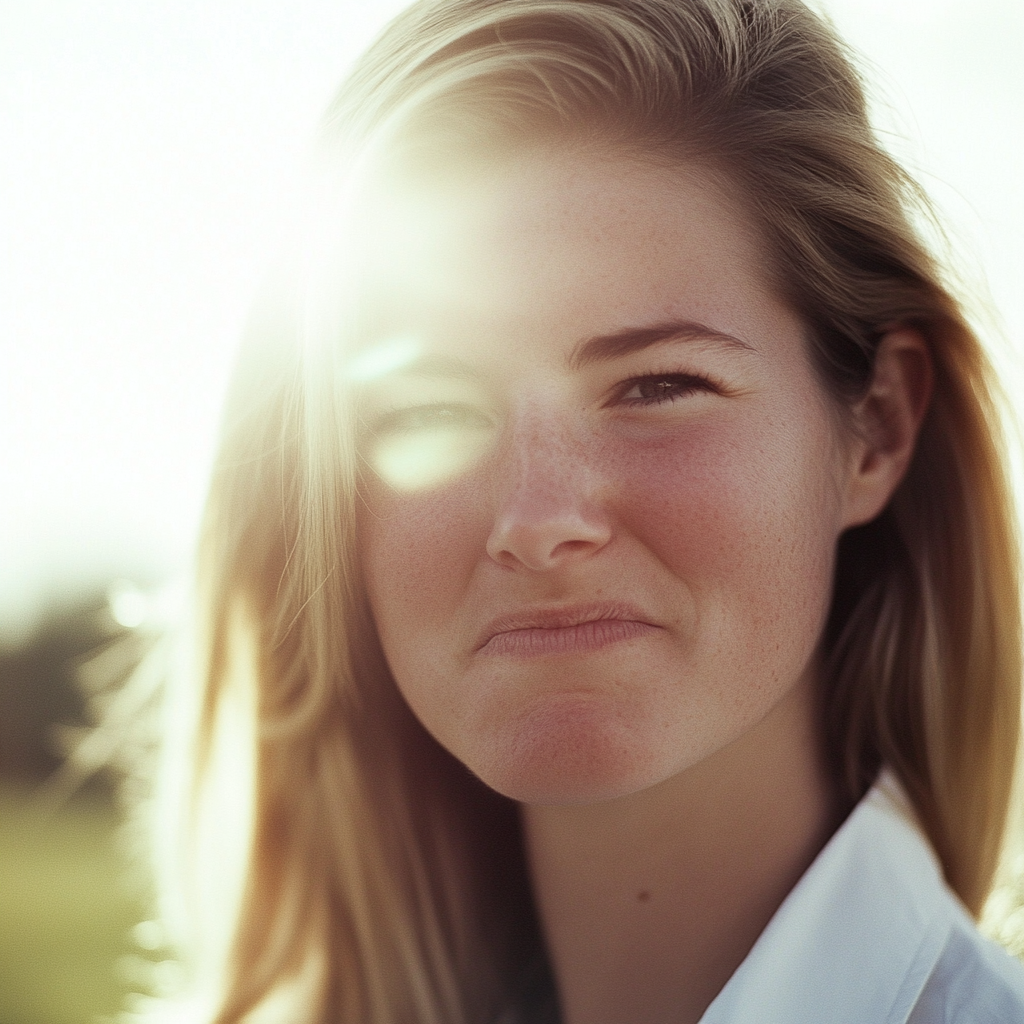
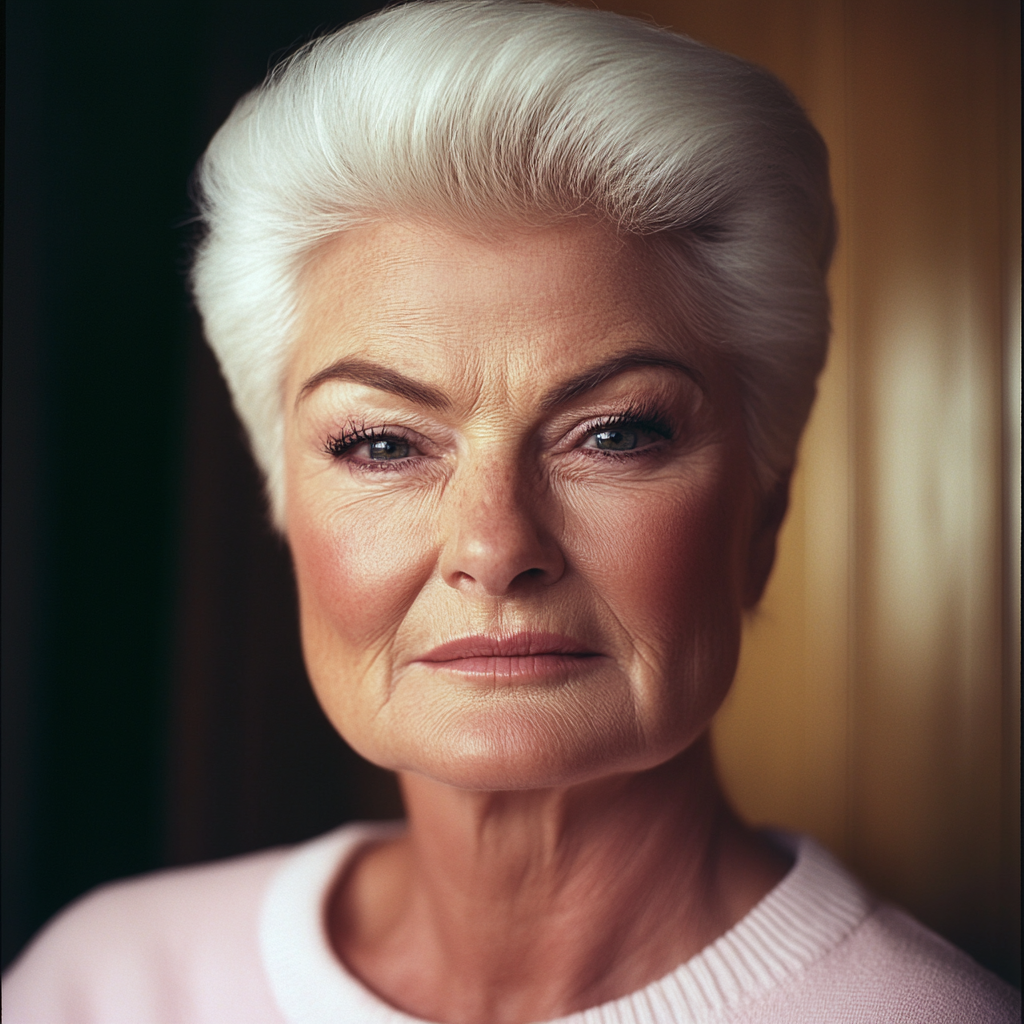
Mas quando comecei a me sentir em casa, ela apareceu.
Linda. Minha vizinha.
No começo, pensei que ela era apenas tímida. Depois, pensei que ela era um pouco estranha.
Então, ela… começou a copiar tudo que eu fazia. Foi aí que as coisas começaram a ficar estranhas.
Apenas para fins ilustrativos | Fonte: Midjourney
***
“O que…?”
Fiquei paralisada na janela da cozinha, com uma colher de cereal a meio caminho da boca.
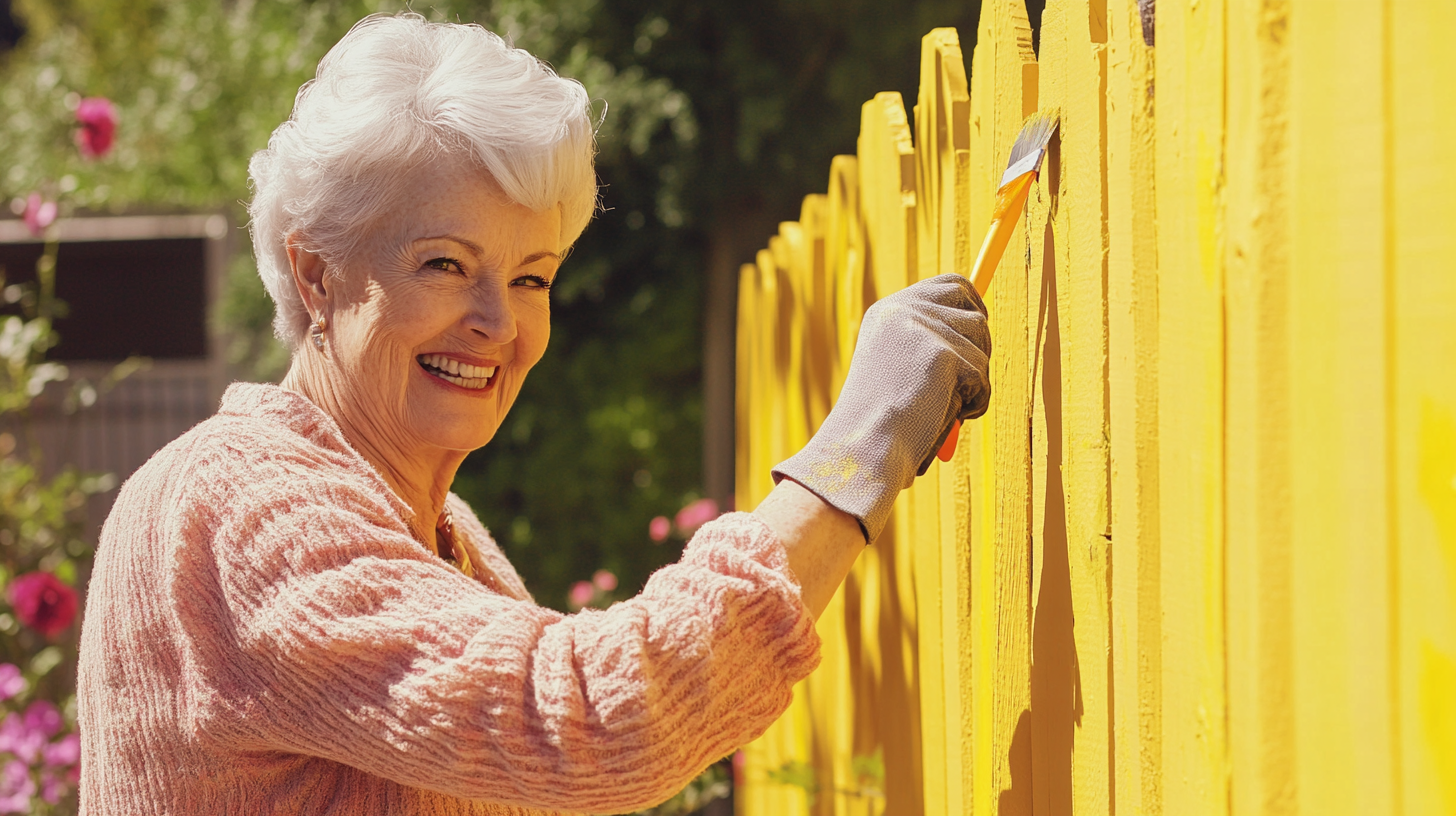
No dia anterior, eu tinha pintado minha cerca de amarelo brilhante. Era a única lata de tinta que eu encontrei no galpão, e eu estava com orçamento apertado. A tinta tinha um cheiro horrível, mas a cerca parecia alegre.
Naquele momento, olhando para o outro lado da divisa da propriedade, vi a cerca de Linda. Também era amarela, do mesmo tom.
Apenas para fins ilustrativos | Fonte: Midjourney
“Talvez seja apenas uma coincidência.”
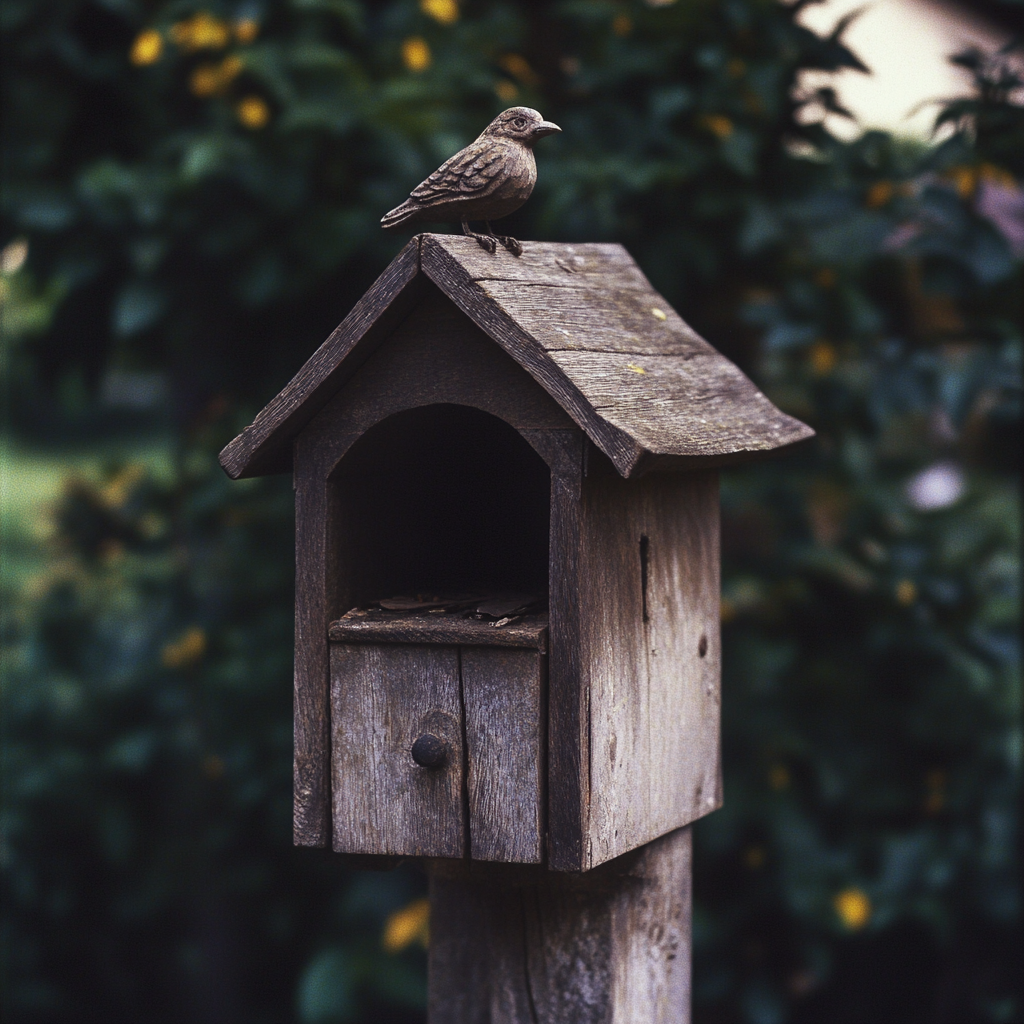
No dia seguinte, construí uma nova caixa de correio. Fiquei orgulhoso dela — de madeira, com um pequeno telhado inclinado e um passarinho entalhado sentado em cima. Levei a tarde toda e três Band-Aids.
Dei um passo para trás e disse em voz alta: “Você acertou em cheio, Ellie.”
Na manhã seguinte, eu saí… e lá estava. A caixa de correio de Linda. Mesma forma. Mesmo telhado. Exatamente o mesmo pássaro.
Apenas para fins ilustrativos | Fonte: Midjourney
“Você só pode estar brincando”, murmurei, segurando minha xícara de café.
Tentei ser educado e acenei para Linda quando a vi lá fora. Ela nunca acenou de volta — apenas correu para o celeiro dela como se eu a tivesse pego fazendo algo ilegal.
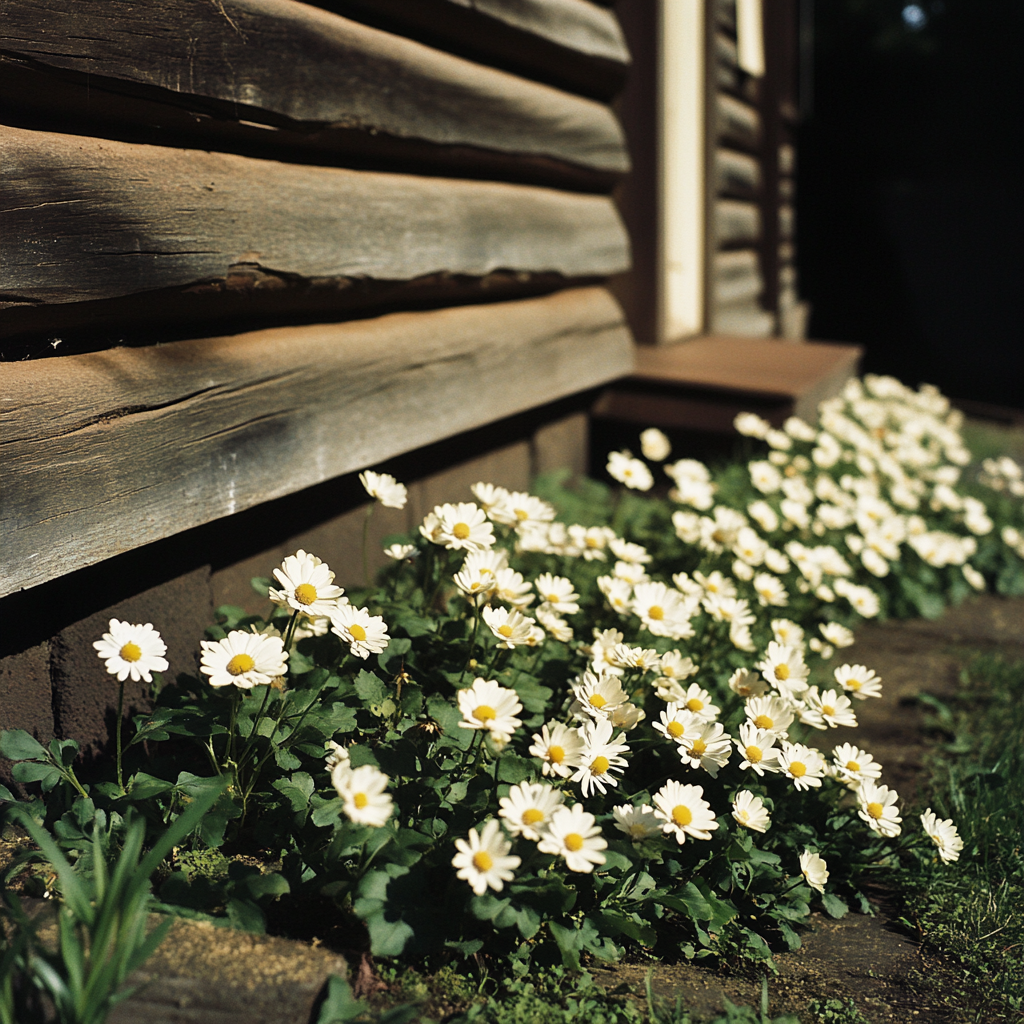
Mas então vieram as margaridas. Elas eram minhas favoritas. Plantei-as em uma linha curva perto da minha escada da frente.
Na manhã seguinte?
Apenas para fins ilustrativos | Fonte: Midjourney
Linda tinha as mesmas margaridas. Mesma curva. A mesma fileira de pedras ao redor delas. Saí e fiquei olhando para o quintal dela.
Ela está me observando? Me copiando de propósito?
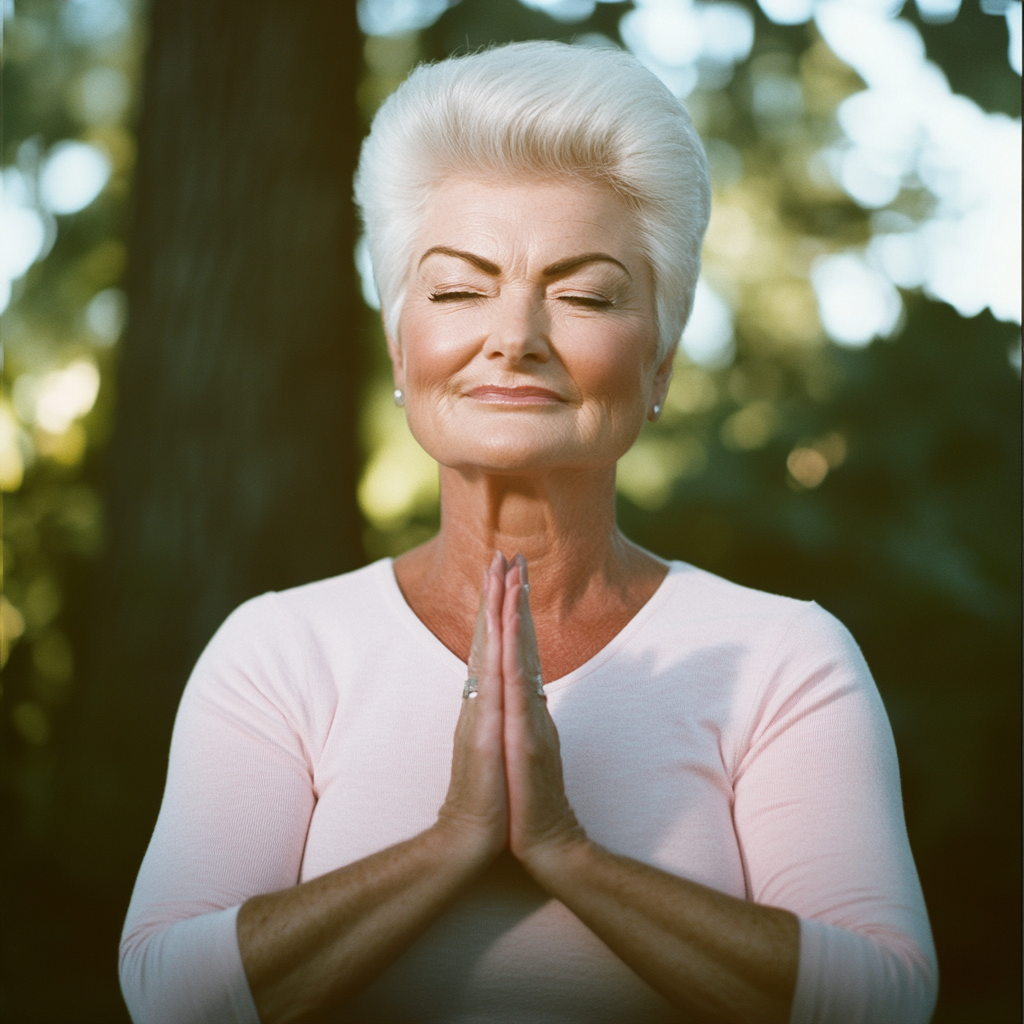
Tentei ignorar isso até a aula de ioga.
Em uma manhã ensolarada, rolei meu tapete na grama e comecei minha rotina habitual. Apenas alguns alongamentos para relaxar.

Apenas para fins ilustrativos | Fonte: Midjourney
Quando olhei, Linda estava cambaleando exatamente na minha pose.
Ela estava usando jeans e um chapéu de aba larga. Ela estava copiando novamente.
Foi isso. Minha paciência se foi. Eu marchei pelo quintal e bati no portão de madeira dela.
“Ei, Linda! Precisamos conversar!”
Apenas para fins ilustrativos | Fonte: Midjourney
A porta rangeu ao abrir lentamente. Ela ficou ali, parada, silenciosa. Seus olhos escuros encontraram os meus. Arregalados. Sérios. Um pouco assustados.
“Por que você está copiando tudo o que eu faço? O que você quer de mim?!”
Ela não respondeu. Apenas deu um passo para trás e assentiu levemente.
Eu a segui para dentro de casa. Foi quando eu os vi.
Cartas. Dezenas delas. Espalhadas sobre a mesa. Todas endereçadas a mim.
Apenas para fins ilustrativos | Fonte: Pexels
“Quem são esses?”
Ela pegou o de cima e me entregou. Seus dedos tremeram. Eu o abri.
“Minha querida Ellie,
Não sei como falar com você. Não sei se você ao menos quer ouvir.
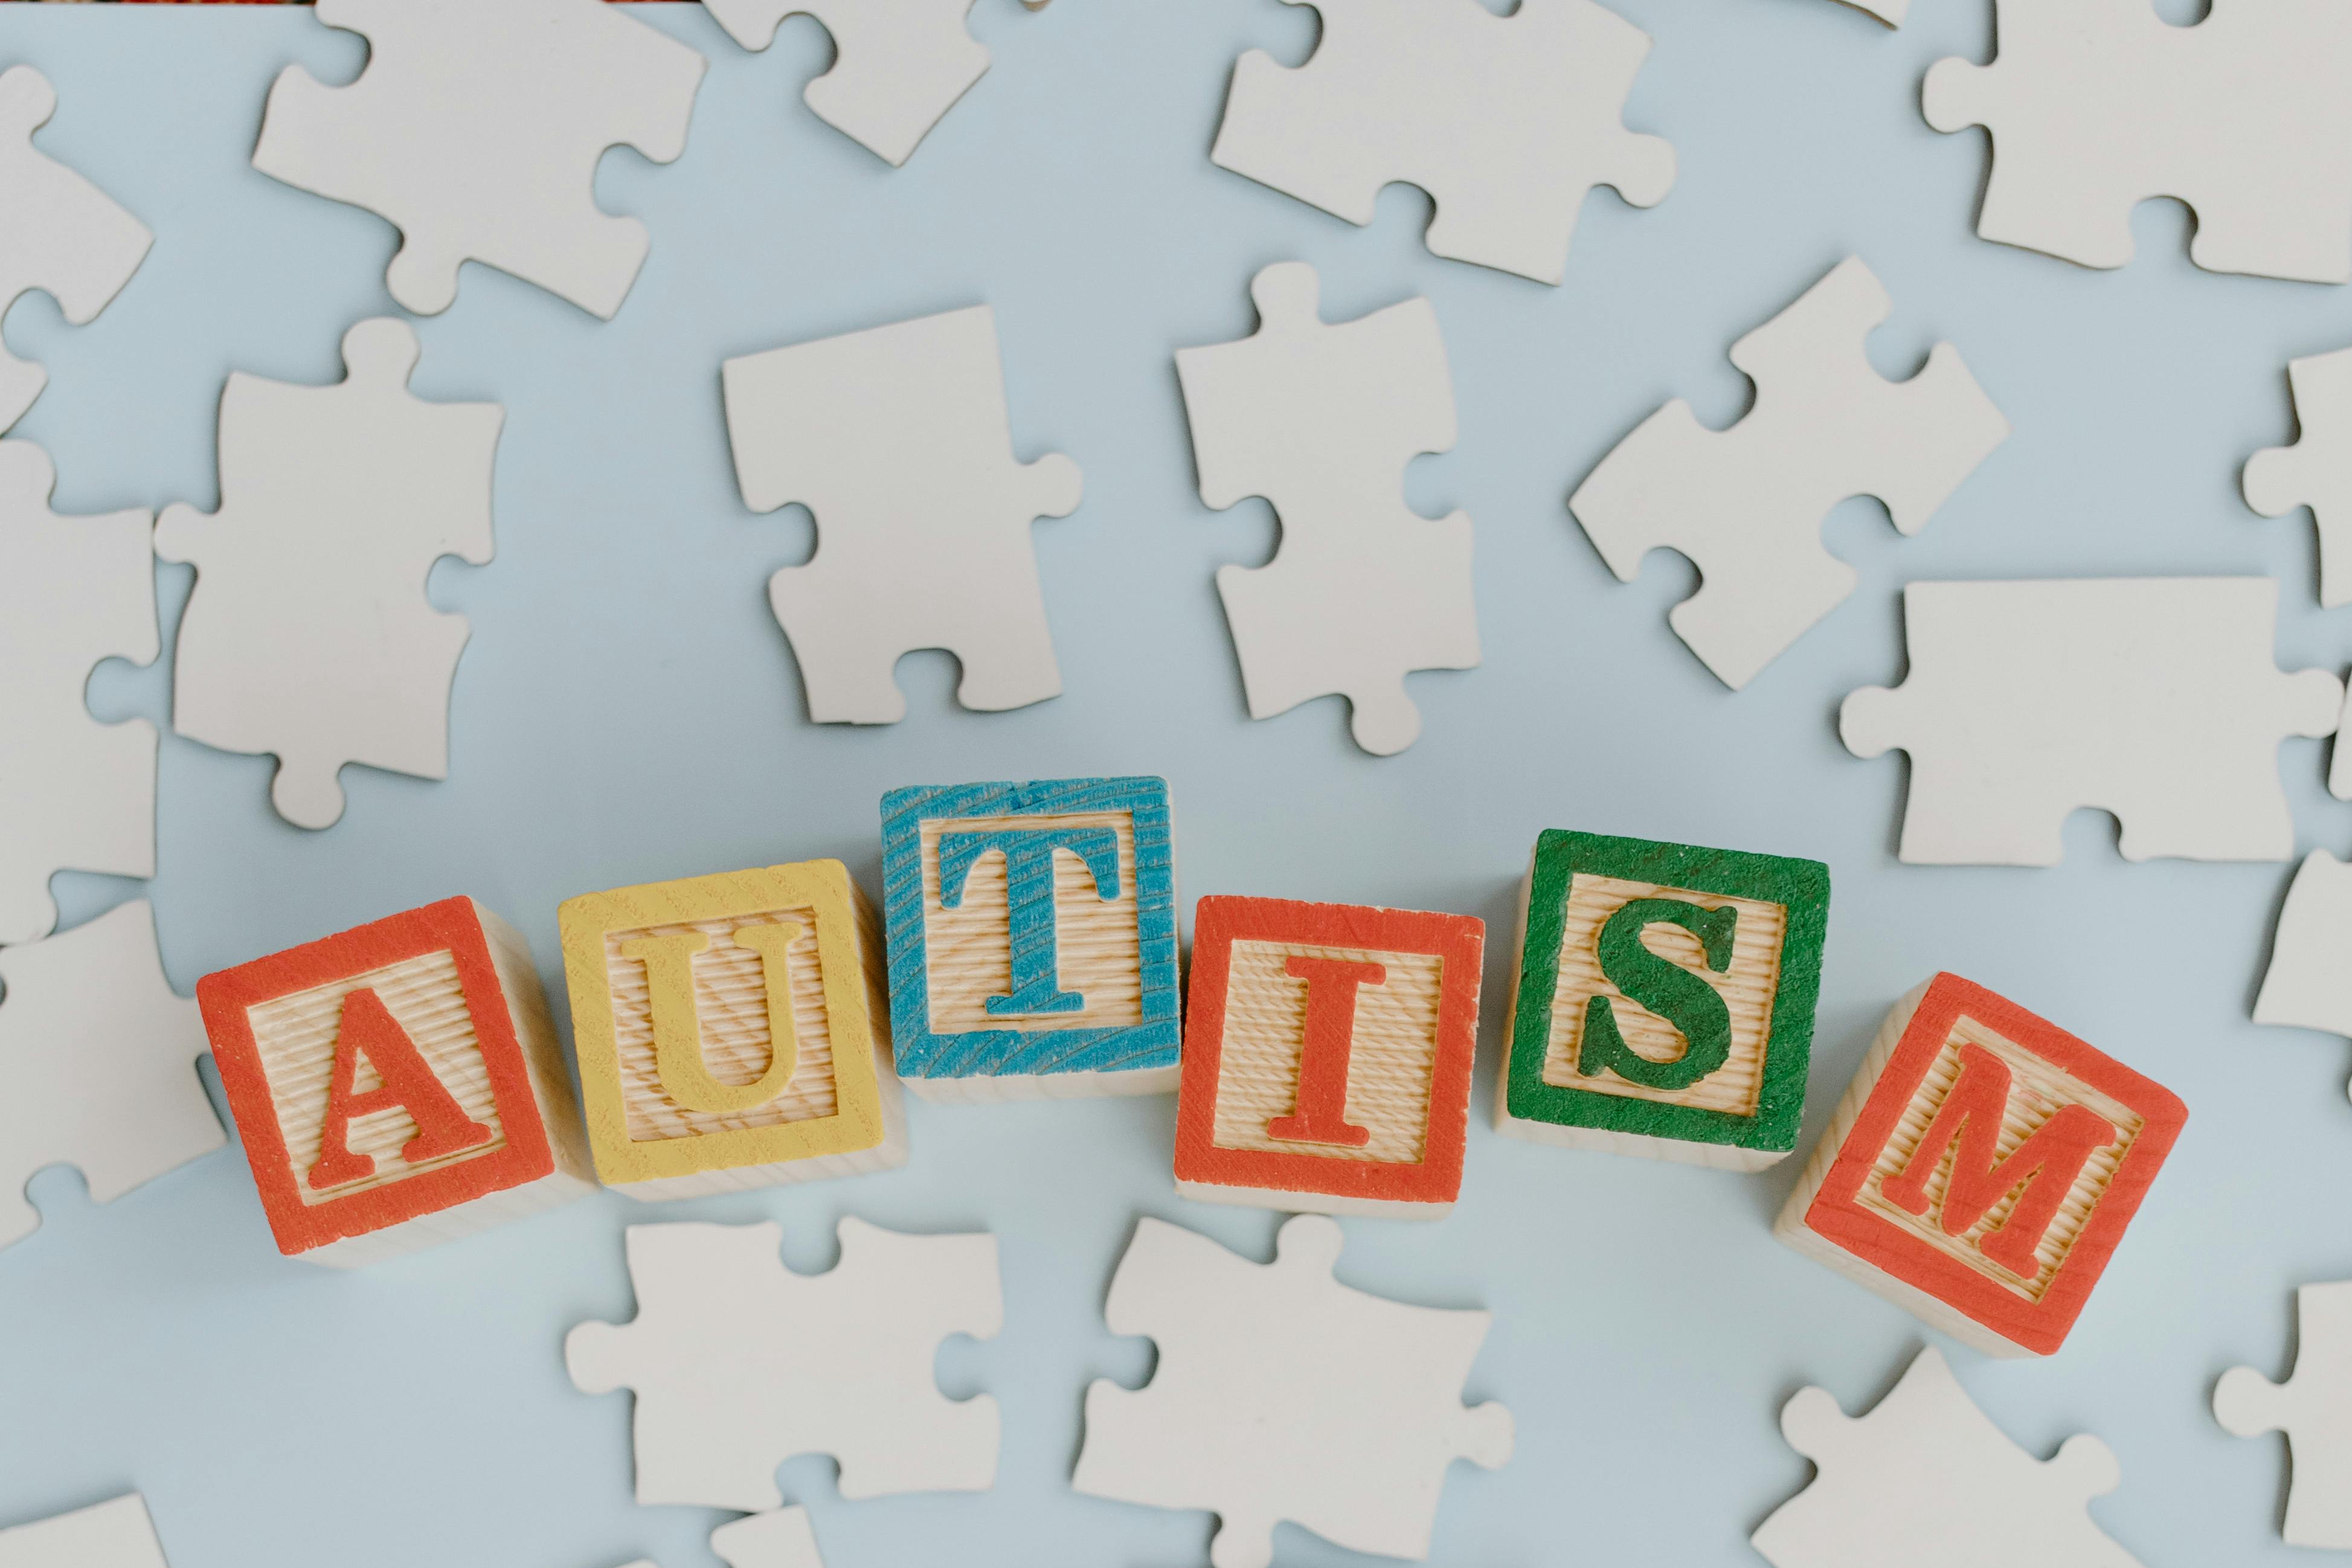
Mas eu sou… sua mãe. Eu vivi perto do seu pai. Nós nunca fomos oficialmente divorciados, mas vivíamos separados. Quando você nasceu, eu era… diferente.
Eu tenho autismo.
Apenas para fins ilustrativos | Fonte: Pexels
A vida me sobrecarregou. Seu pai decidiu que seria melhor se uma família estável e amorosa o criasse. Mas eu sempre soube sobre você. E quando ele morreu, eu cuidei da fazenda. E então você veio…
Eu não sabia como me aproximar de você nem como falar.
Então comecei a fazer o que você fez.
Era a minha maneira… de estar perto.”
Apenas para fins ilustrativos | Fonte: Midjourney
Reli a carta. E de novo.
“Você…” Eu olhei para cima.
Ela ficou parada, mal respirando. Peguei outra carta — uma mais antiga. Uma foto caiu. A jovem Linda segurava uma criança, ambas sorrindo.
“É isto…?”
Apenas para fins ilustrativos | Fonte: Pexels
“Essa é minha filha. Ellie.”
“Meu?”
“Minha filha”, ela repetiu suavemente. “Você é Ellie.”
De repente… Não sei por que, mas… Virei-me e corri. De volta ao meu quintal. Passei pelas margaridas. Passei pela caixa de correio.
E eu chorei. Eu não sabia como consertar nada, e não sabia se estava pronta para isso.
Apenas para fins ilustrativos | Fonte: Midjourney
***
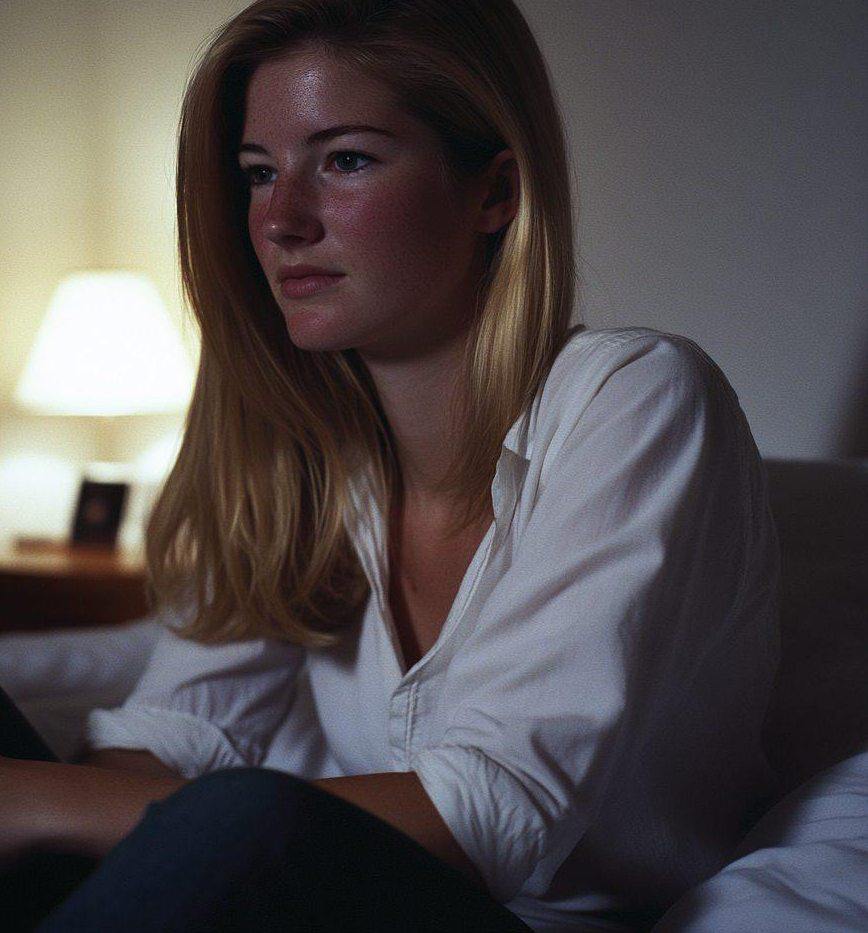
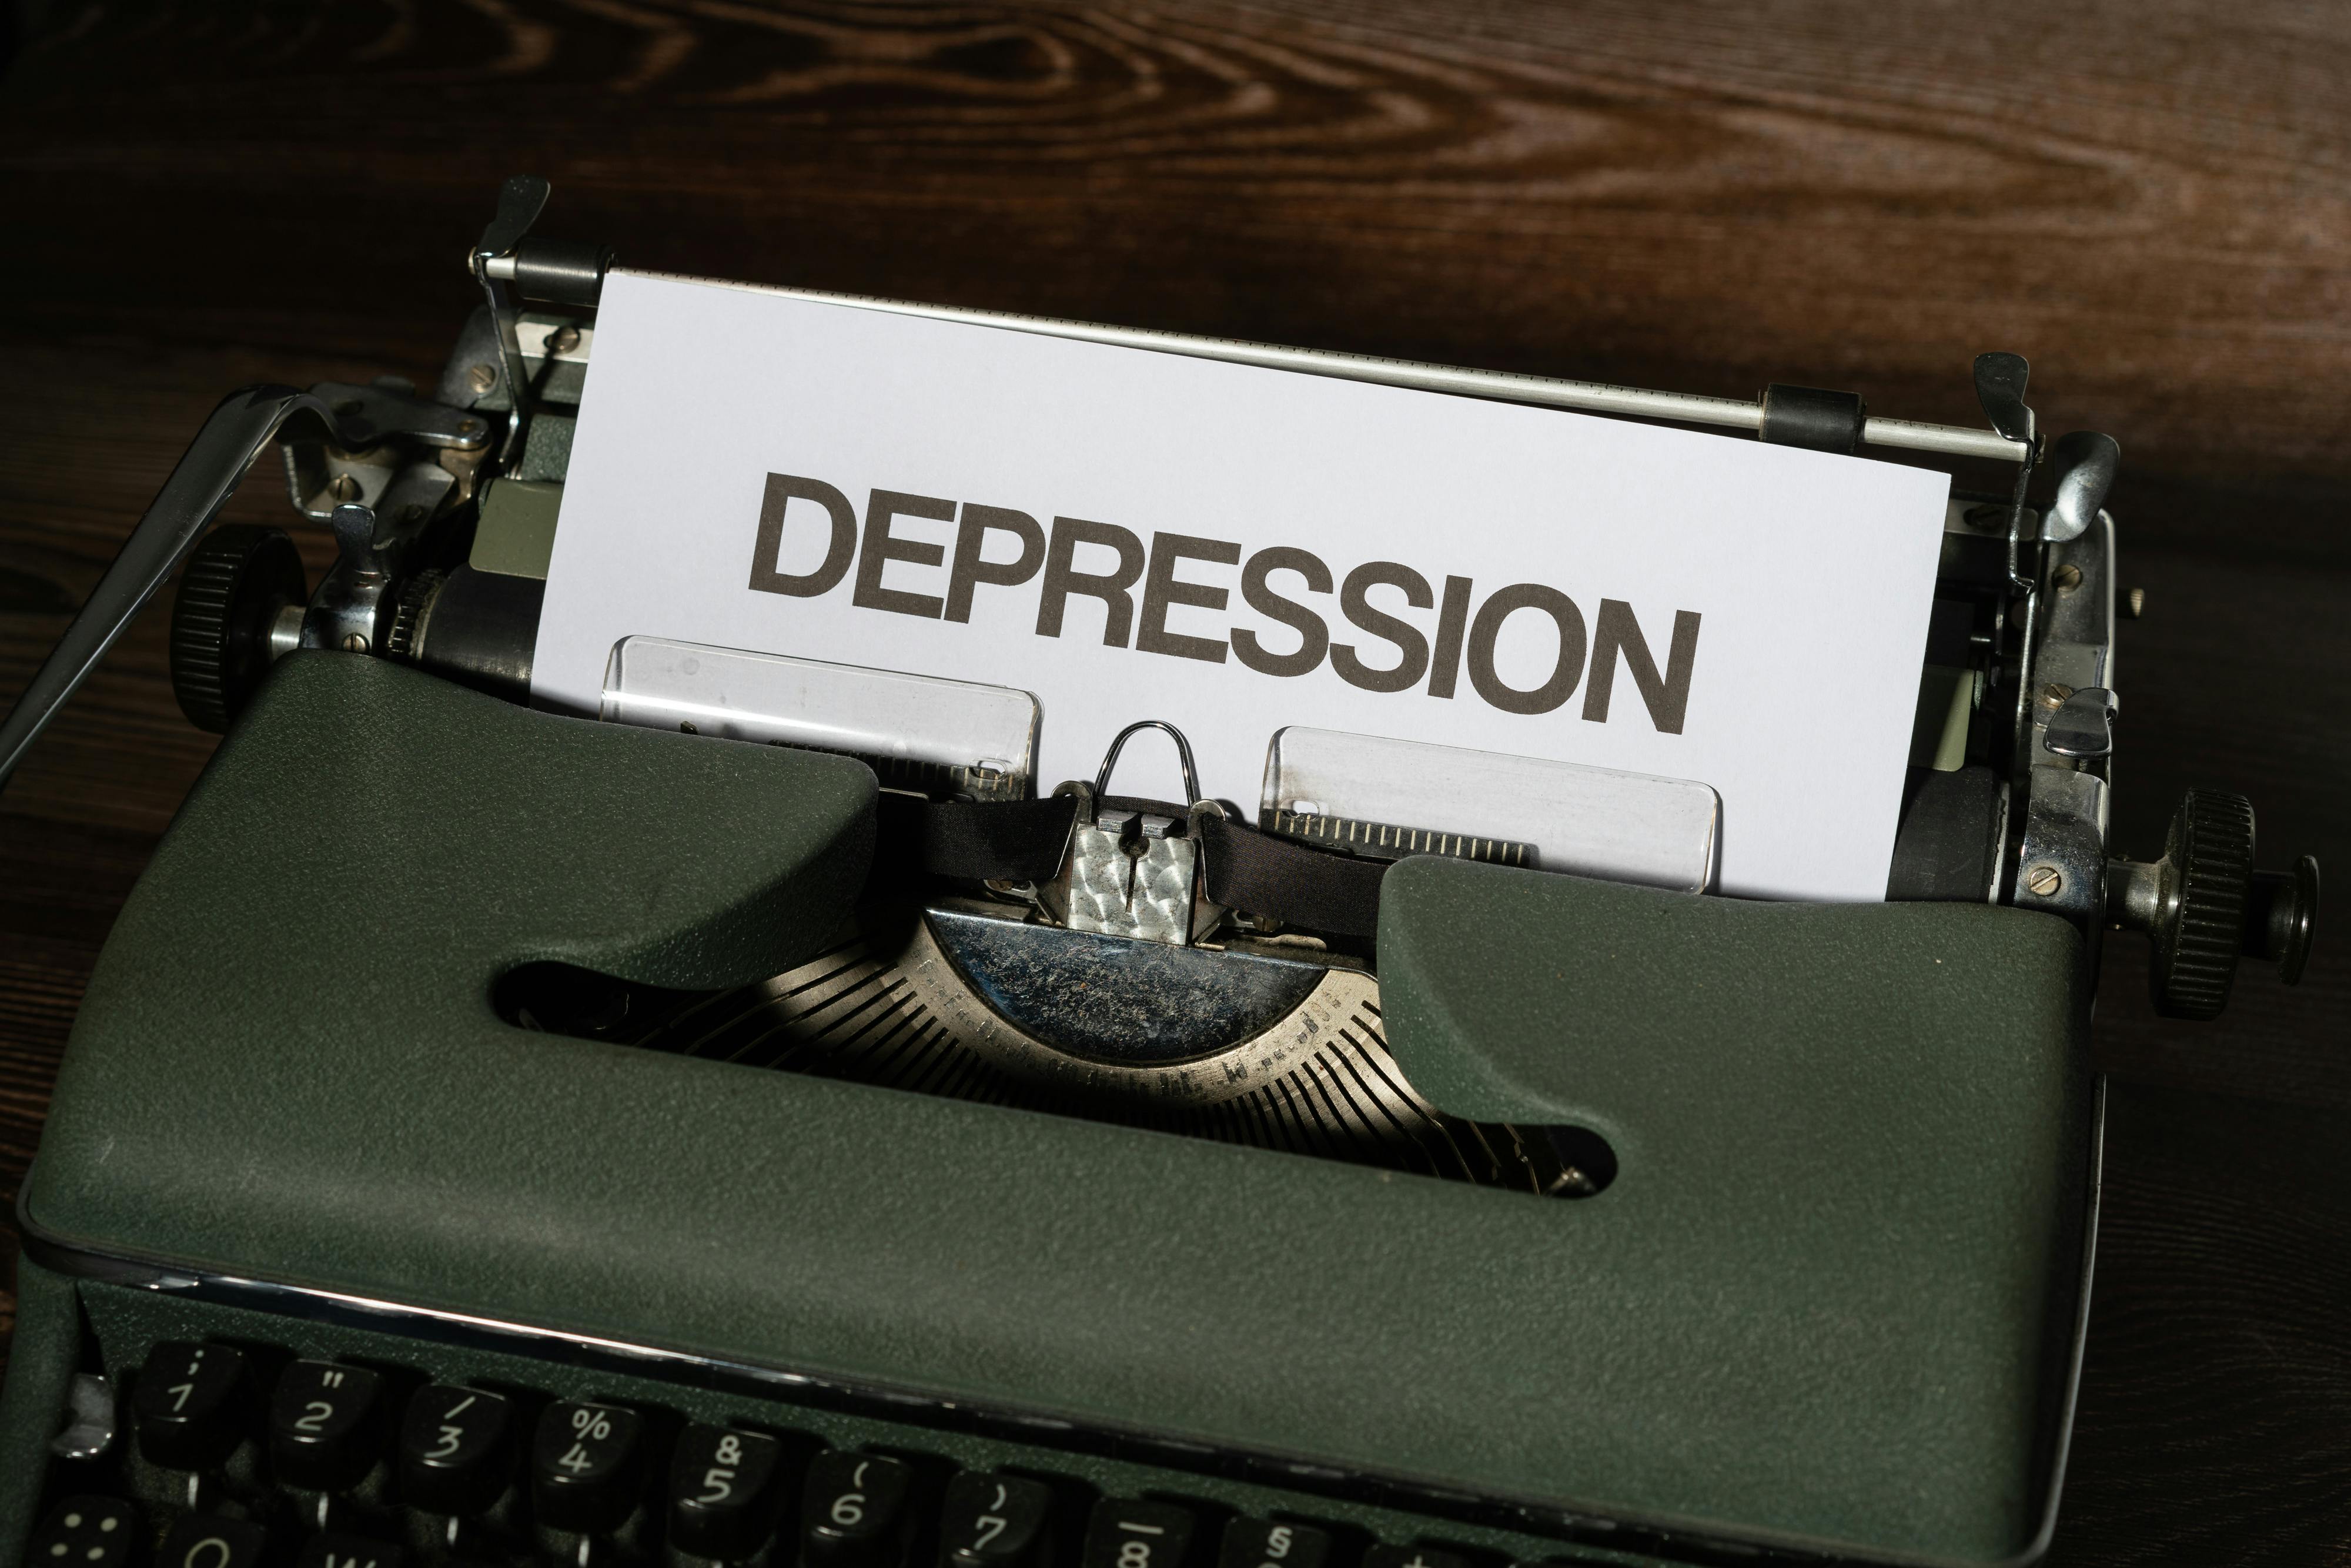
Alguns dias se passaram.
Fiquei dentro de casa. Nada de leitura, nada de café, nada de regar as margaridas. Só fiquei deitado no sofá, observando sombras rastejarem pelo teto, esperando que elas soletrassem algo que fizesse sentido.
Eu não estava doente. Não de uma forma que qualquer médico pudesse curar. Era o tipo de dor que enche seu peito e faz tudo parecer… leve e pesado ao mesmo tempo.
Apenas para fins ilustrativos | Fonte: Pexels
Pensei que saber a verdade traria paz.
Mas em vez de um encerramento, eu encontrei uma mãe. E de alguma forma, isso me desvendou mais do que todos os anos que passei me perguntando.
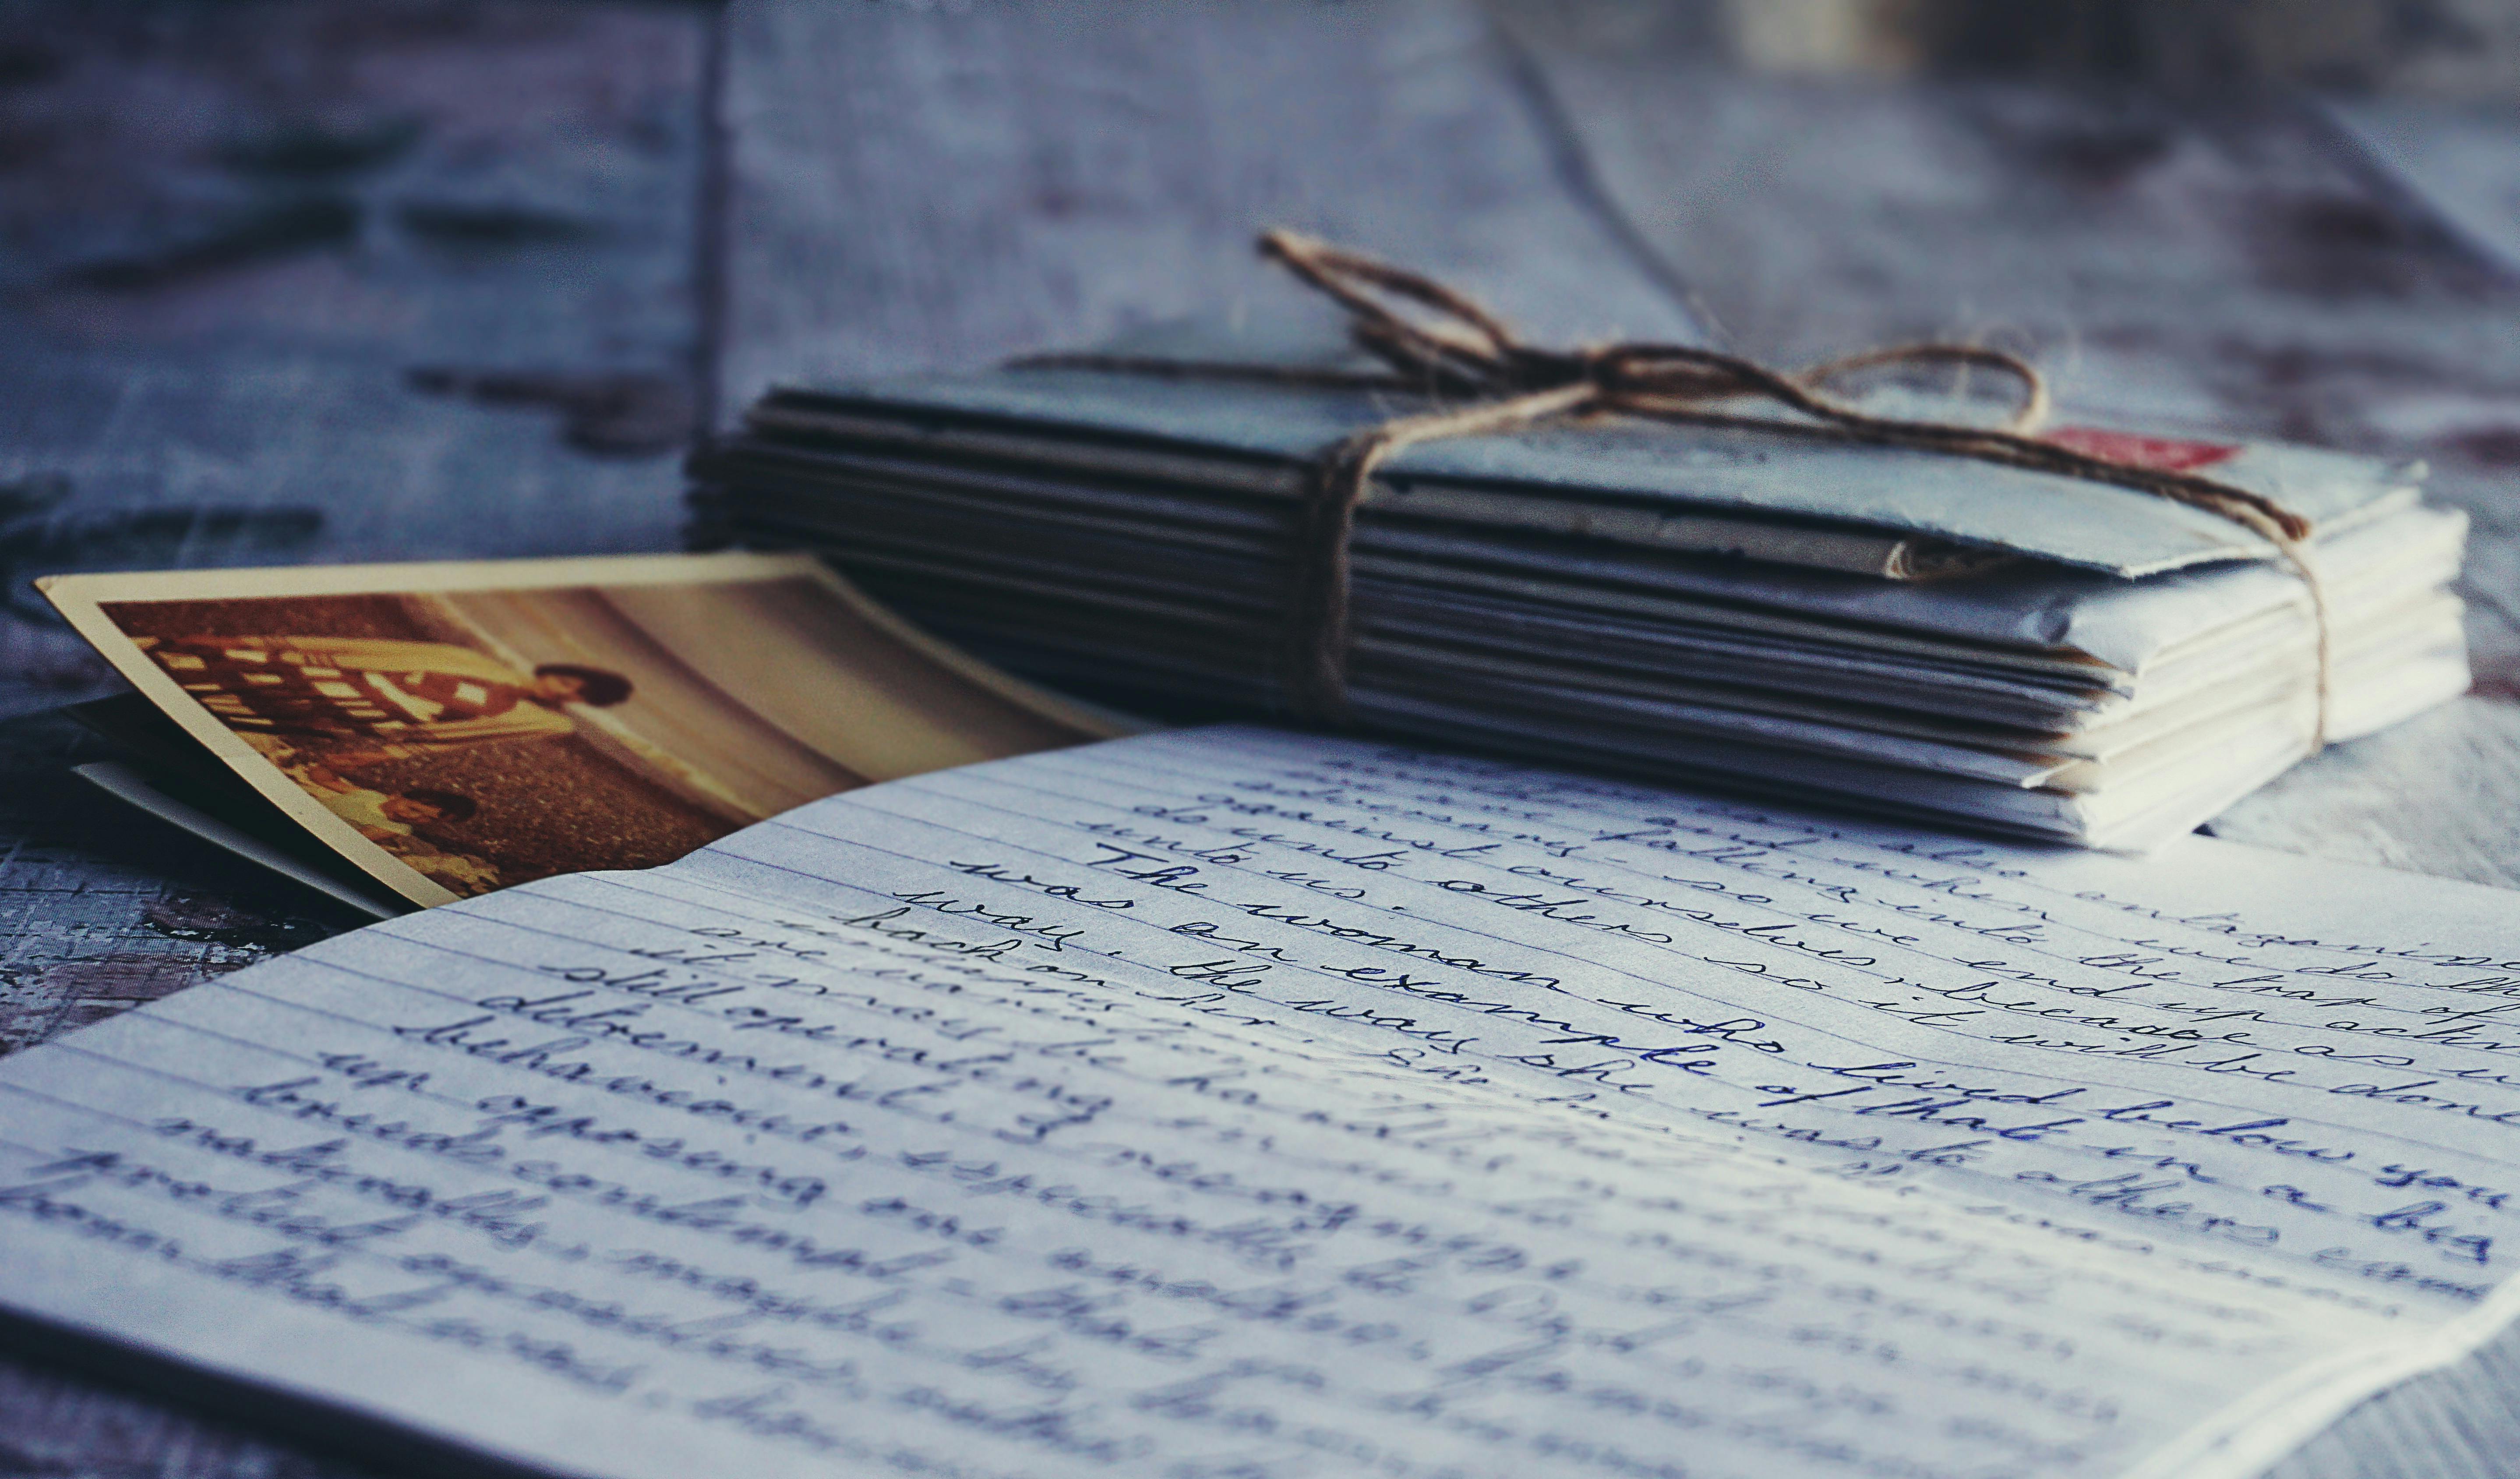
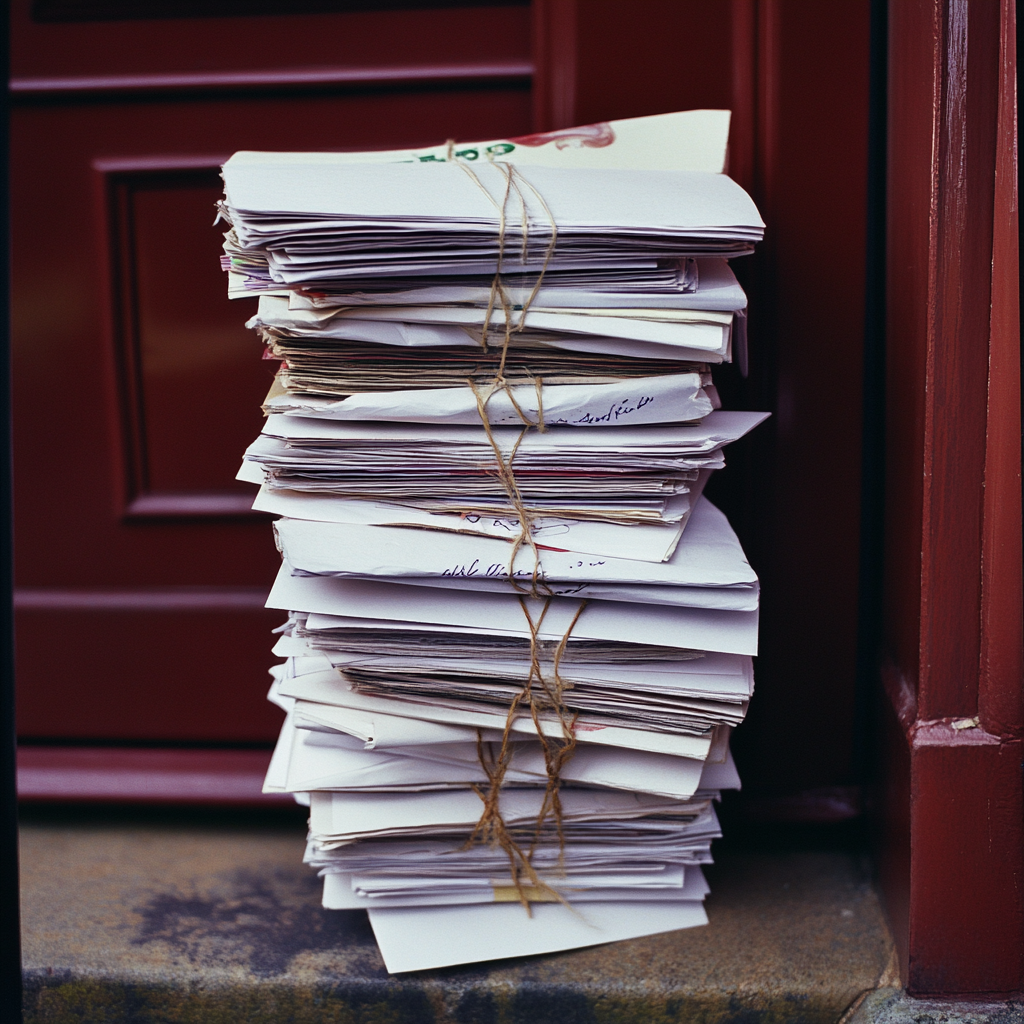
Então, uma manhã, eu abri a porta da frente. Uma pilha de cartas — envelopes grossos amarrados com barbante — estava quieta na minha porta.
Apenas para fins ilustrativos | Fonte: Midjourney
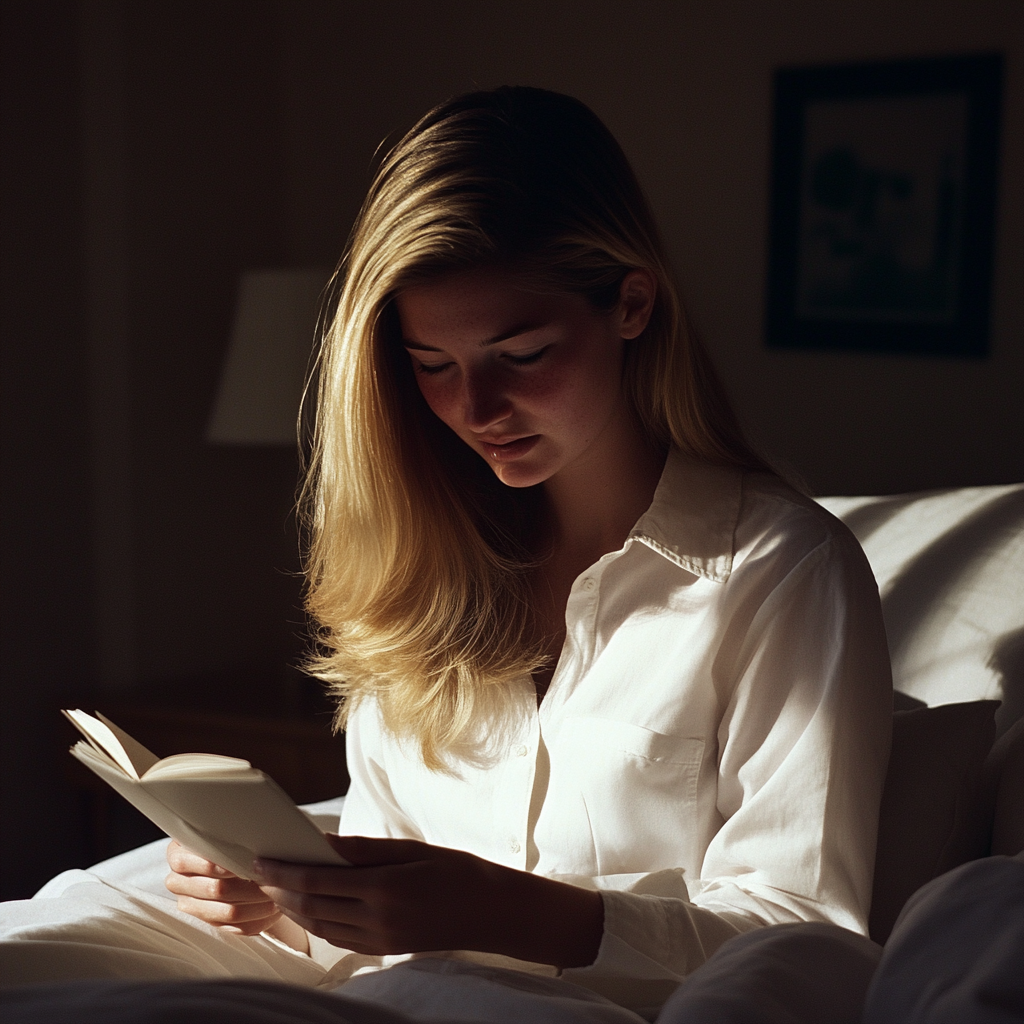
Levei-os para dentro com mãos trêmulas. Cada envelope estava marcado com um ano. Uma carta para cada ano da minha vida. Trinta cartas.
Eu li o primeiro. Depois, o segundo. Depois, todos eles.
Cada um deles foi escrito à mão em uma caligrafia limpa e cuidadosa. Alguns tinham desenhos. Outros tinham pétalas secas enfiadas dentro. Todos estavam cheios de emoção, admiração, tristeza… e amor.
Apenas para fins ilustrativos | Fonte: Pexels
Tanto amor.
Linda me escrevia todo ano — em aniversários, primeiros dias de escola que eu nunca contei a ela, e faculdade que ela nem sabia que eu nunca tinha terminado. Ela imaginava tudo, enviando desejos para o vazio.
Eu chorei em cada página. Solucei. Porque pela primeira vez na minha vida, não me senti esquecida.
Apenas para fins ilustrativos | Fonte: Midjourney
Na terceira manhã, abri a porta novamente.
Os canteiros de flores foram regados. Os animais foram alimentados. O quintal parecia recém-varrido.
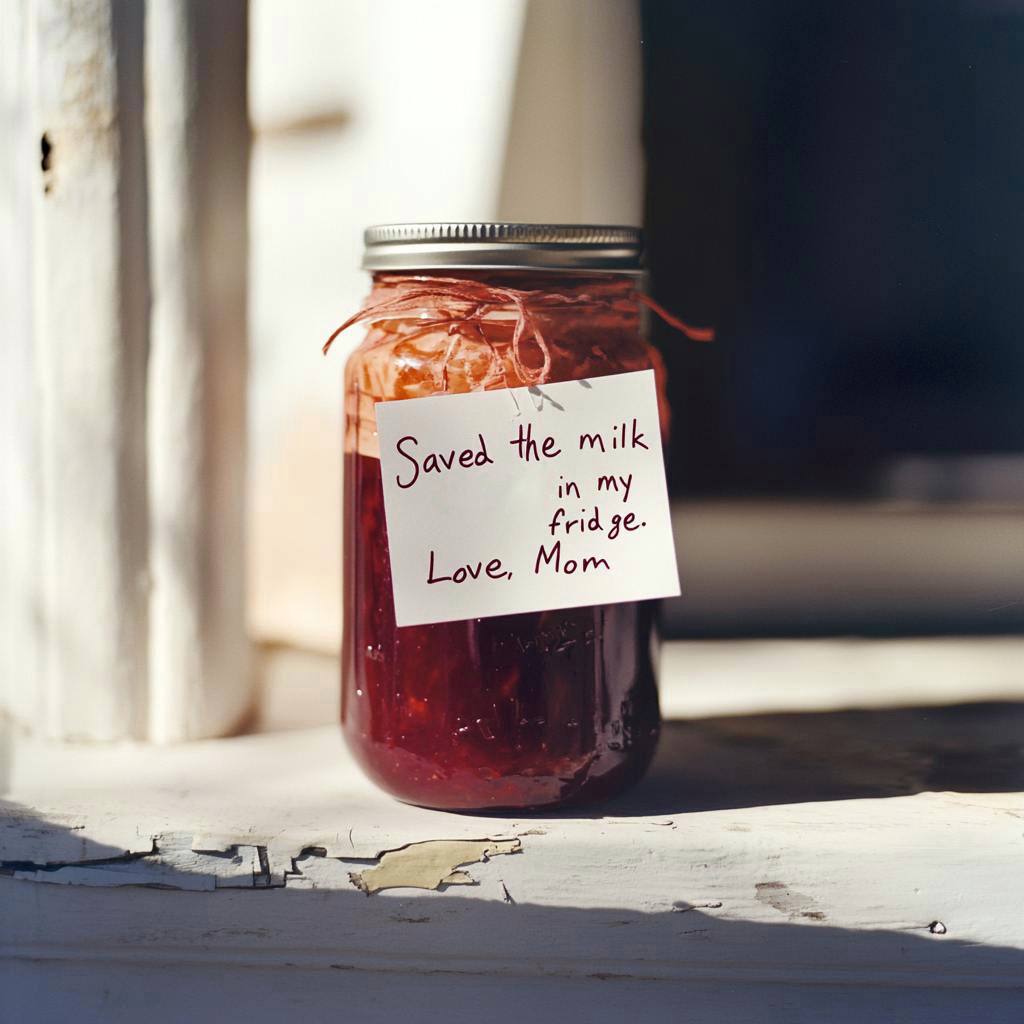
Um bilhete dobrado estava escondido debaixo de um pote de geleia deixado na varanda.
“Guardei o leite na minha geladeira.
Com amor, mamãe”
Apenas para fins ilustrativos | Fonte: Midjourney
Mãe.
Segurei o bilhete em minhas mãos e olhei fixamente para aquela palavra.
Pela primeira vez, não pareceu imaginário. Eu tinha uma mãe — uma mulher quieta, complicada e desajeitada que demonstrava amor não por meio de palavras, mas por meio de cartas e gestos.
E eu percebi… talvez não tenha sido ela quem falhou comigo. Talvez tenha sido a situação. A maneira como a vida se desfez antes que qualquer um de nós pudesse mantê-la unida.
Apenas para fins ilustrativos | Fonte: Pexels
A culpa do papai agora vive comigo: nestas paredes, nesta terra, no silêncio que ele deixou para trás. Mas eu tenho o poder de reescrever o final.
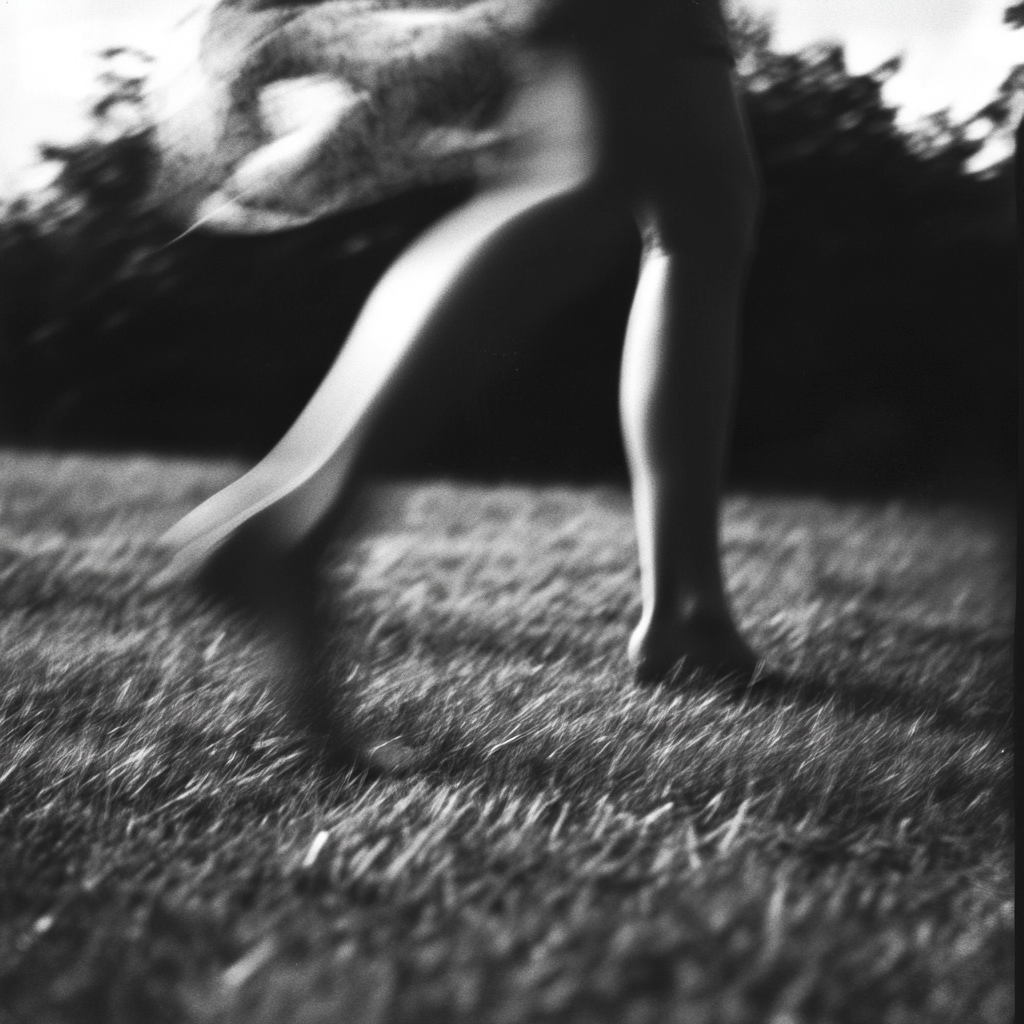
Naquele momento, tomei uma decisão. Saí para o sol da manhã. Descalço, como sempre.
Linda estava em seu quintal, cambaleando em uma pose de ioga sem entusiasmo, seu chapéu de sol quase caindo sobre seus olhos. Mas ela estava tentando — ainda tentando.
Apenas para fins ilustrativos | Fonte: Midjourney
Meu coração doeu. Andei em direção à cerca.
“Essa é… a pose do guerreiro. Eu também não sou muito fã.”
Ela congelou, então se virou lentamente. Um pequeno e tímido sorriso surgiu em seus lábios.
“Você está indo muito bem”, acrescentei. “Mas você se sairá melhor sem o chapéu.”

Apenas para fins ilustrativos | Fonte: Midjourney
Ela o tirou, alisou a aba com os dedos e o colocou gentilmente na grama. Então, ela se moveu para a pose da árvore. Ela cambaleou e caiu de lado.
Eu realmente ri, pela primeira vez em dias.
“Ok”, eu disse, me aproximando da cerca. “Vamos fazer um acordo. Eu vou te mostrar uma pose, e você tenta. Mas… chega de cópias de caixa de correio.”
Apenas para fins ilustrativos | Fonte: Midjourney
“Tudo bem”, ela sussurrou.
“Você se sairá melhor se relaxar os dedos.”
E nós ficamos ali — nós dois — finalmente do mesmo lado do quintal, sob o mesmo céu. Um pouco desajeitados. Um pouco inseguros. Mas não mais sozinhos.
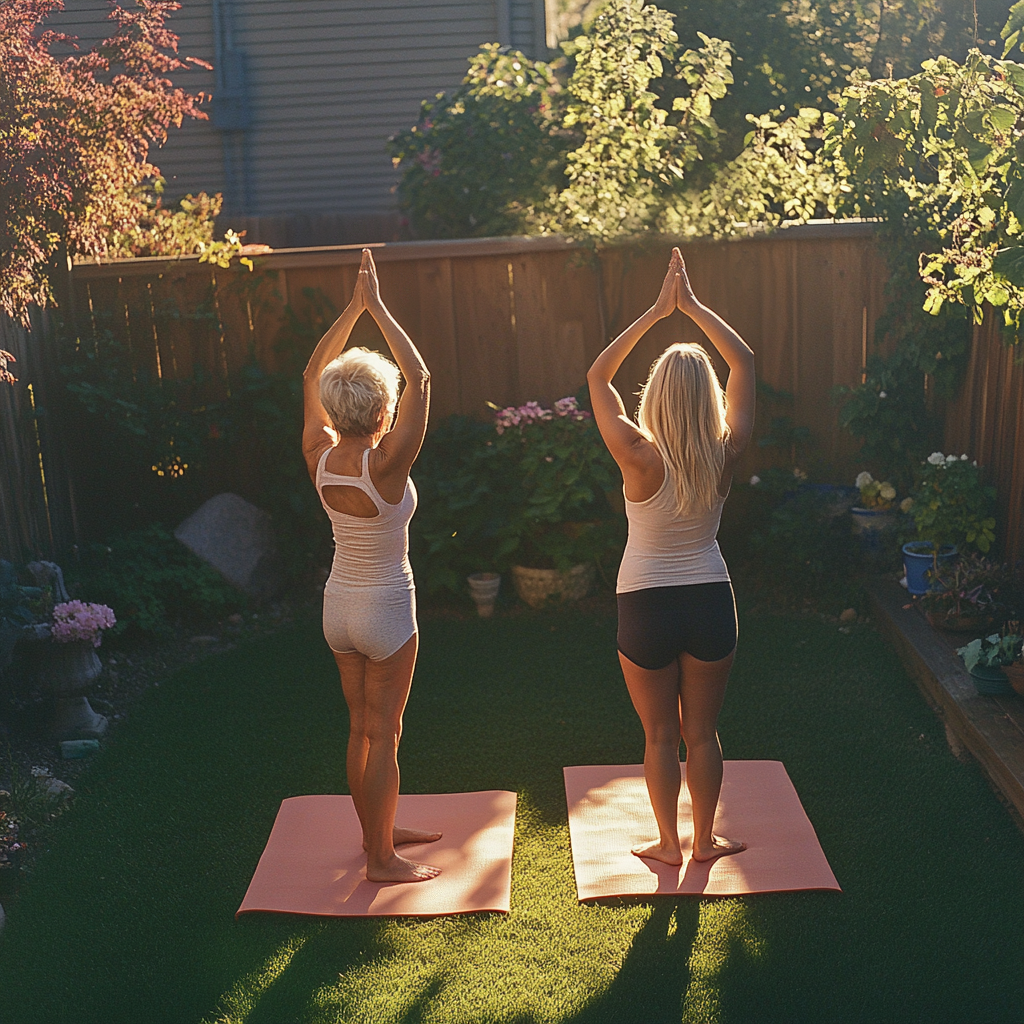
Apenas para fins ilustrativos | Fonte: Midjourney
Mais tarde, fizemos chá na minha casa. Apontei para a foto da carta dela.
“Essa foto… é você?”
Ela assentiu.
“E minha filha Ellie. Somos você e eu.”
“Li todas as cartas. Obrigada, mãe.”

Apenas para fins ilustrativos | Fonte: Pexels
Ela agarrou sua xícara de chá com ambas as mãos.
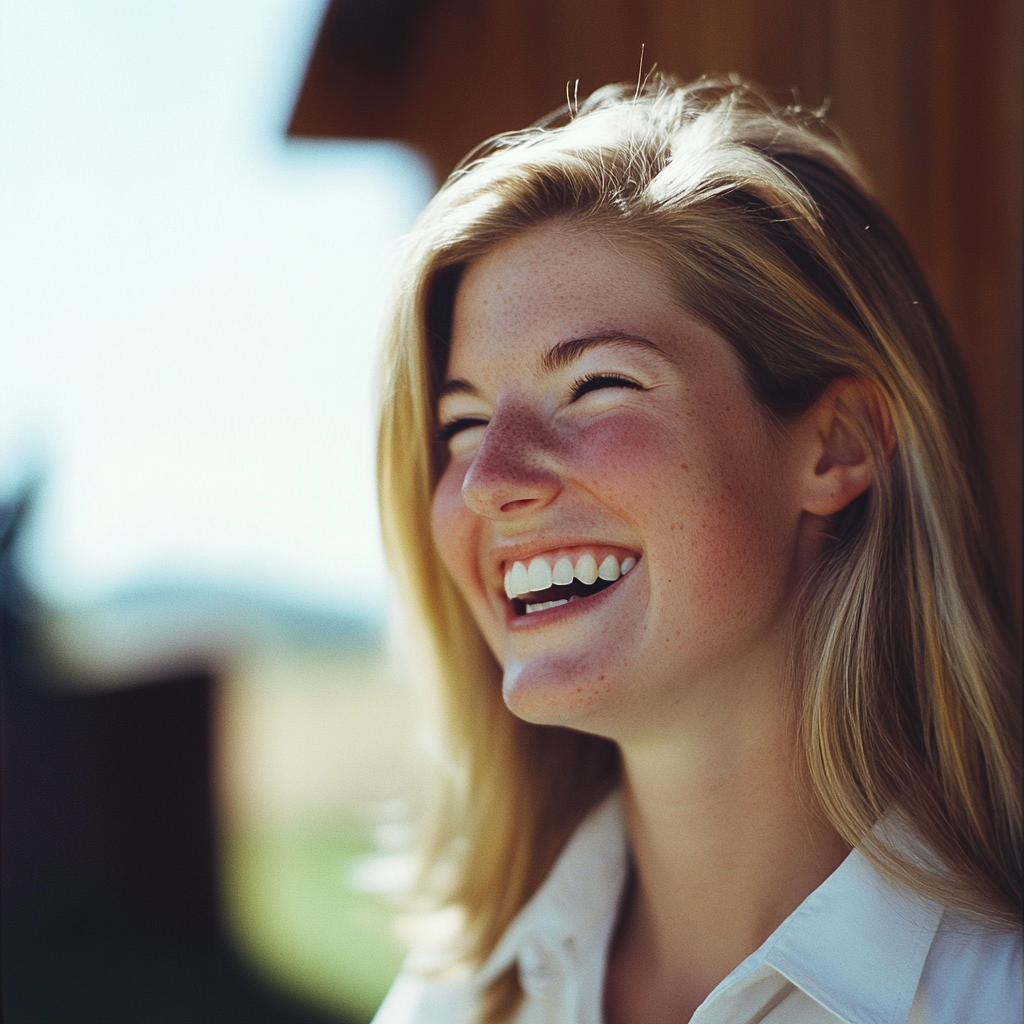
“Posso… tentar aquela pose amanhã? Aquela com a perna no ar?”
Eu assenti. Nós dois sorrimos. Então rimos. E de alguma forma, parecia que a vida estava encontrando sua cor novamente.
E sabe de uma coisa?
Aquela cerca amarela não parecia mais tão estranha. Talvez fosse o começo. Assim como nós.

Apenas para fins ilustrativos | Fonte: Midjourney
Diga-nos o que você acha dessa história e compartilhe com seus amigos. Pode inspirá-los e alegrar o dia deles.
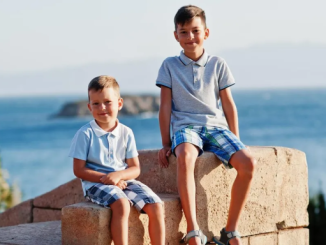
Se você gostou desta história, leia esta: Minha vida não era emocionante ou cheia de significado até que… um tsuru de papel em uma calçada molhada parecia exatamente com aqueles que meu pai dobrou antes de desaparecer há vinte e cinco anos.


Leave a Reply